Have you noticed those little bars at the top or bottom of websites? Those are website notification bars.
Imagine you’re browsing the web and see a small bar appear at the top( or bottom) of the screen. This is a website notification bar, also sometimes called a sticky bar or a website notification banner. It’s a handy tool websites use to grab your attention and share important information.
This guide will be your one-stop shop for everything about notification bars! We’ll answer questions like:
- What is a website notification bar?
- What does a notification bar look like? (We’ll even show you some website notification bar examples!)
- How do I make a notification bar for my website? (We’ll cover options like WordPress notification bar plugins, website notification bar generators, and even how to make a sticky bar on scroll!)
By the end of this guide, you’ll be a notification bar pro, ready to create your own or understand how they work when you encounter them on other websites.
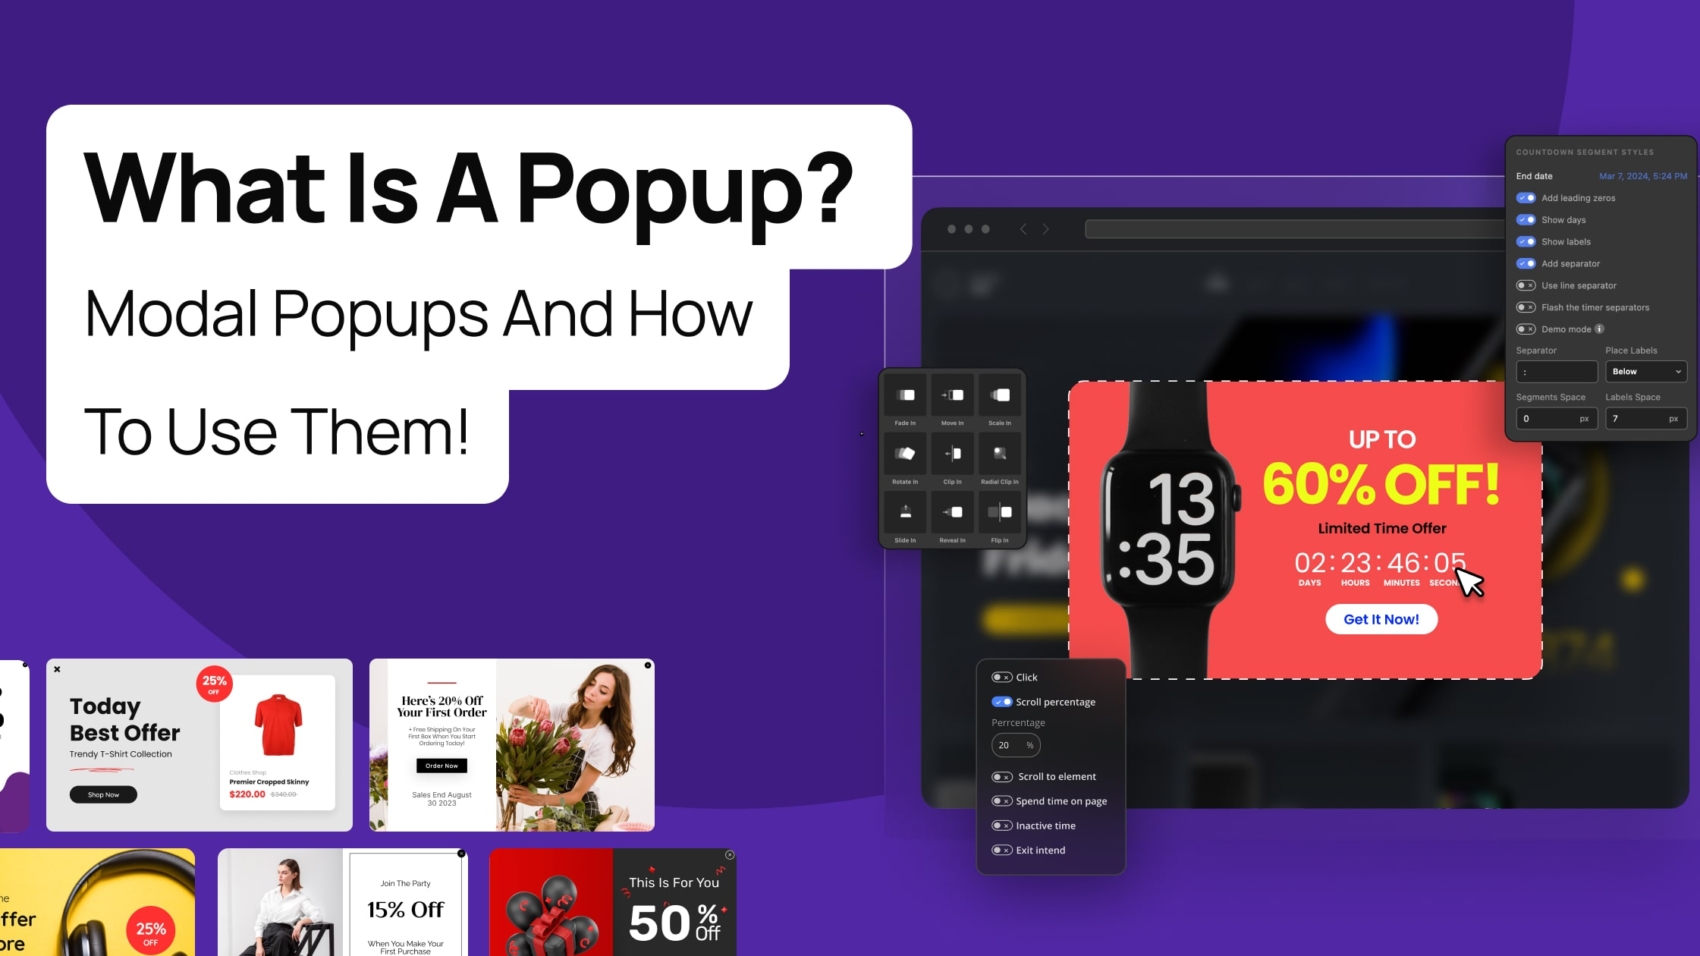
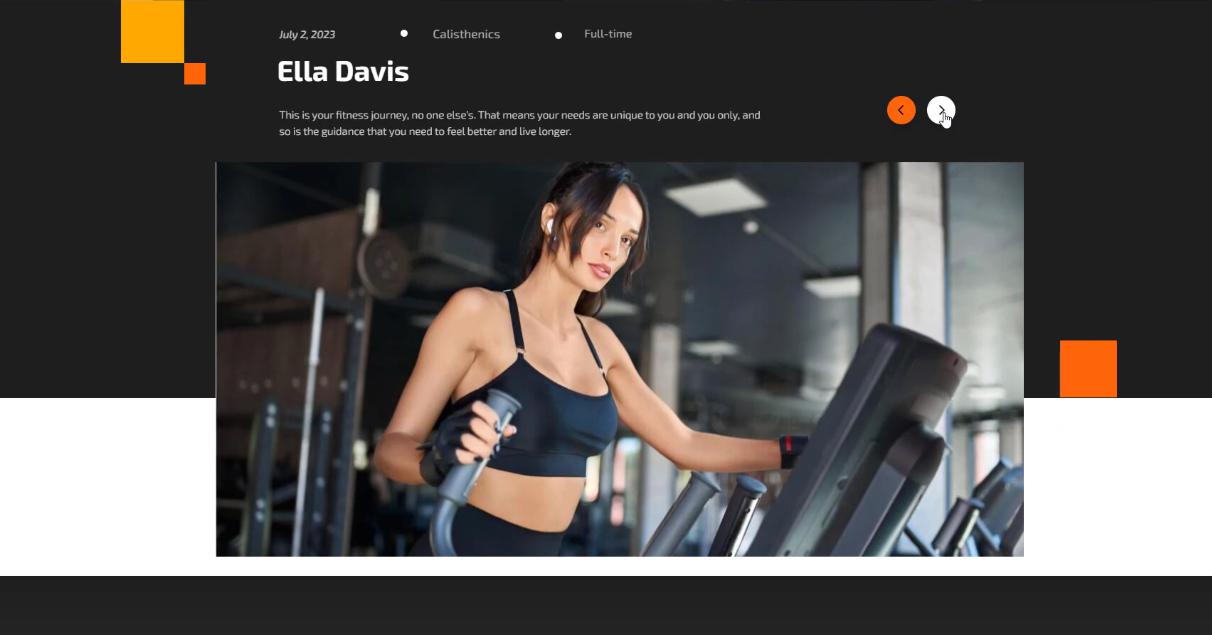
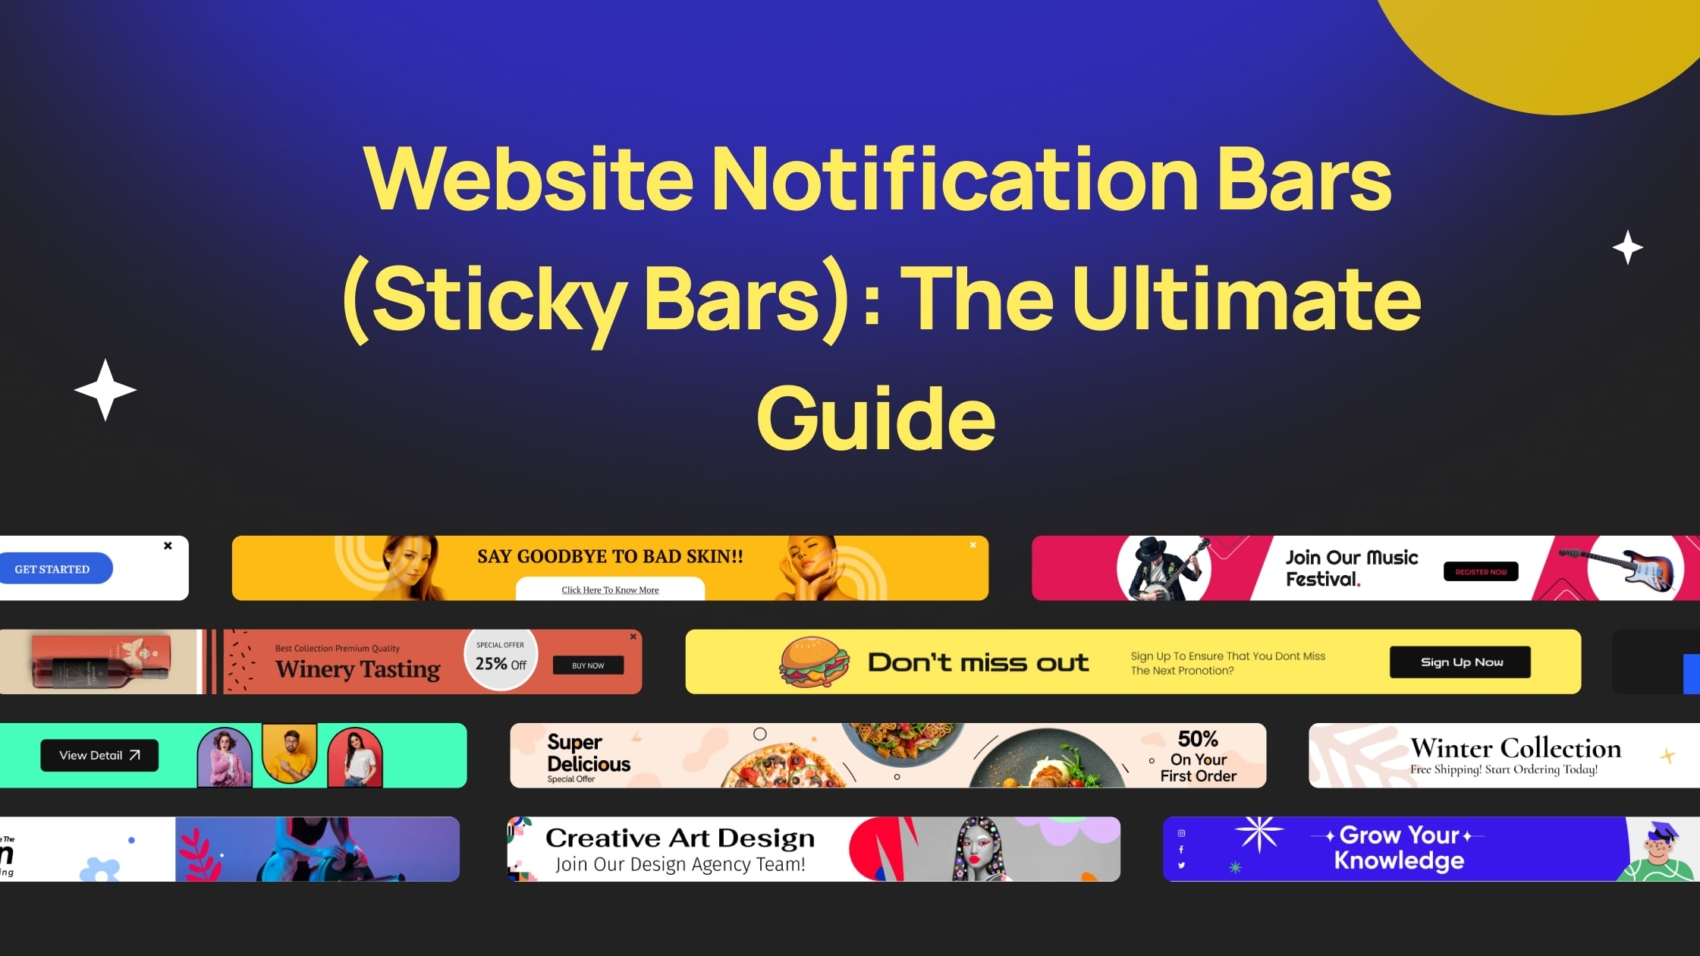
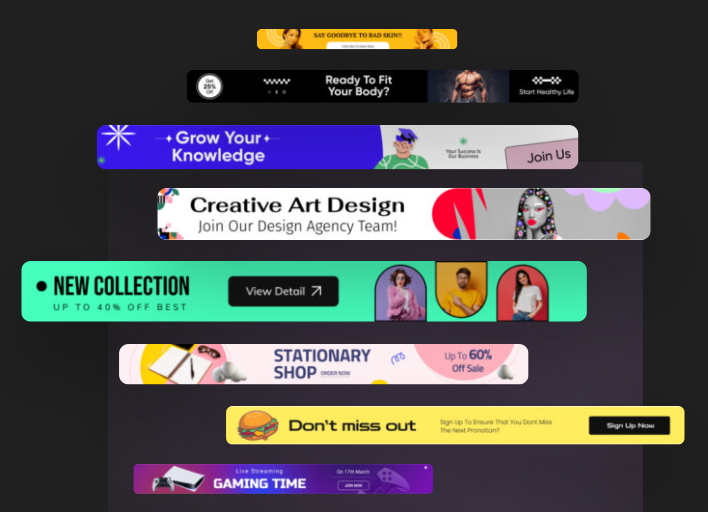
An extensive collection of creative website notification bars!
How to Create a Notification Bar From Scratch Video Tutorial
What is a Website notification bar (sticky Bar)?
Have you ever visited a website and seen a small bar appear at the top or bottom of the screen? That’s a website notification bar, also known as a sticky bar or an announcement bar.
These bars are a popular way for websites to grab your attention and share important information.

Notification Bar Use Cases
Think of them like mini billboards on a website. You can use them for a variety of purposes, such as:
- Announcing exciting news: You can highlight new features, product updates, or special promotions with a notification bar.
- Sharing important updates: Do you have a temporary change in hours or a new shipping policy? A notification bar can keep visitors informed.
- Encouraging visitors to take action: Do you want people to sign up for your email list or check out a new blog post? A clear call to action in a notification bar can help!
- Growing your email list: As a subset of lead generation, a notification bar can be an effective tool to encourage visitors to subscribe to your email list, thereby building a direct communication channel with your audience.
- Increasing your sales: Notification bars can promote limited-time offers, discounts, or flash sales, driving urgency and encouraging visitors to make a purchase.
- Flexible applications based on need and creativity: Depending on your specific requirements and creative ideas, notification bars can be adapted for various other applications.
Whether it’s directing traffic to a specific section of your website, conducting surveys, or providing real-time alerts, the possibilities are vast.
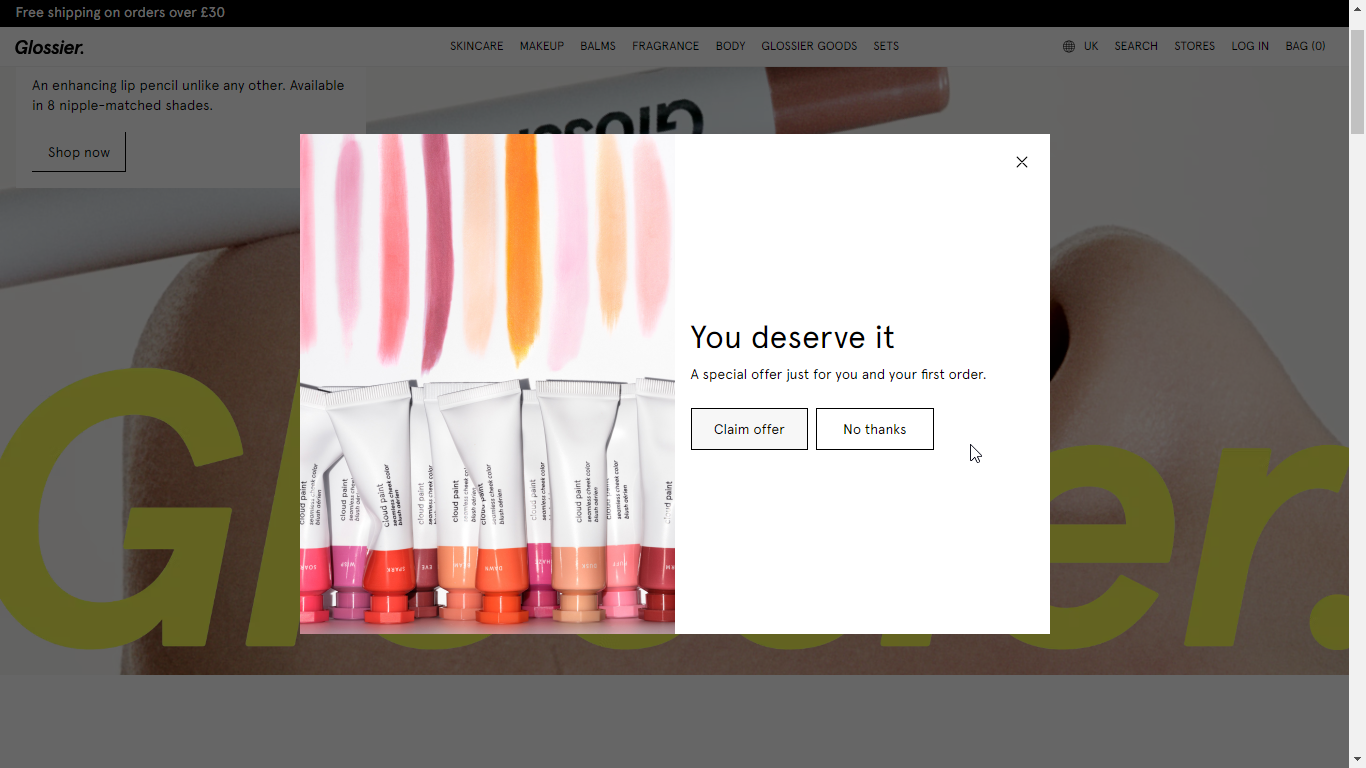
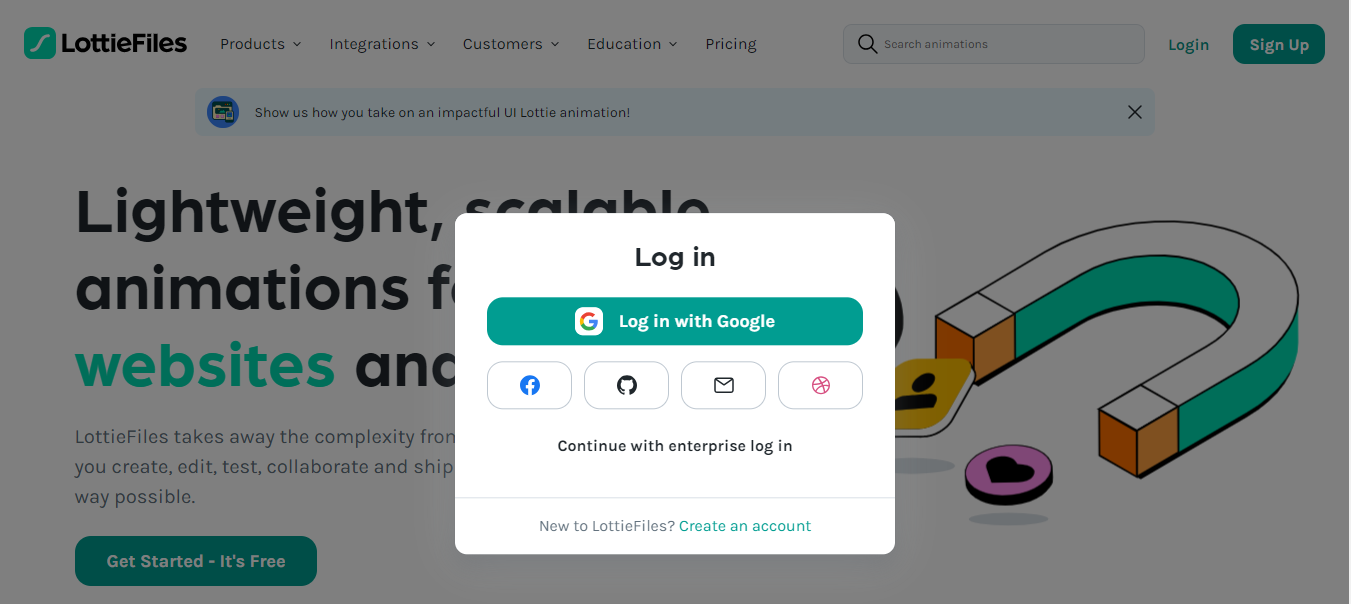
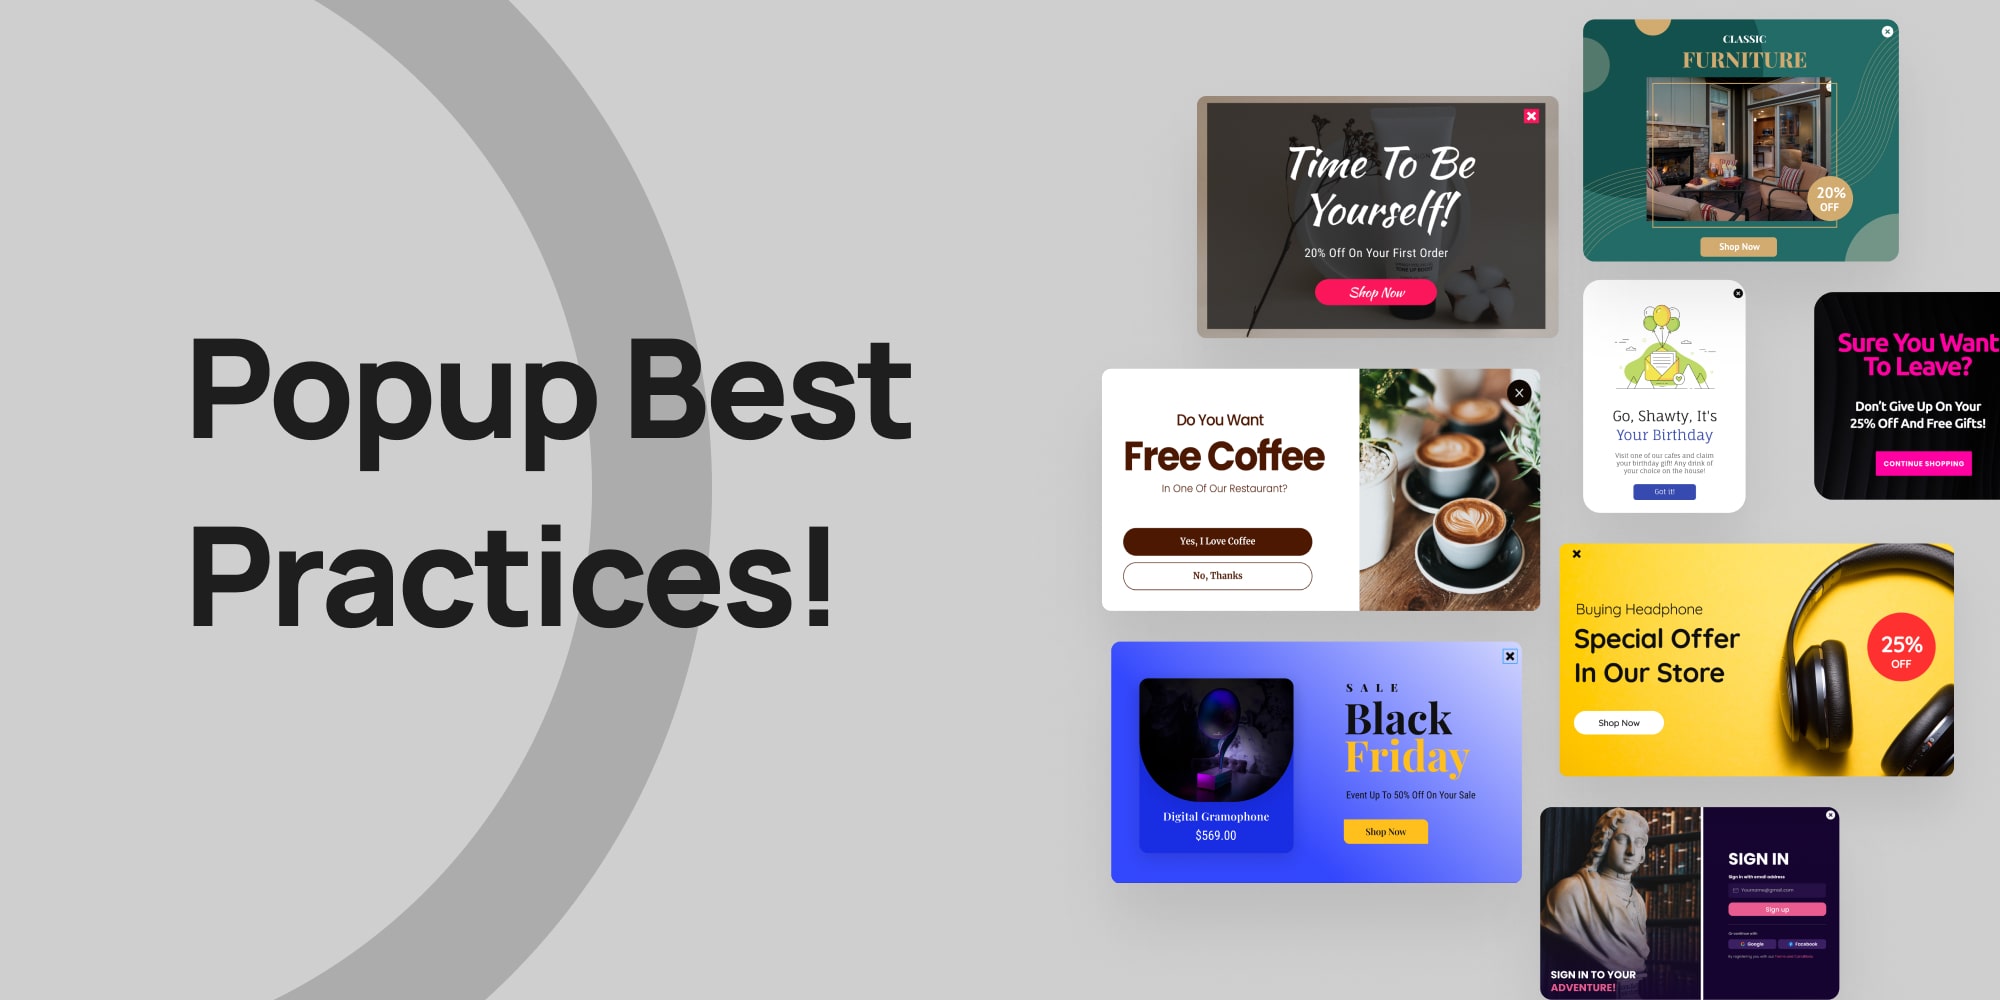
Difference Between Notification Bars and Popups
Here’s what makes website notification bars different from pop-up ads:
- Less intrusive: Notification bars are typically smaller and less disruptive than pop-up ads.
- More focused: You can use them to target specific messages to visitors, making them more relevant.
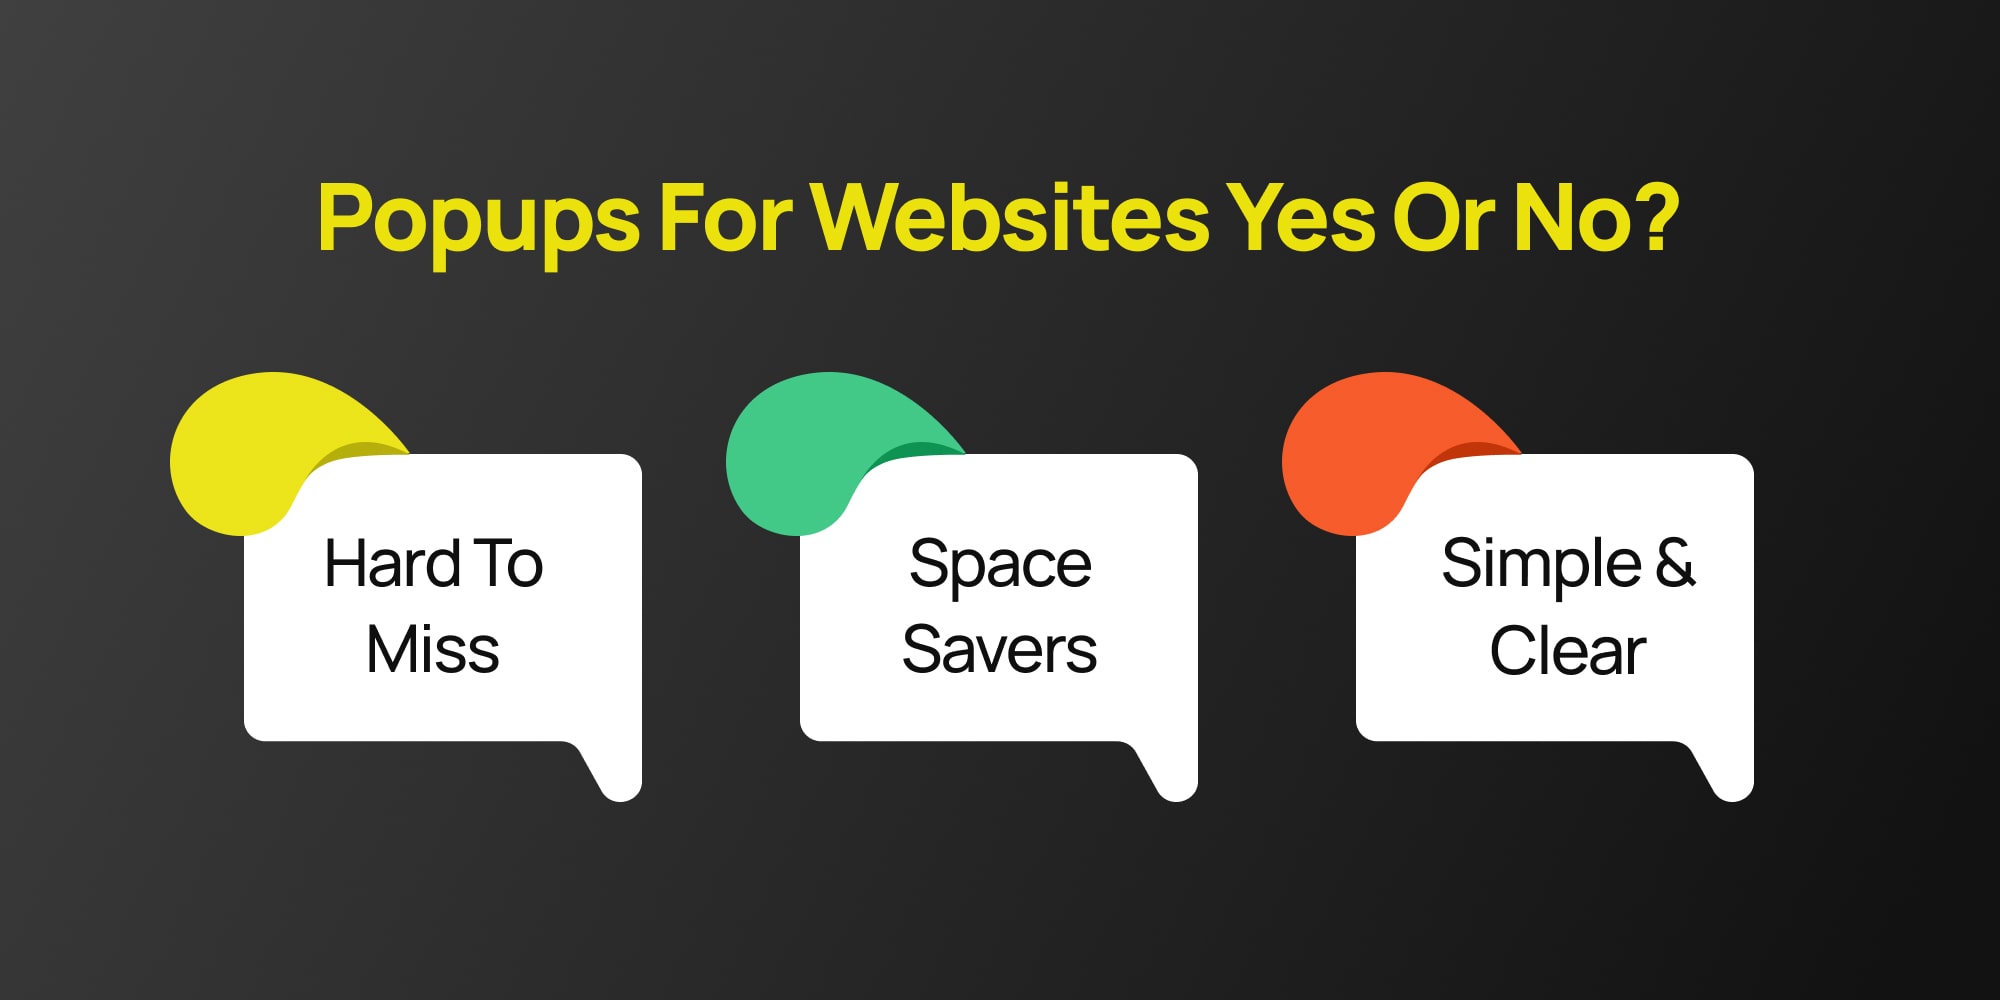
Notification Banner Best Practices
Here are some key things to keep in mind when using website notification bars:
- Keep it short and sweet: Don’t overload the bar with long text. Get straight to the point!
- Clear call to action: Tell visitors what you want them to do next, whether it’s visiting a page, signing up for something, or making a purchase.
- Easy to dismiss: People should be able to easily close the notification bar if they don’t want to see it anymore.
- Match your brand: Use colors and fonts that are consistent with your website’s overall design.
There are many ways to create website notification bars. Some website builders have them built-in, or you can use a WordPress notification bar plugin for easy creation. There are even free website notification bar generators available online.
Website notification bar Examples! (what does notification bars look like)
Let’s dive into some real-world examples of website notification bars (sticky bars) and explore how they’re used to engage visitors:
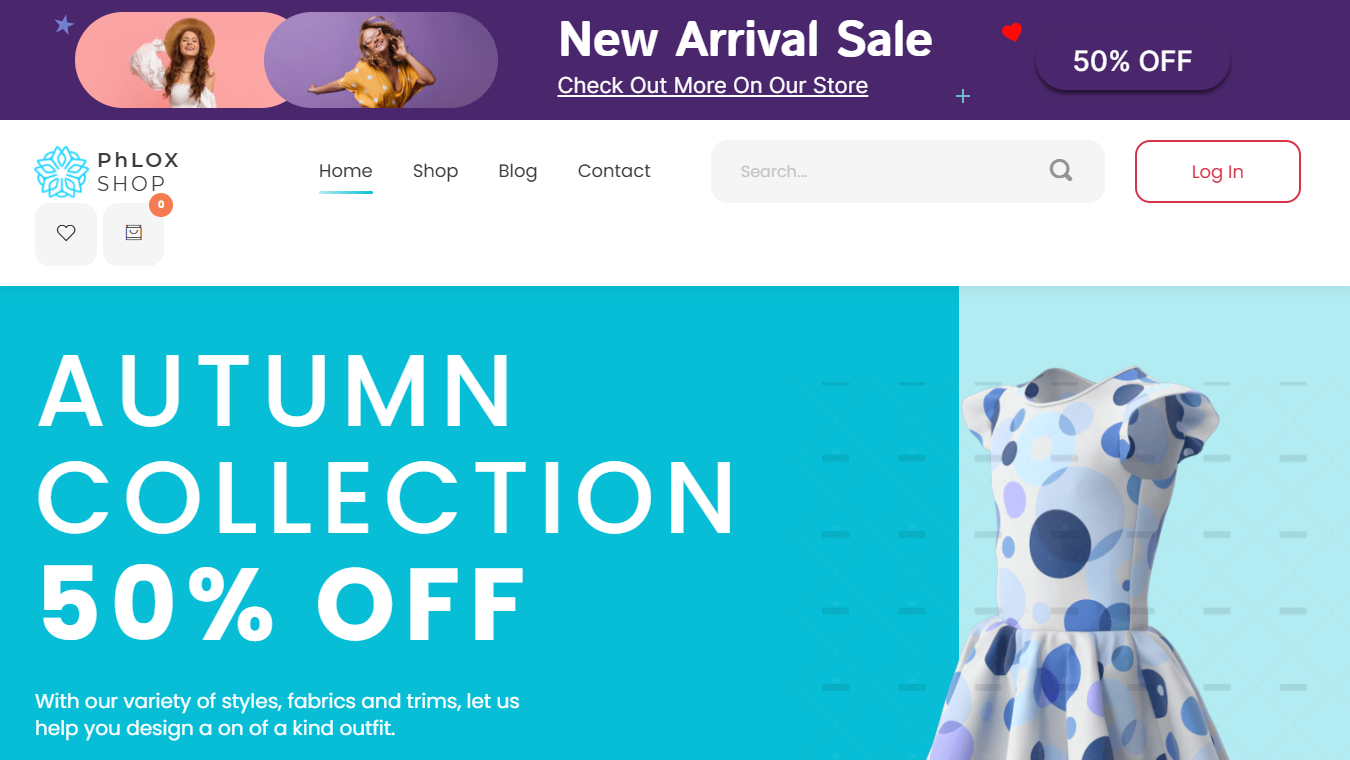
1. experiments with google
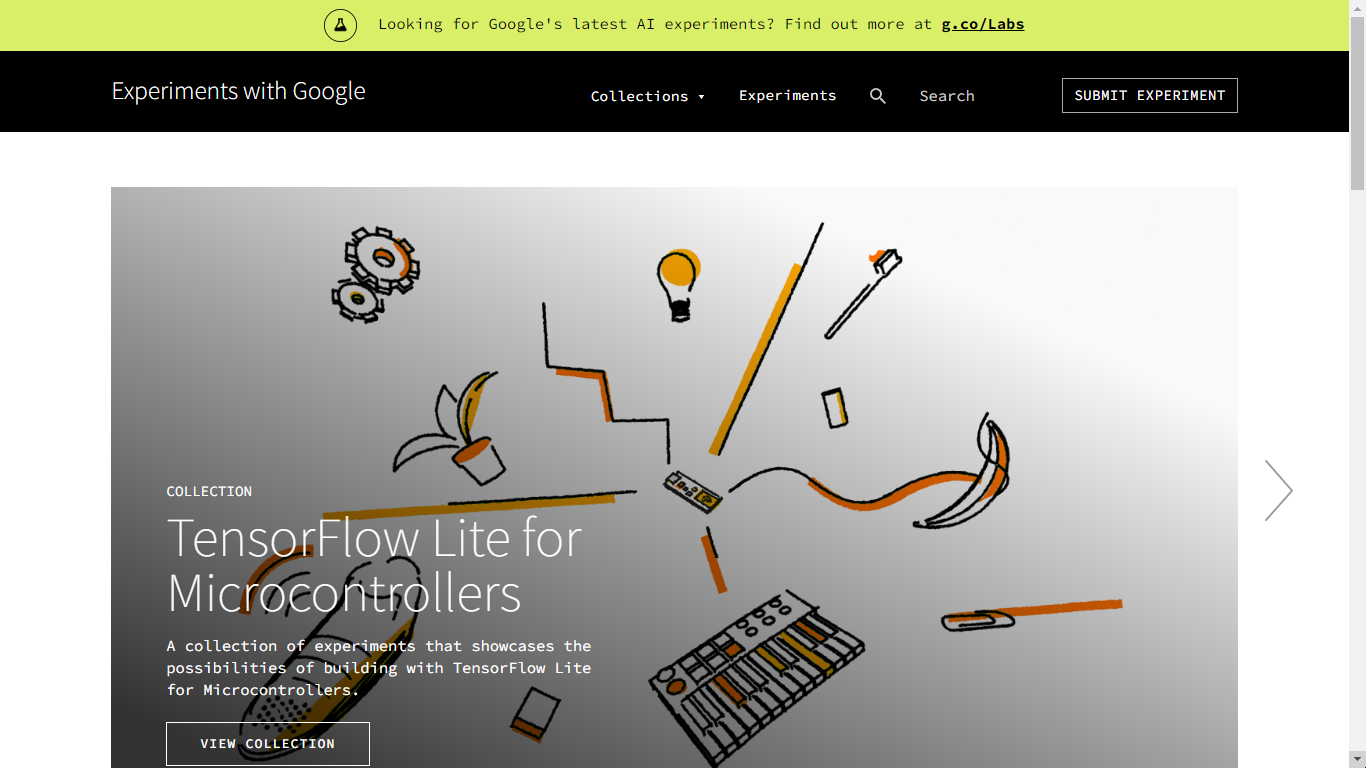
This notification bar from Google cleverly taps into curiosity.
It uses a question to pique visitors’ interest and then directs them to a specific landing page (g.co/labs) for more information.
This is a great example of how notification bars can be used to promote new features or initiatives.
2. urban outfitters
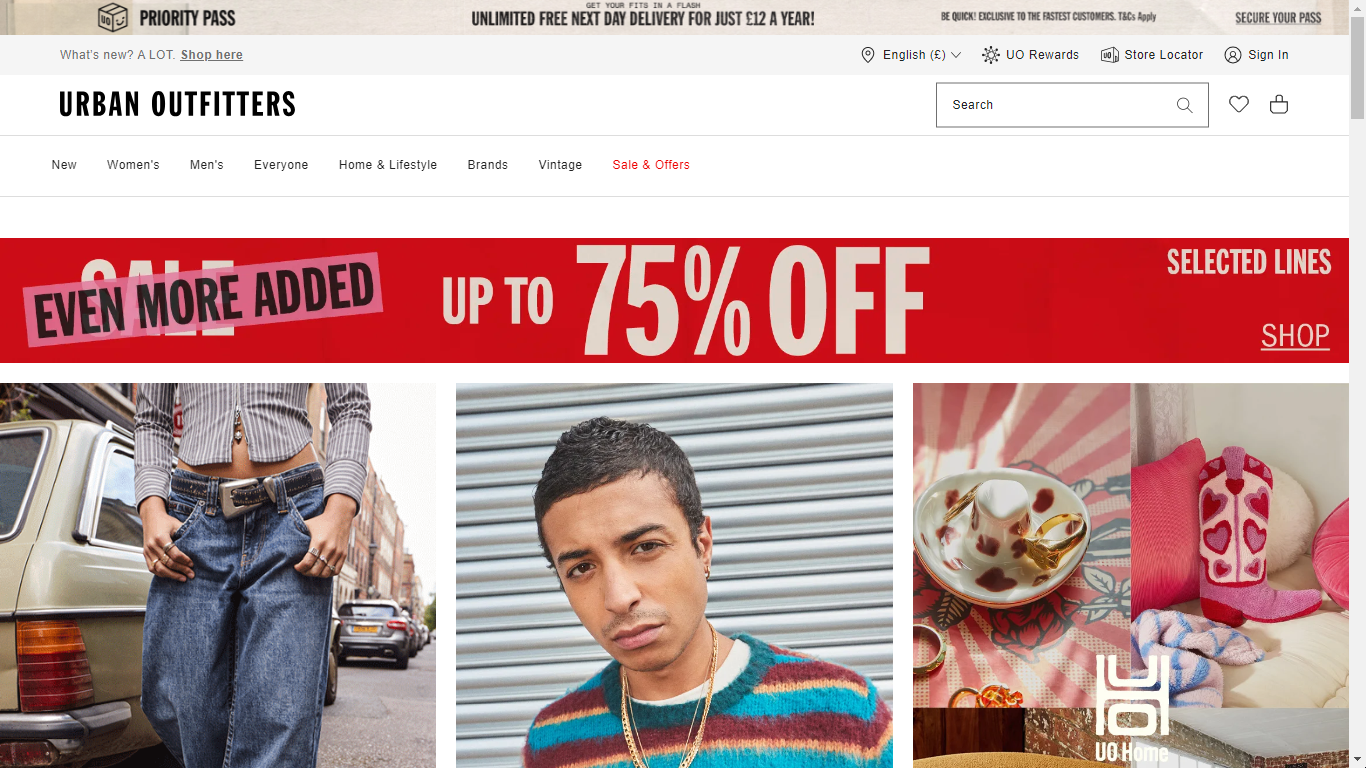
This notification bar from Urban Outfitters focuses on a clear benefit for shoppers: free next-day delivery.
It includes a specific price point (12 euros) and a timeframe (a year) to make the offer even more enticing. This is a classic example of using notification bars to drive sales and encourage subscriptions.
3. payPal
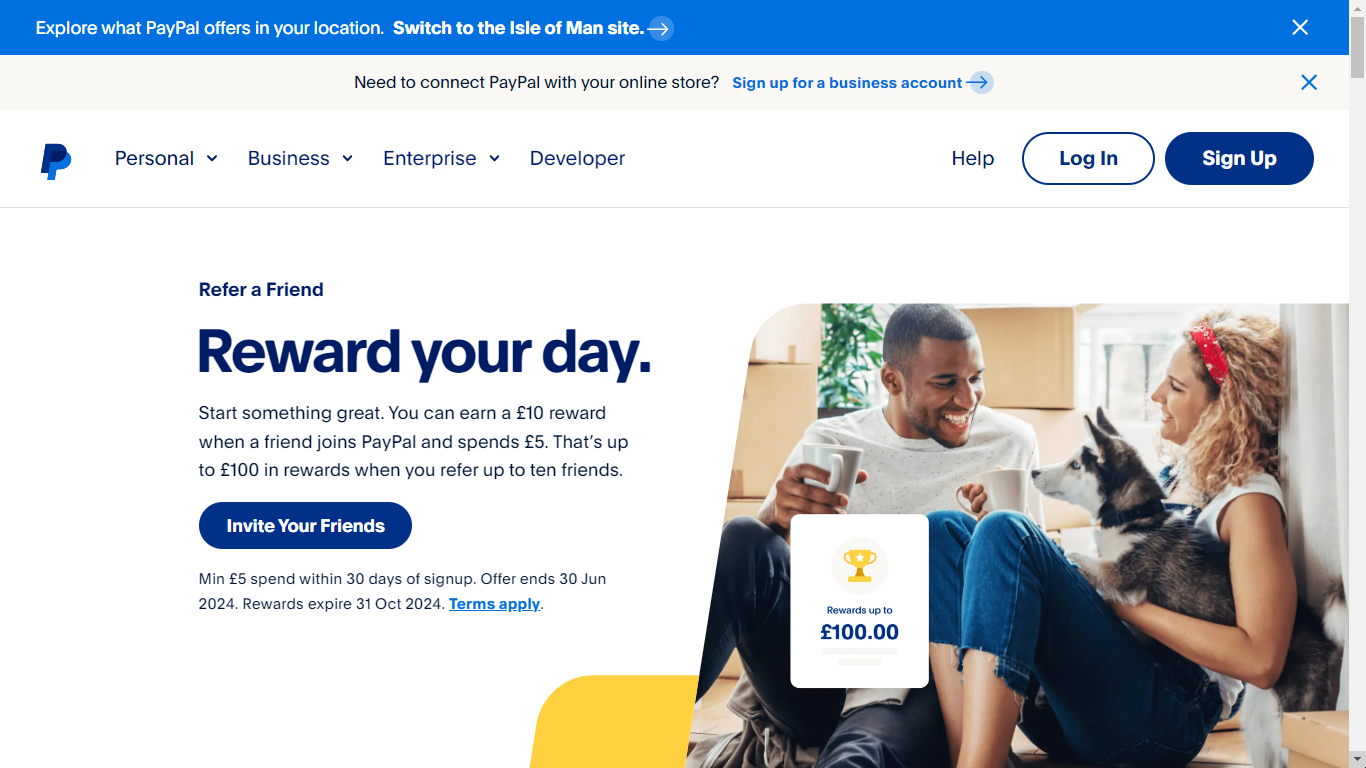
PayPal uses a double dose of notification bars here. The first one targets users based on their location, encouraging them to switch to a specific regional site for potentially more relevant offerings.
The second bar focuses on business users, prompting them to sign up for a business account if they want to connect PayPal to their online store.
This demonstrates how notification bars can be customized to target different visitor segments.
4. Profile pic maker
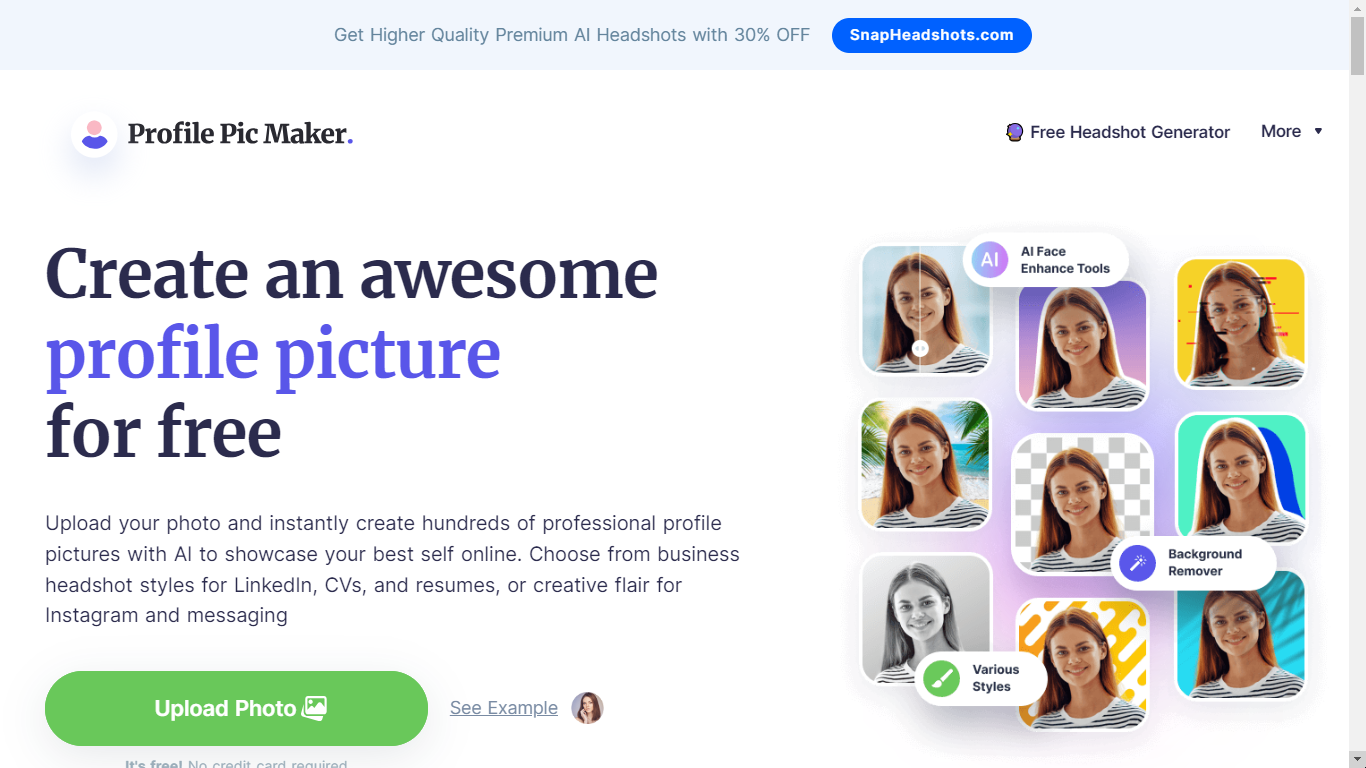
This notification bar from Profile Pic Maker uses a combination of elements to grab attention:
- Highlighting benefits: “Higher quality” and “premium” suggest a better product.
- Discount offer: 30% off incentivizes users to take action.
- Focus on AI: “AI headshots” taps into a trendy technology.
This example shows how notification bars can be used to promote premium features or upgrades.
5. All Modern
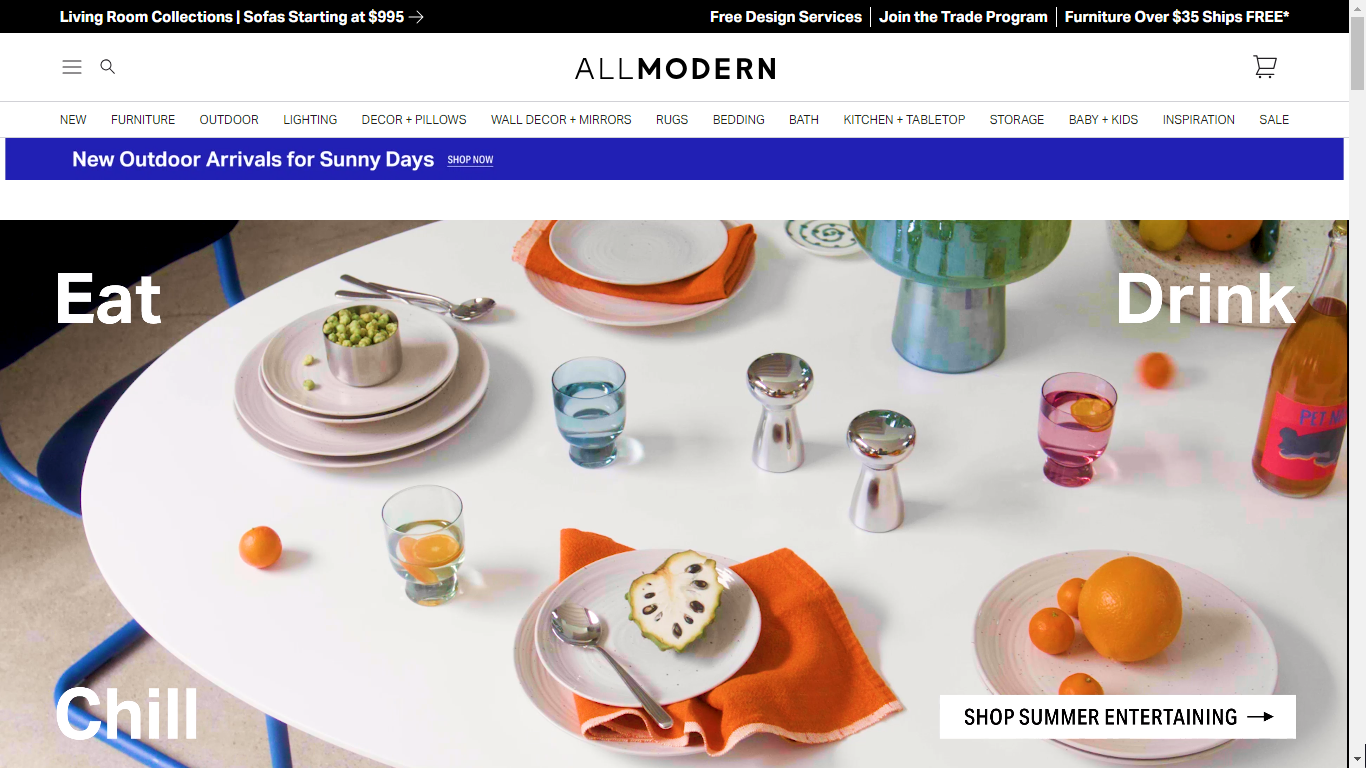
This notification bar from All Modern is packed with information, showcasing several offerings at once. It highlights product categories (living room collection, sofas), price points (starting at $995), and additional services (free design service, free shipping).
While this approach can be informative, it’s important to strike a balance to avoid overwhelming visitors. Consider A/B testing different notification bar formats to see what resonates best with your audience.
how to make notification bars for a WordPress website?
So, you’ve seen the power of website notification bars (also known as sticky bars or website notification banners) and want to leverage them on your own WordPress website. These handy tools are a great way to grab attention and promote important messages to your visitors.
The good news is, creating a notification bar for your WordPress site is easier than you might think if you use the right tools! There are several methods at your disposal:
- WordPress Notification Bar Plugins: These plugins offer a user-friendly way to design and implement notification bars without needing to code. They often come with a variety of templates, customization options, and display rules to target specific parts of your website.
- Website Notification Bar Generator: For a quick and easy solution, online notification bar generators allow you to create a basic bar with limited customization options. You can then copy the generated code and paste it into your WordPress site.
We’ll explore each of these methods in detail throughout this guide, so you can choose the approach that best suits your comfort level and website needs.
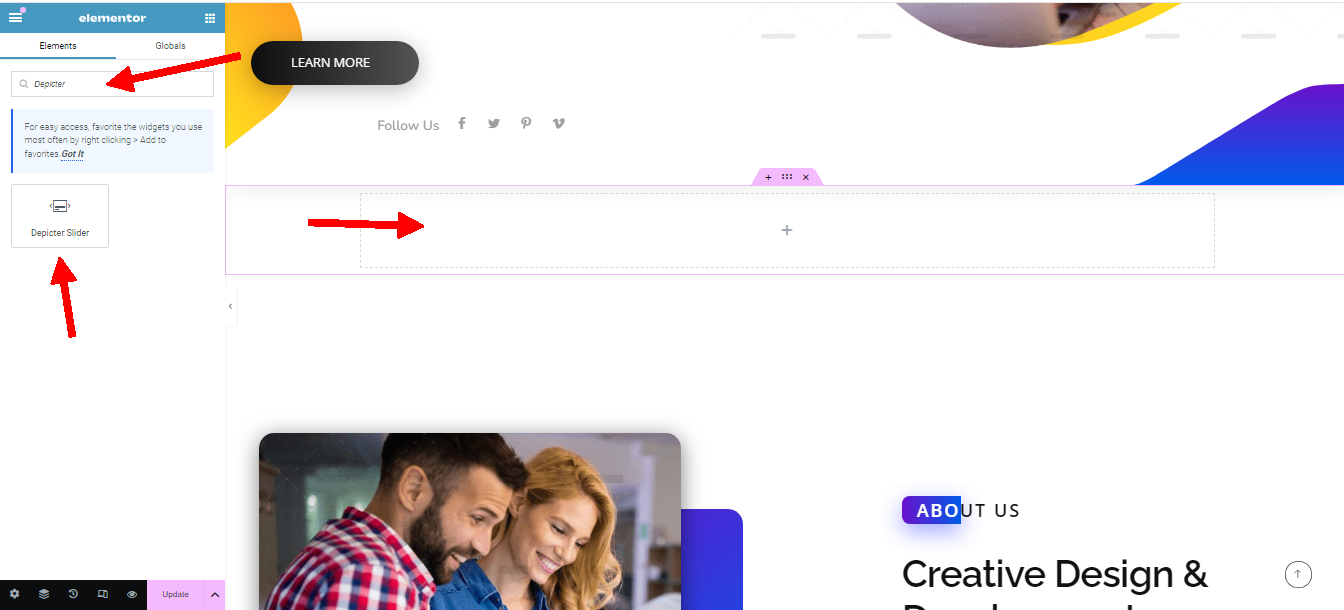
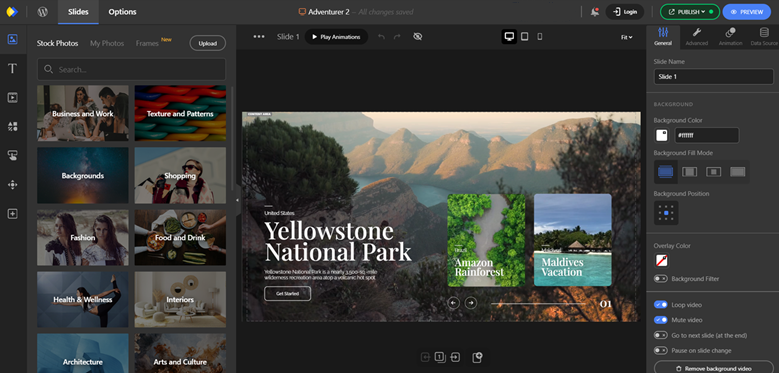
creating a sticky bar using a WordPress Notification Bar Plugin: Depicter
In this section, we’ll walk you through creating a notification bar (sticky bar) for your WordPress website using Depicter, a popular WordPress notification bar plugin.
Depicter offers a user-friendly interface and a variety of features to customize your bar’s appearance and functionality.
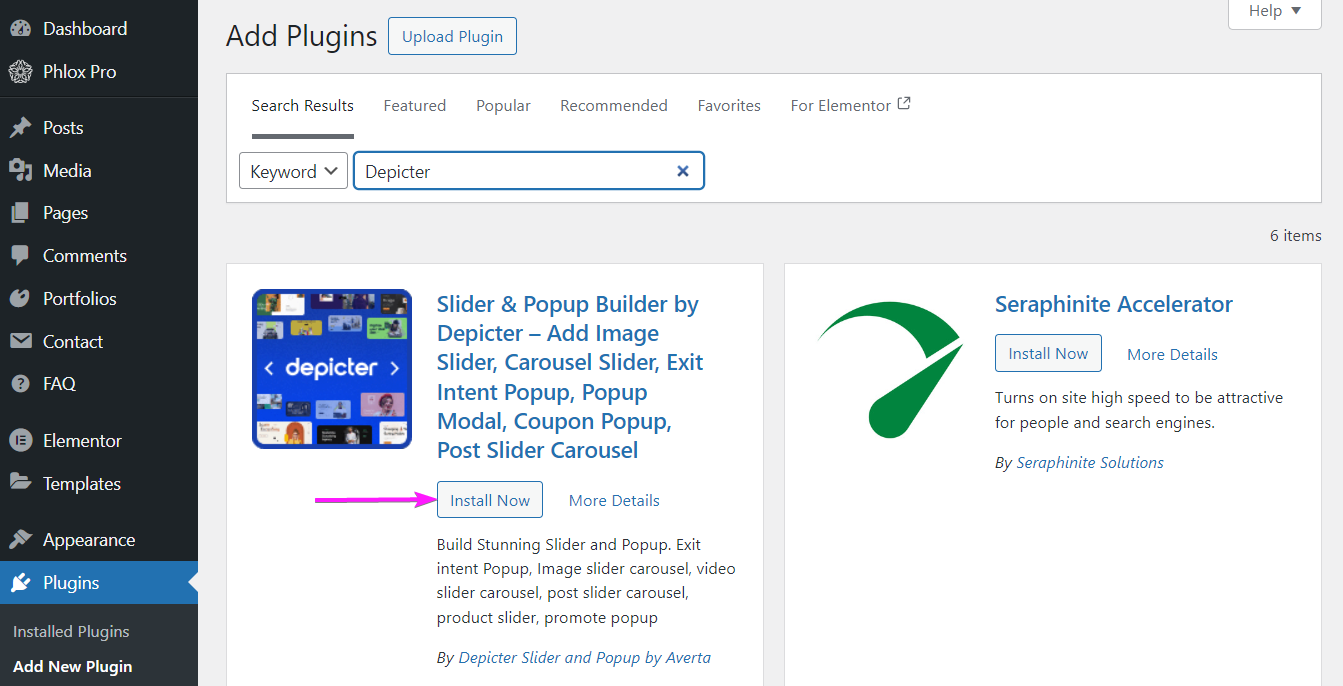
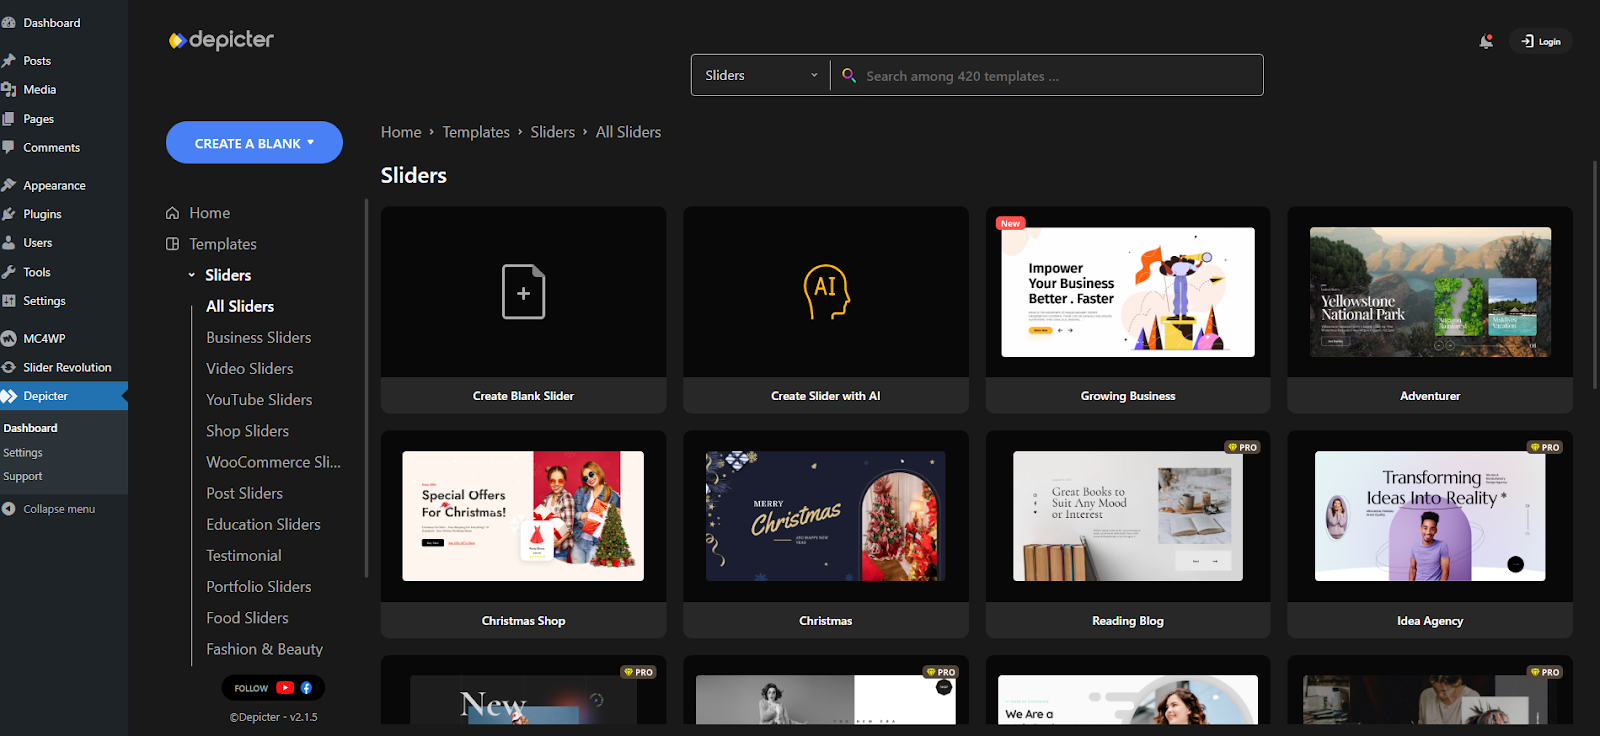
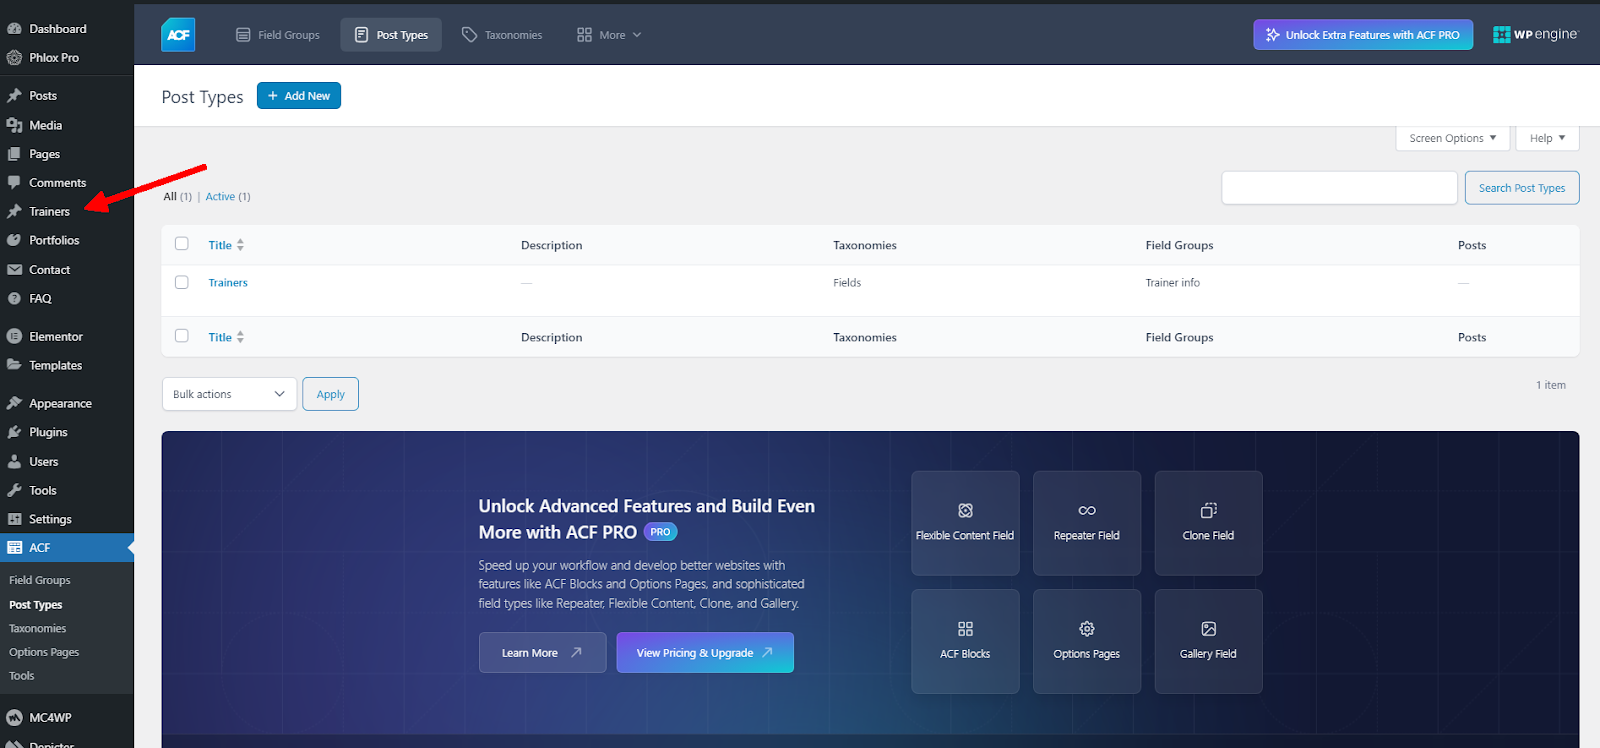
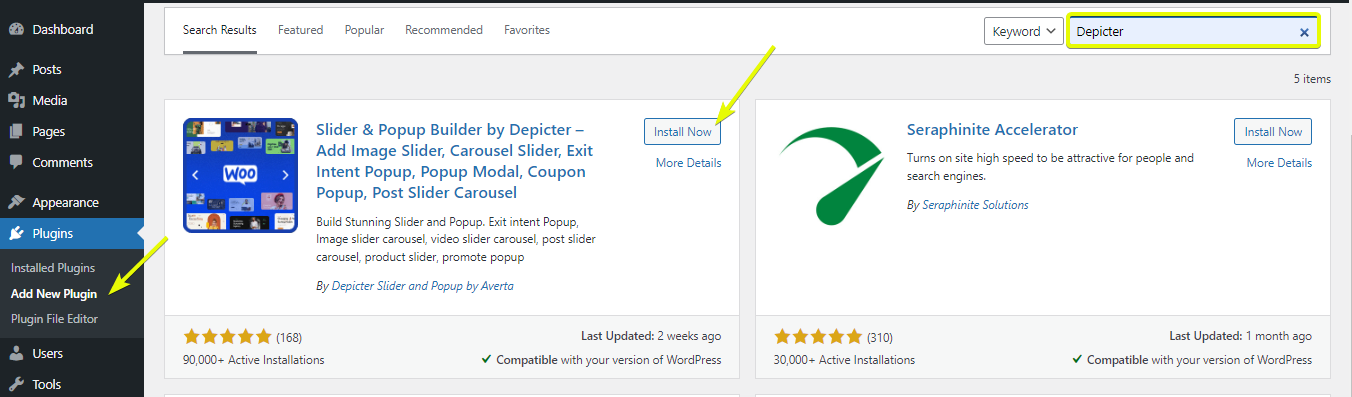
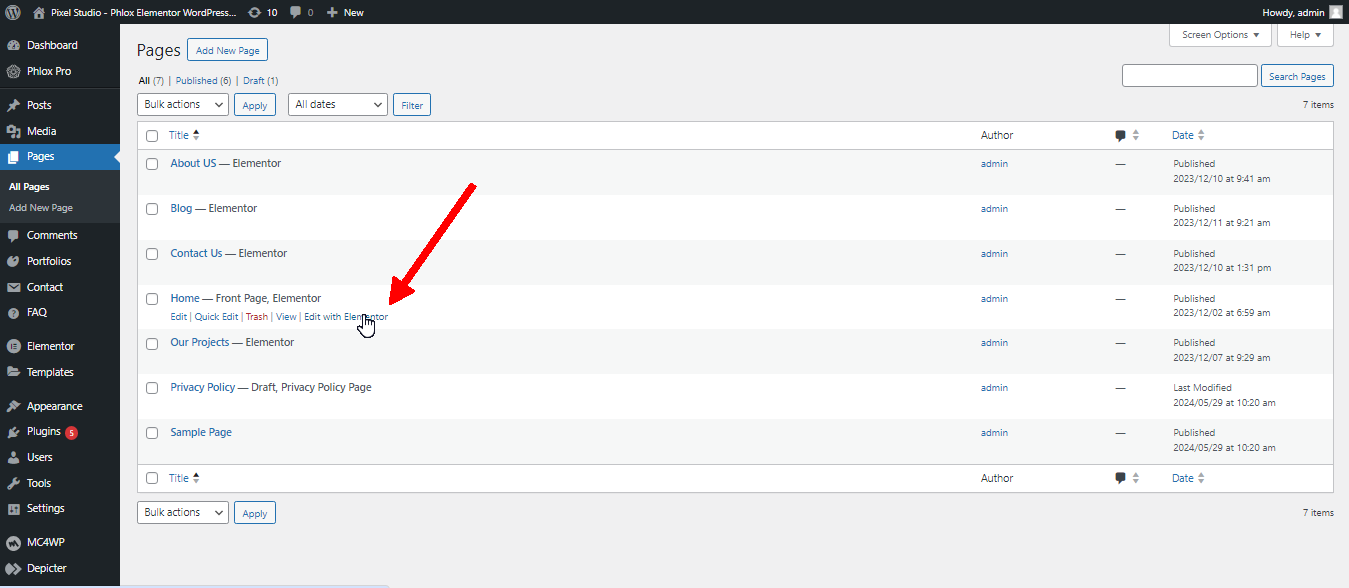
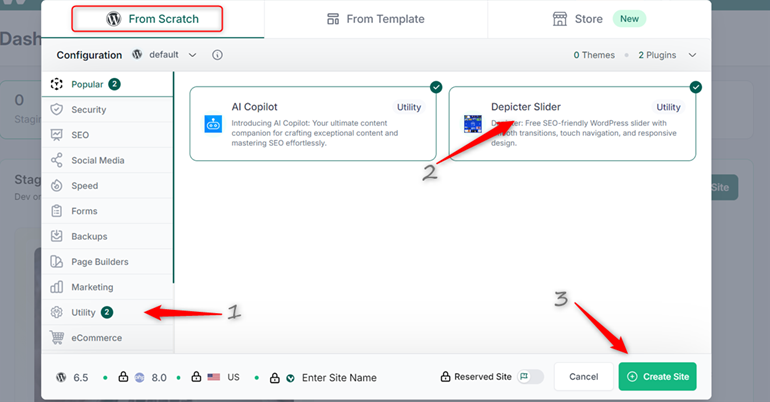
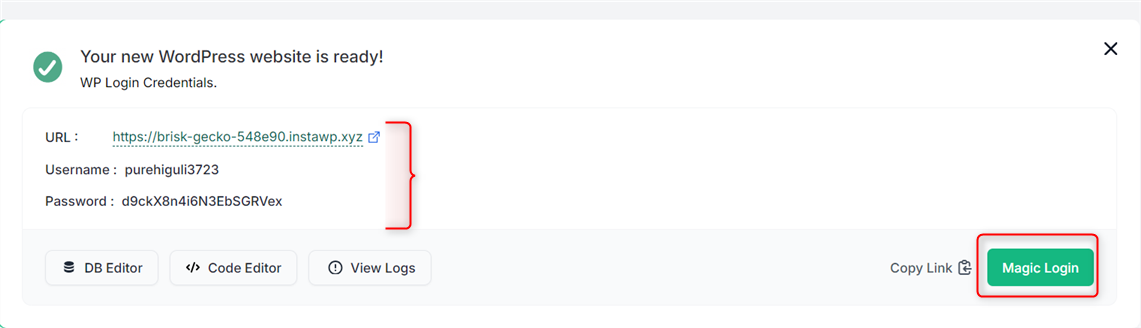
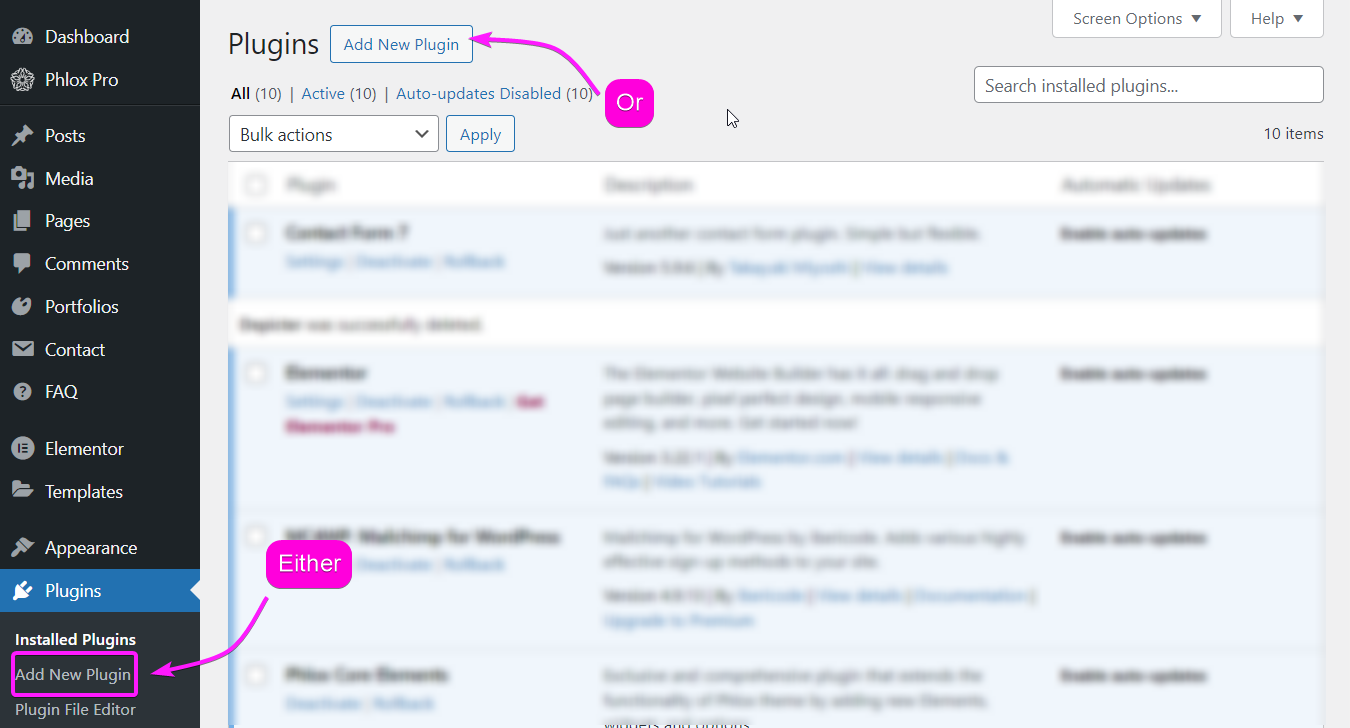
1. Install and Activate Depicter
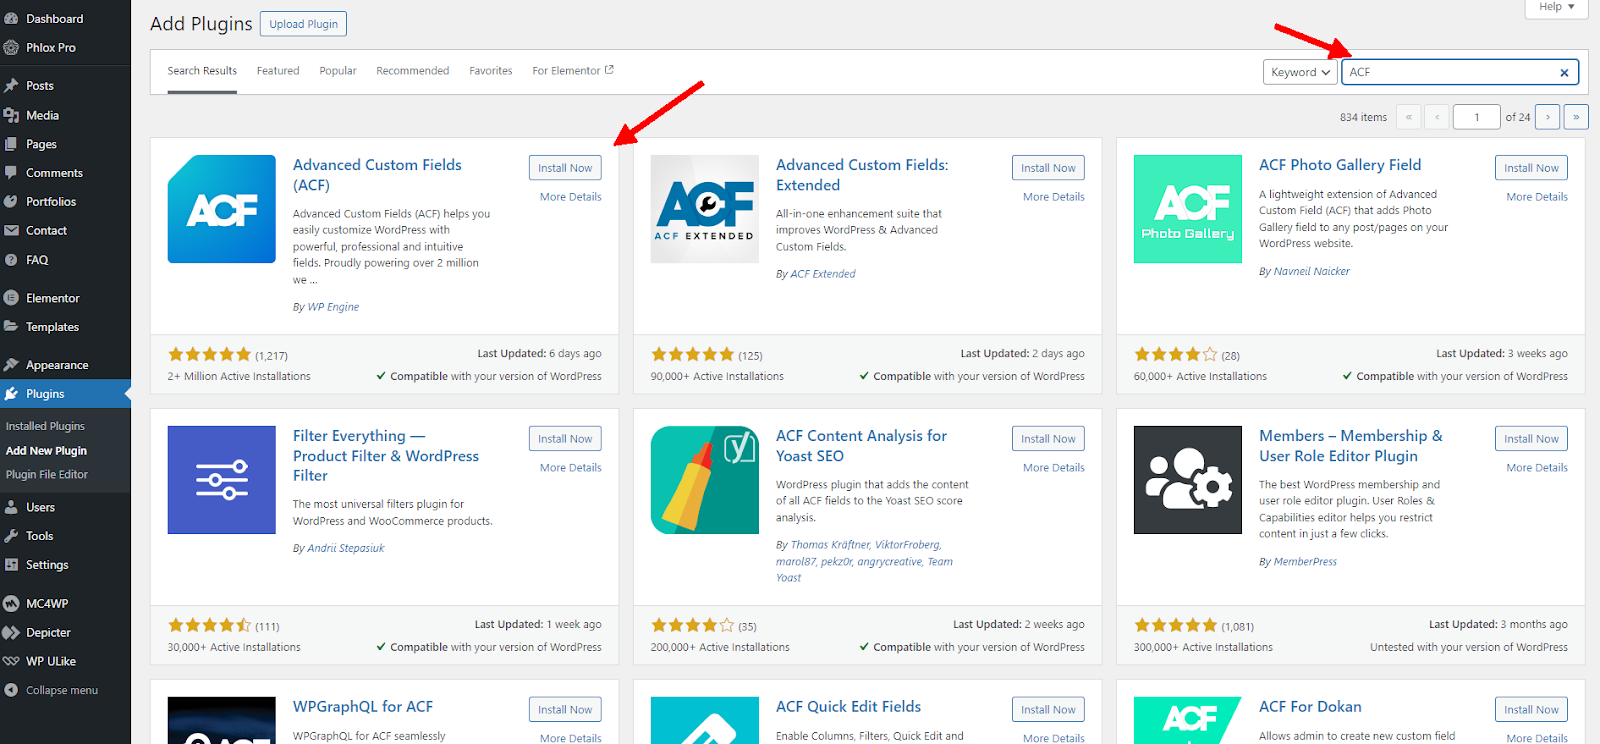
In WordPress Dashboard, head to plugins, then add new.
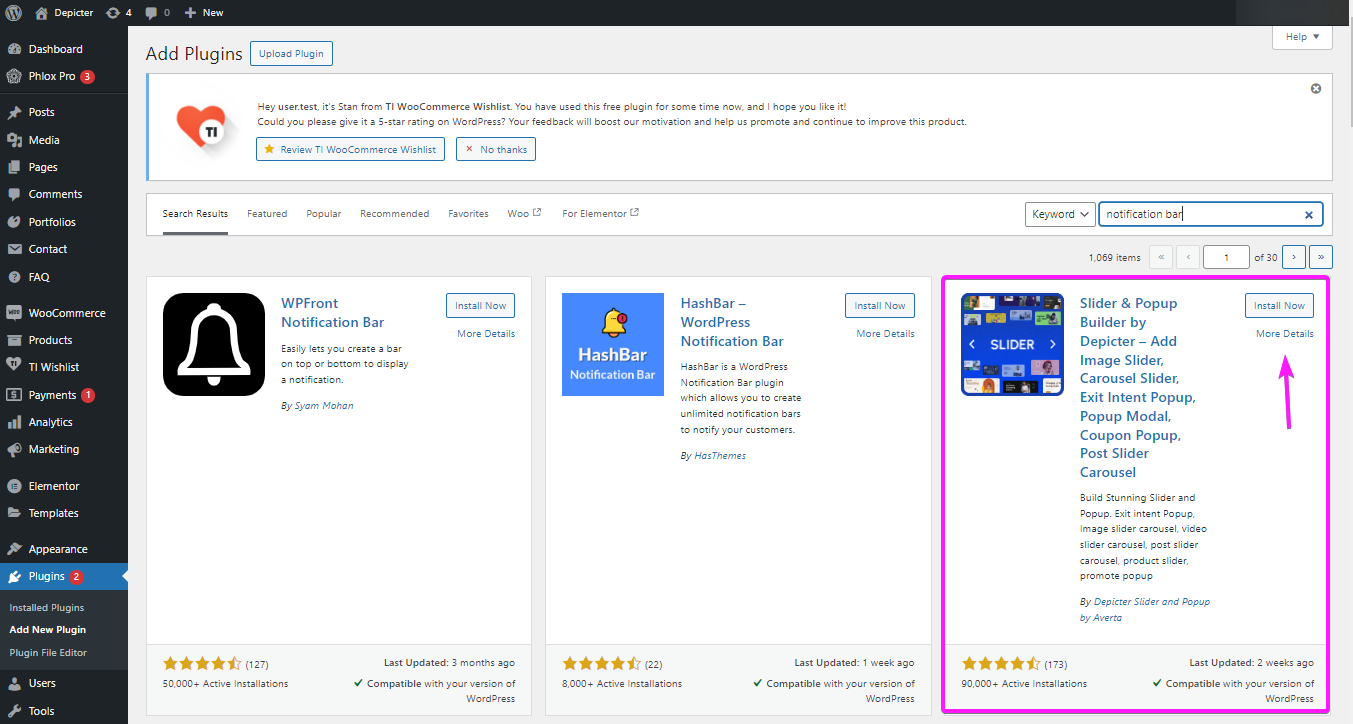
Then search for “Notification Bar” or “Depicter” in the search bar. You will see Depicter in the top results.
Install and activate to plugin to get started.
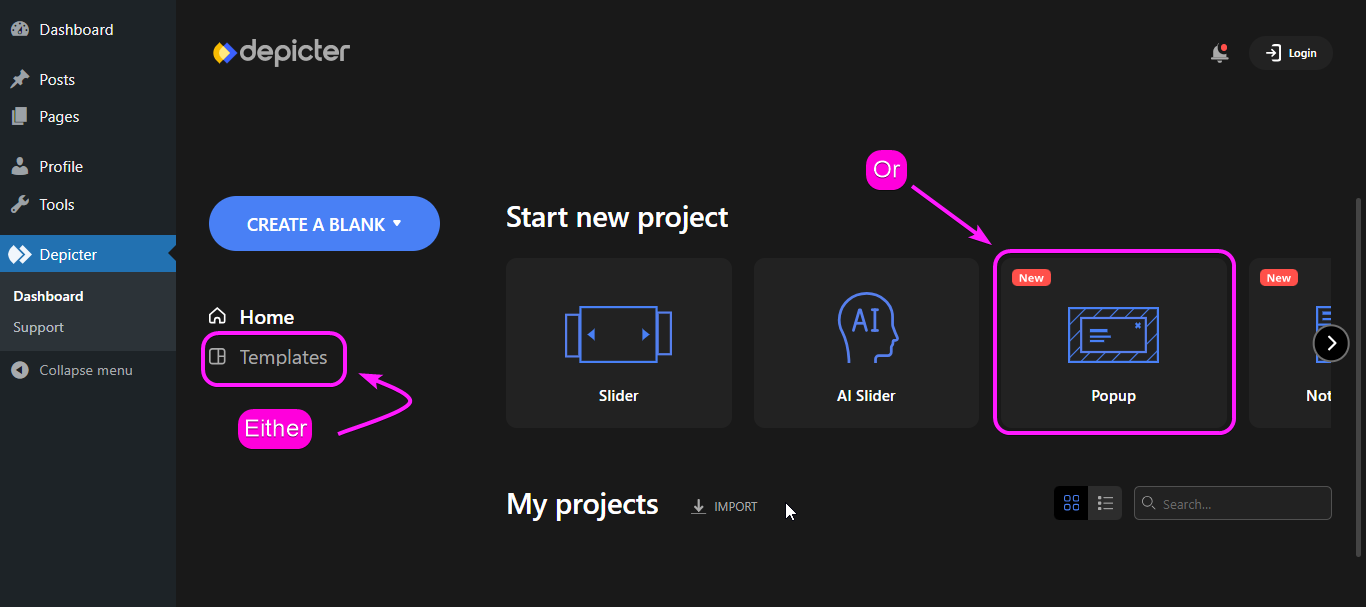
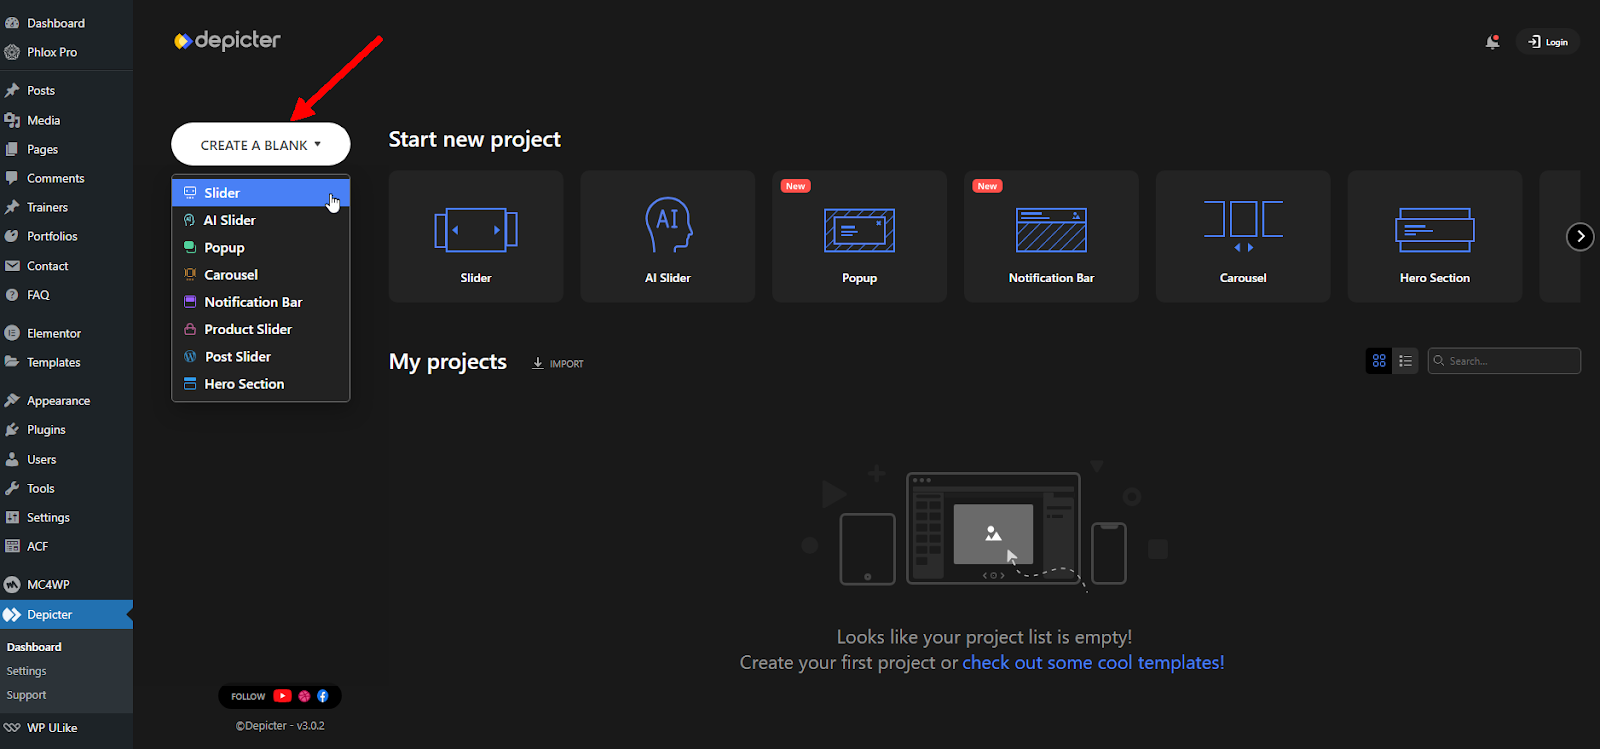
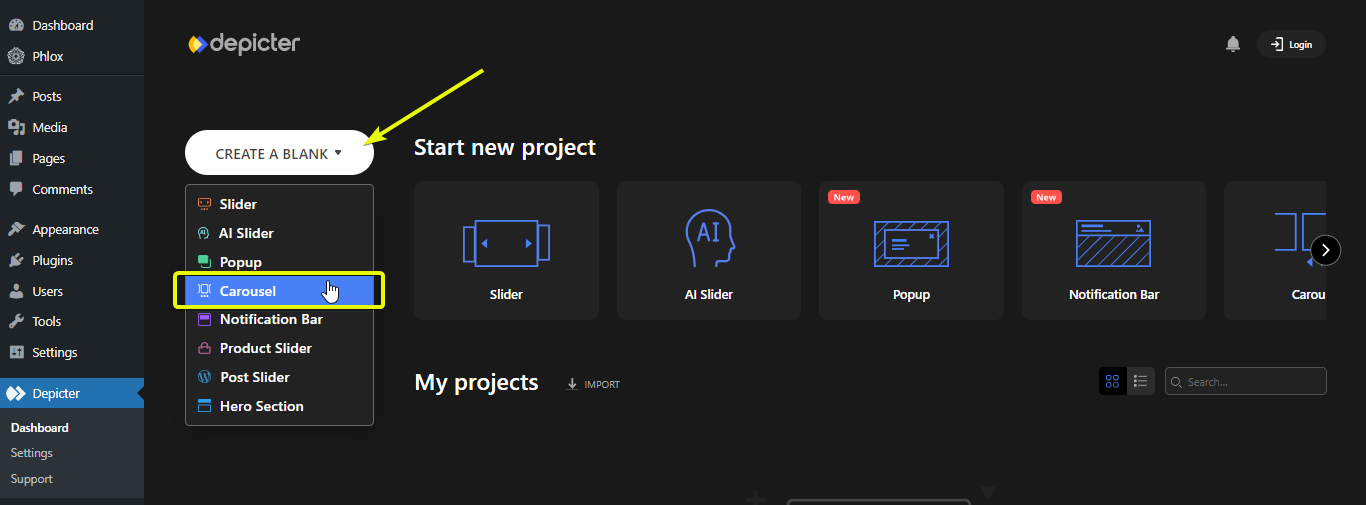
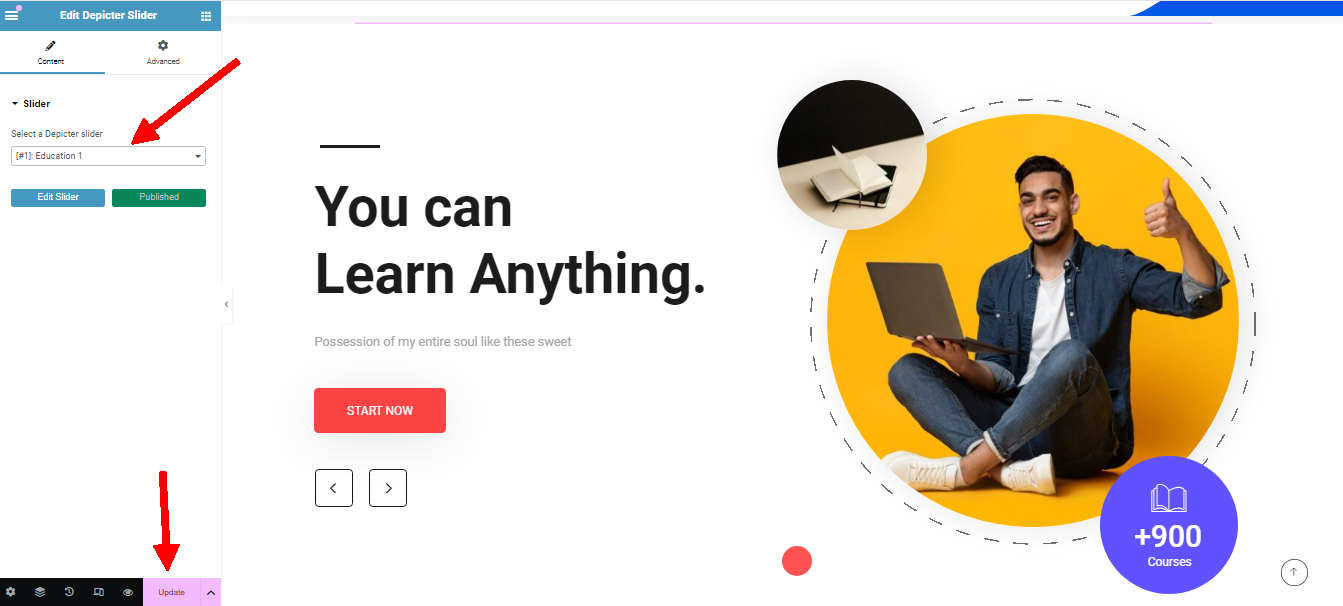
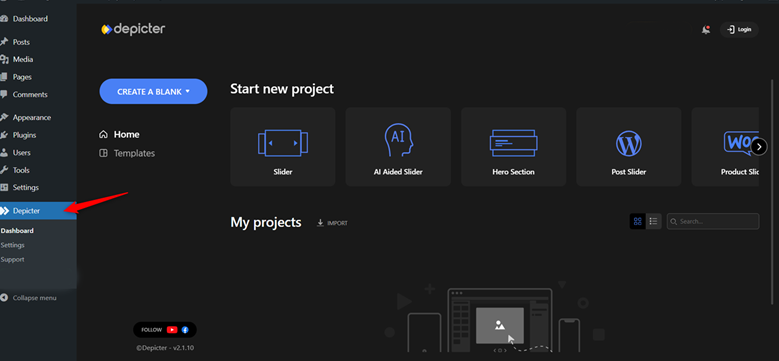
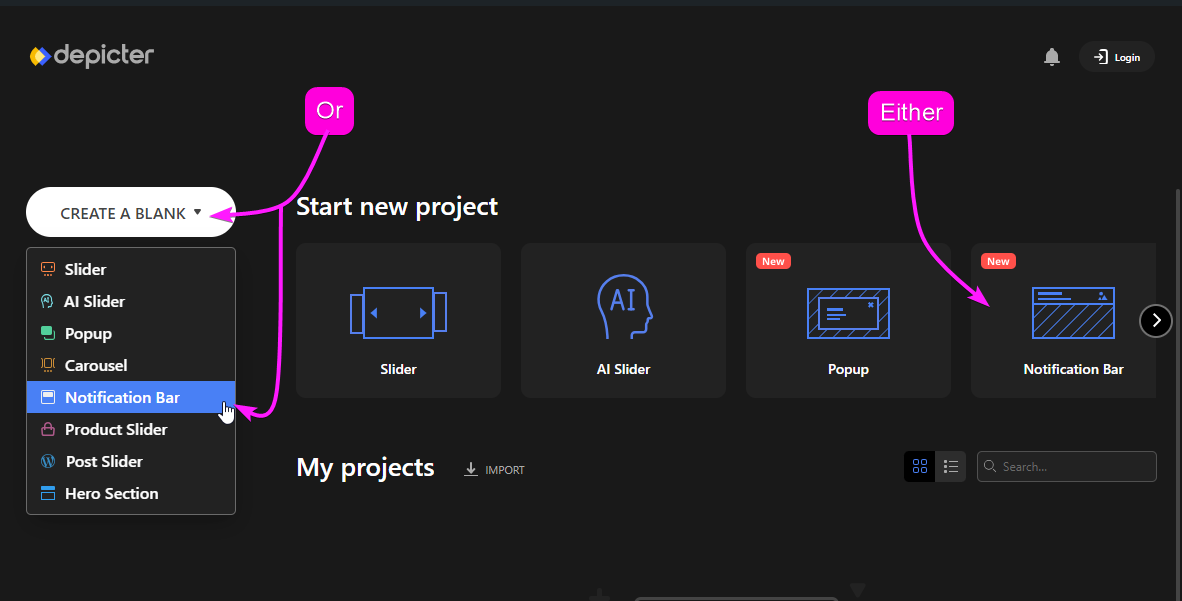
2. Create a notification bar (sticky bar/ Notification banner)
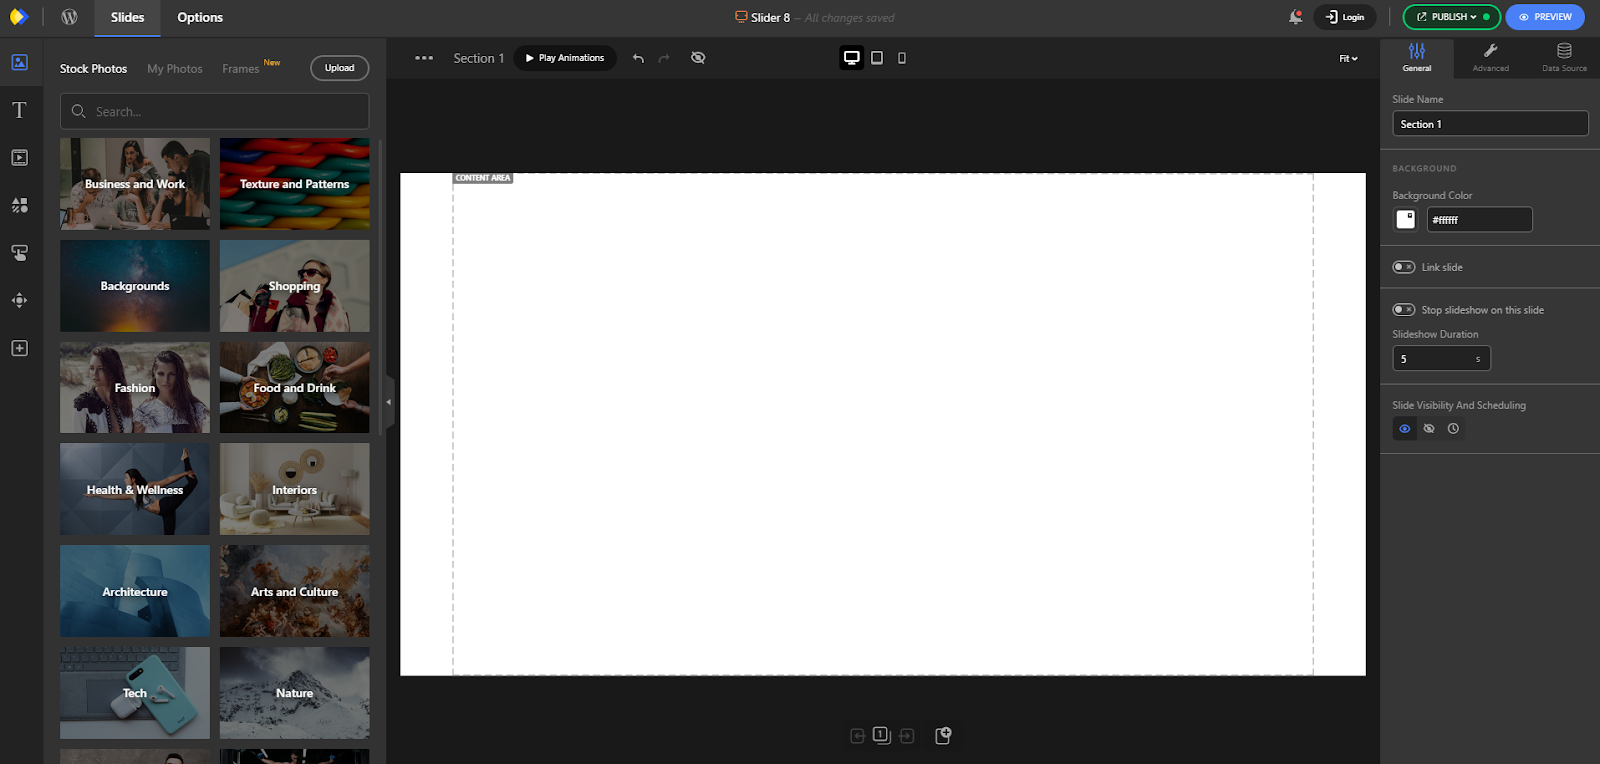
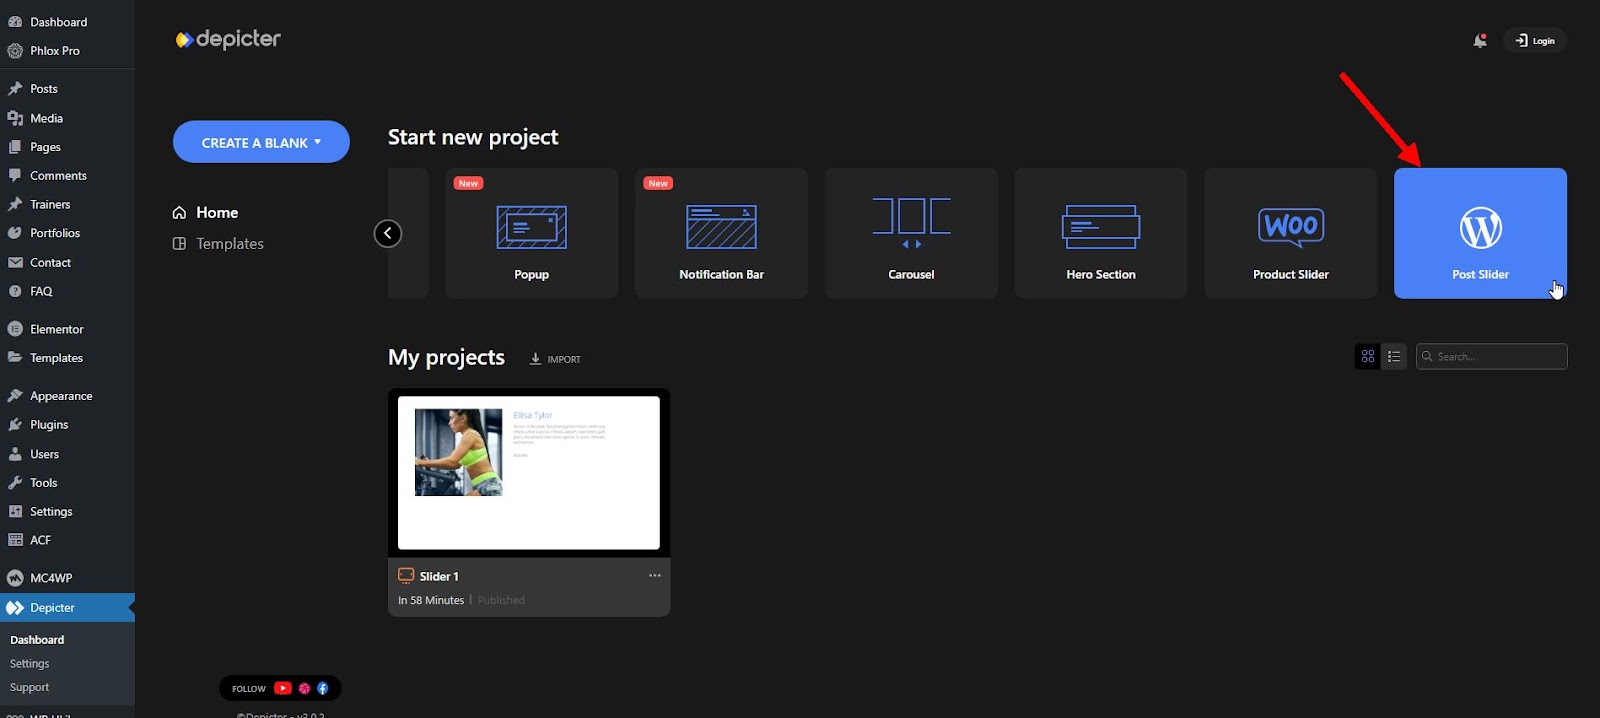
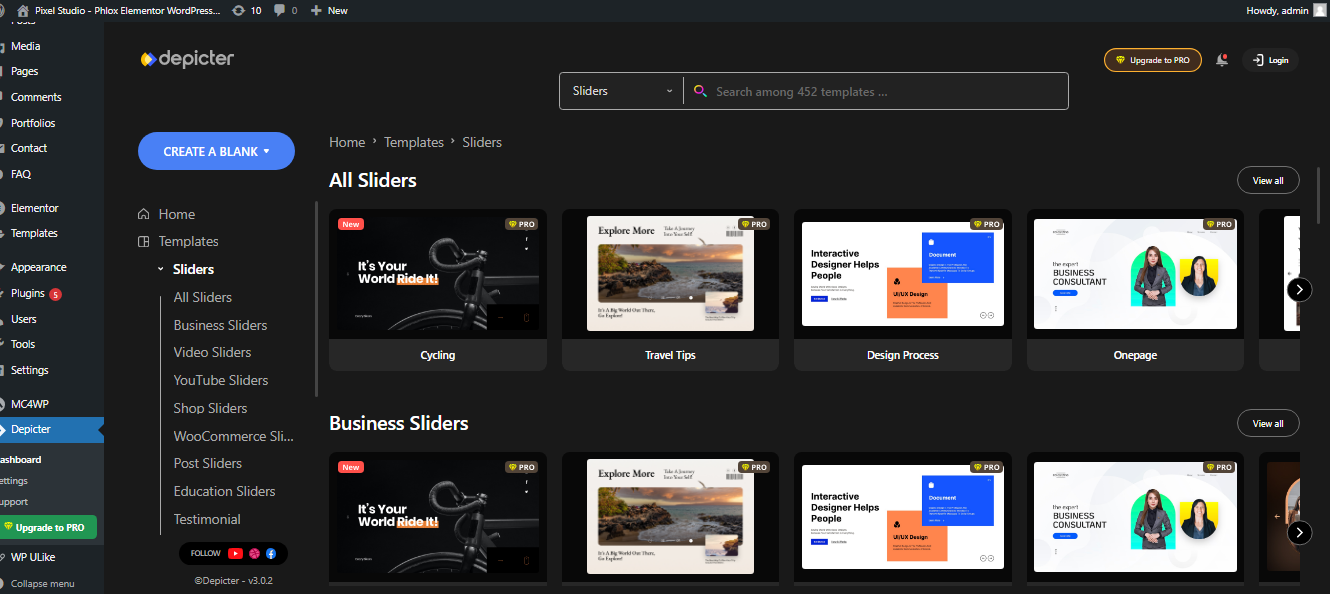
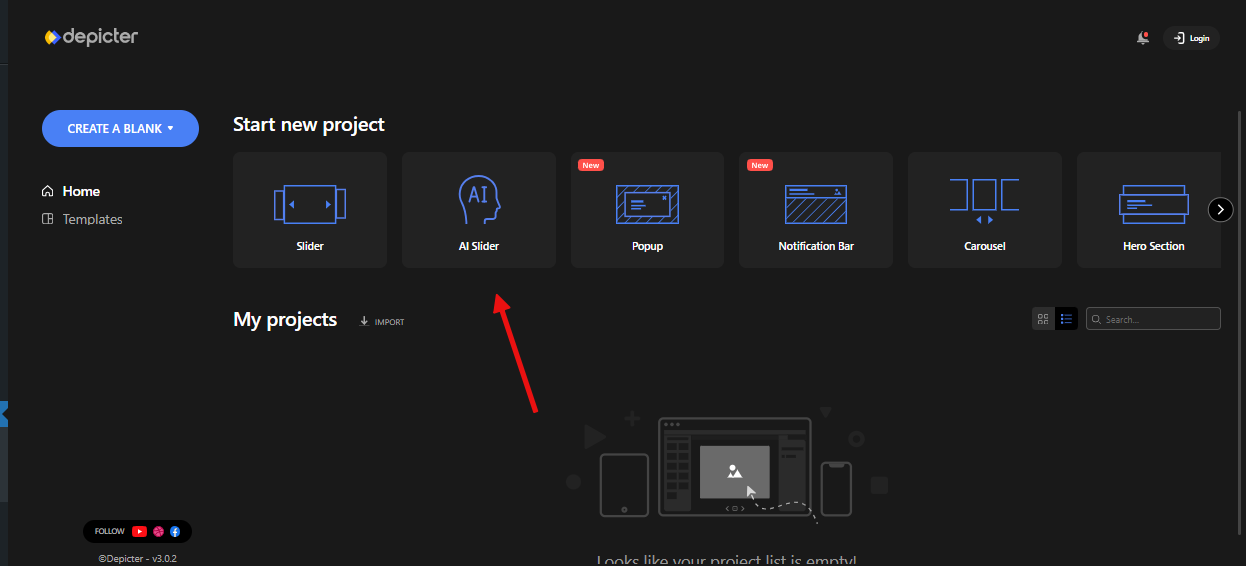
In Depicter dashboard, look for Notification bar, to see the templates. Or you can click on “Create A Blank” to start creating one from scratch.
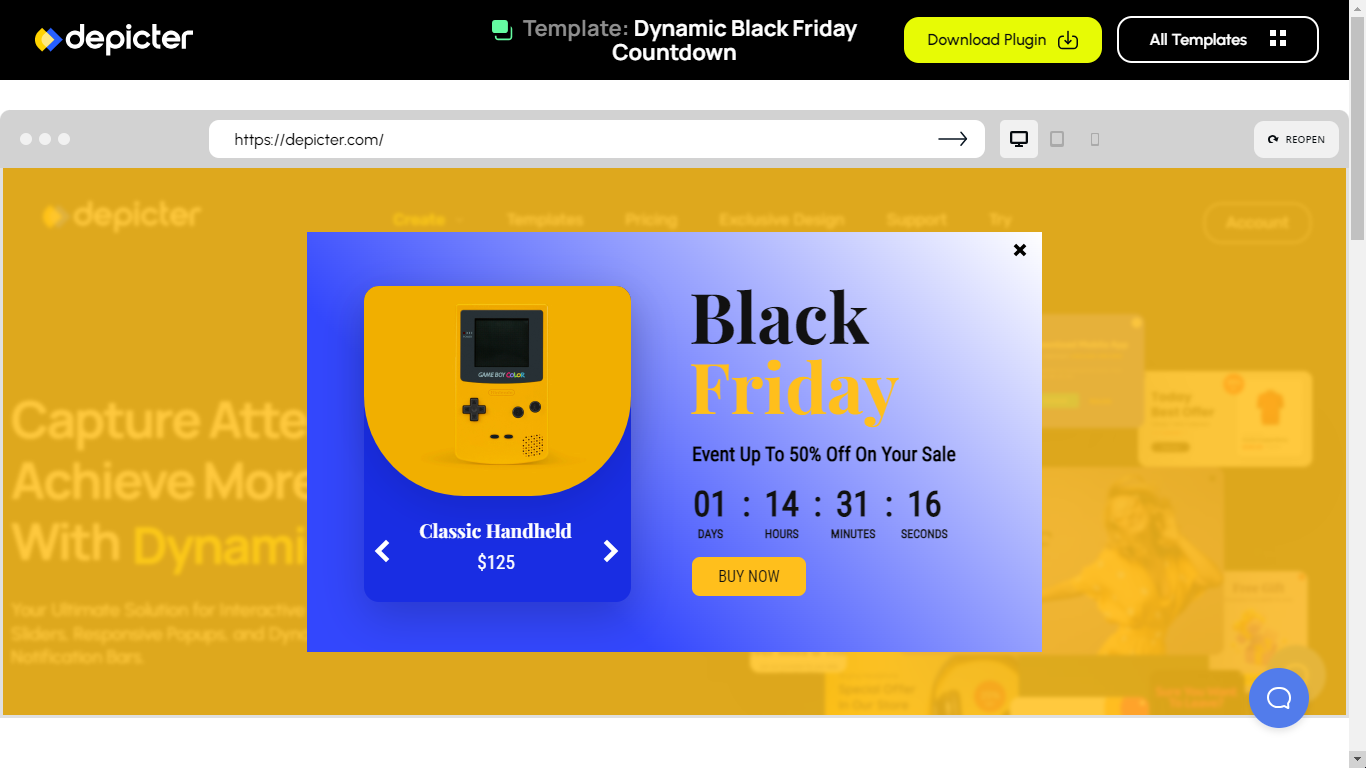
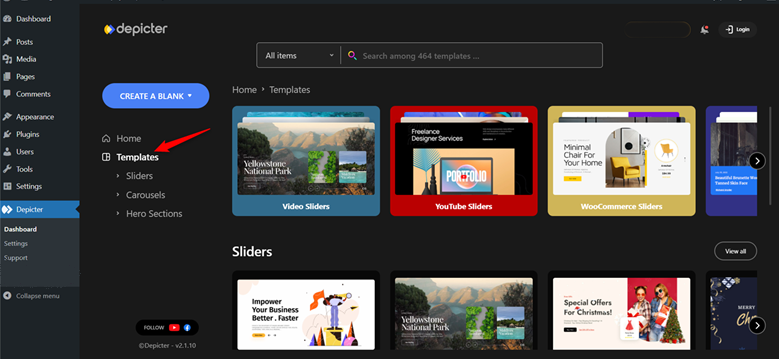
In this tutorial, we’ll guide you through the easiest way possible; Using a ready-made template.
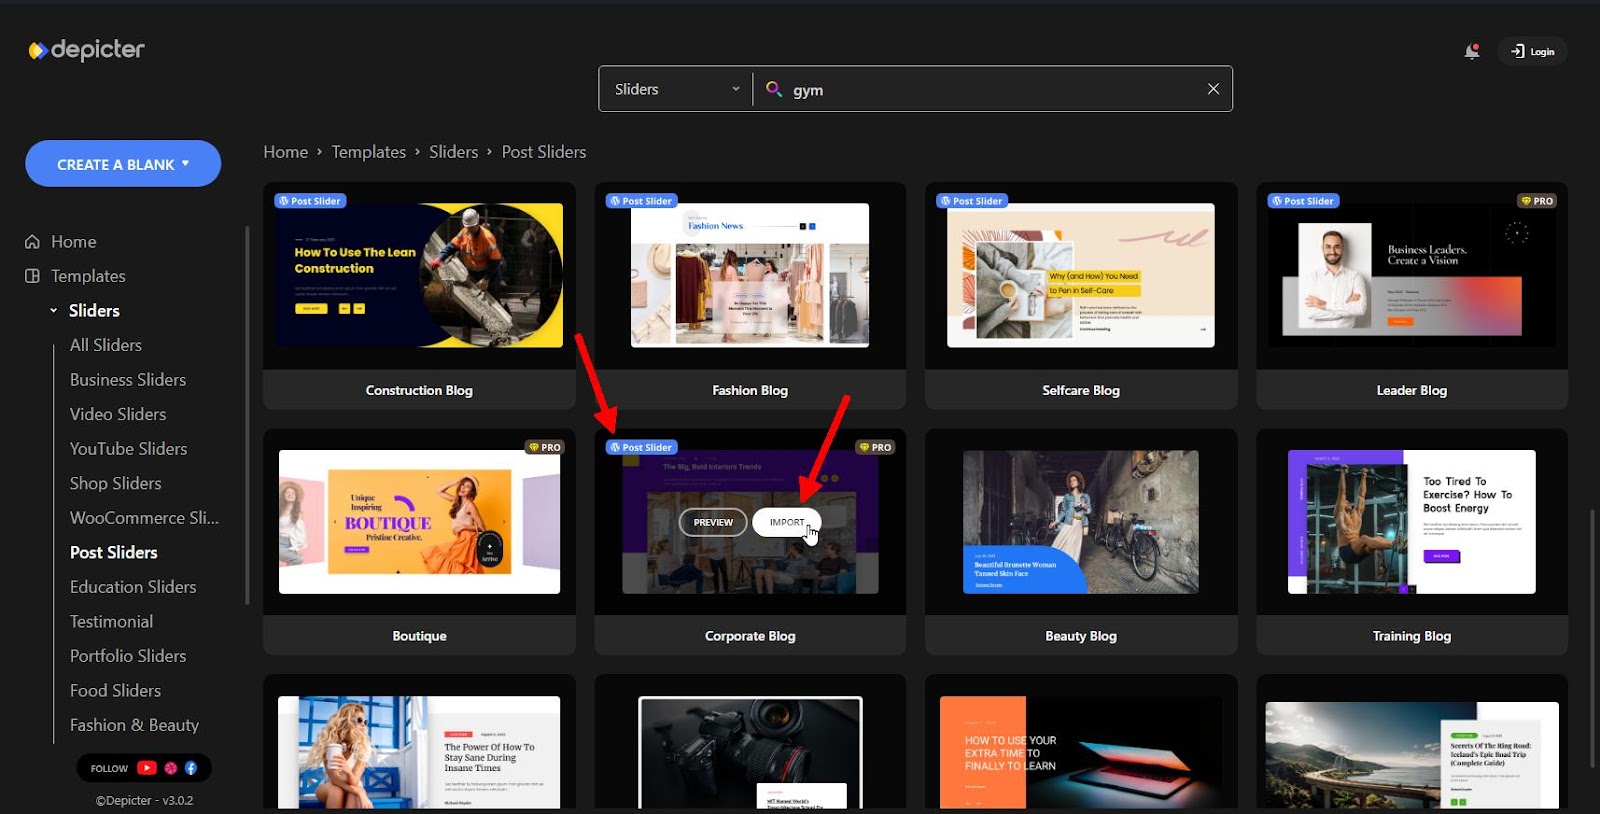
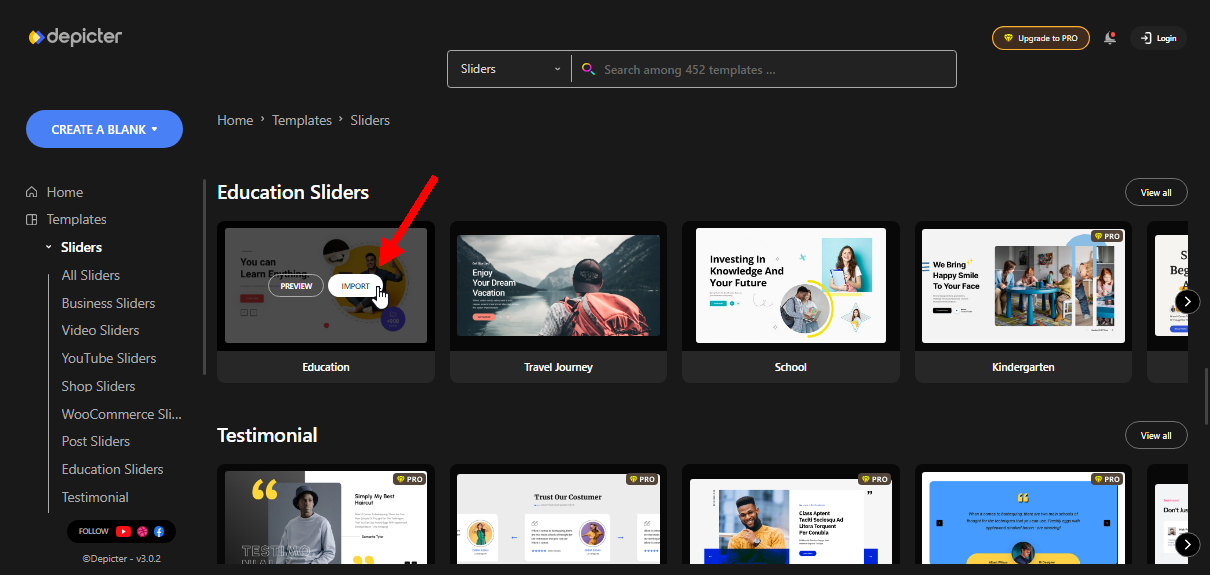
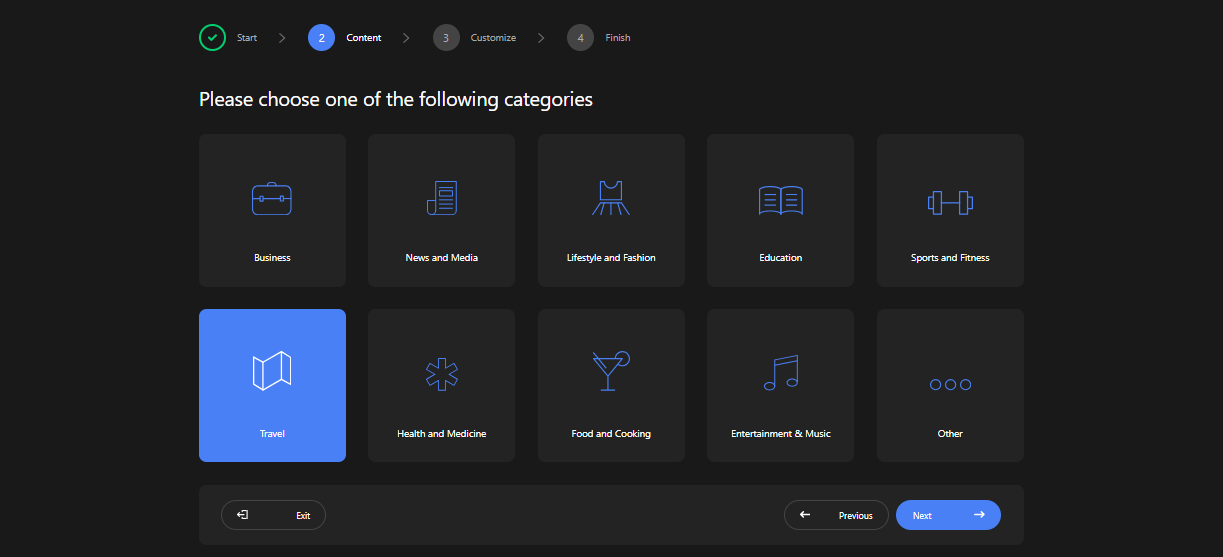
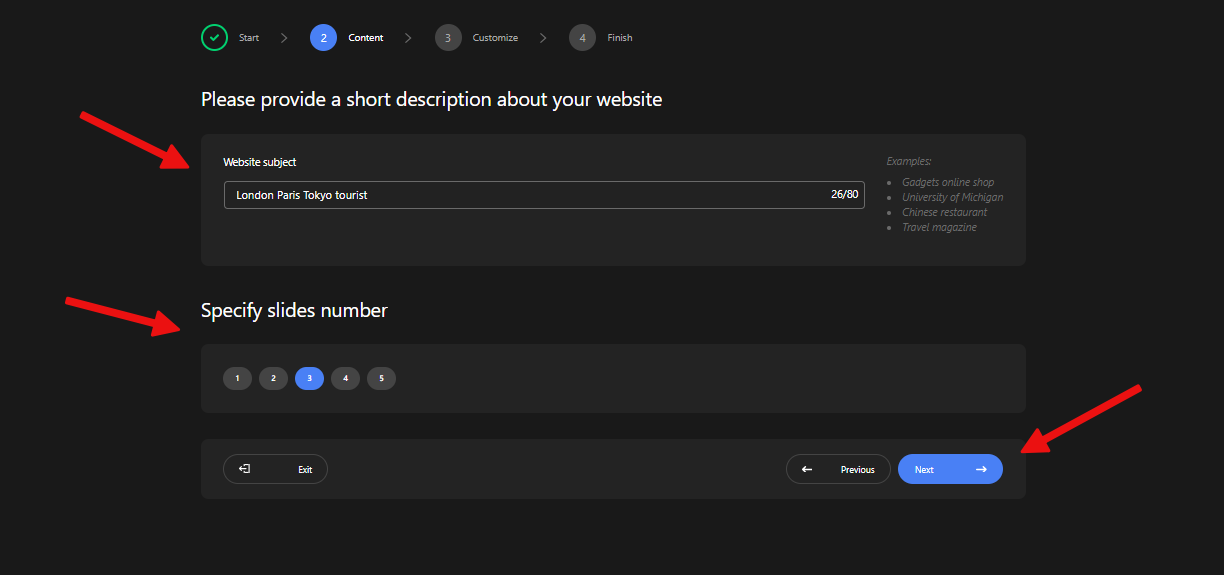
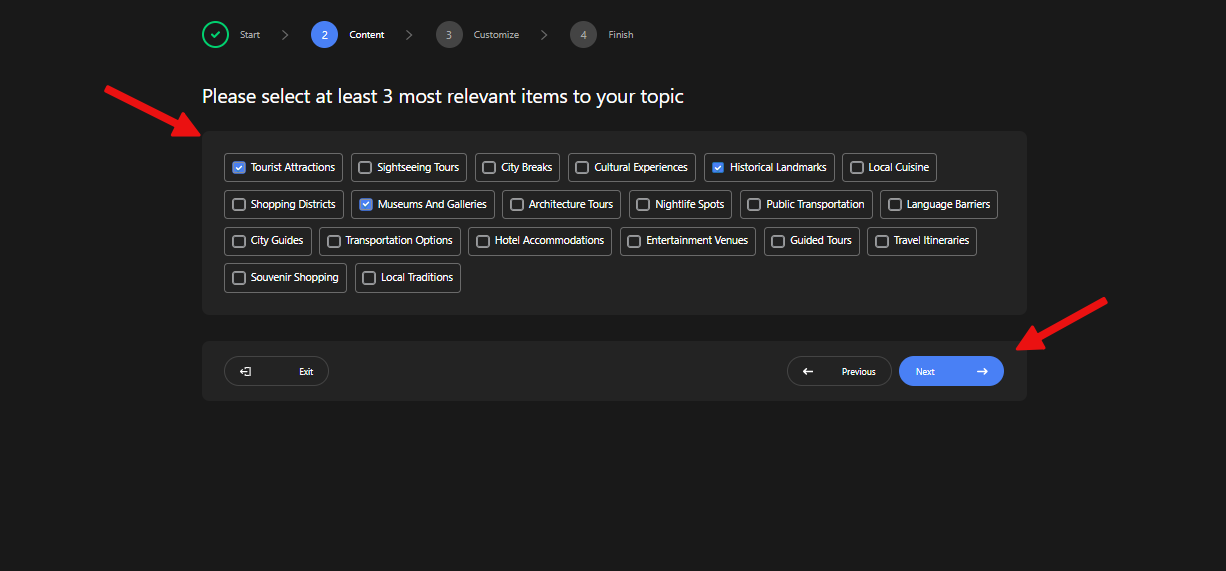
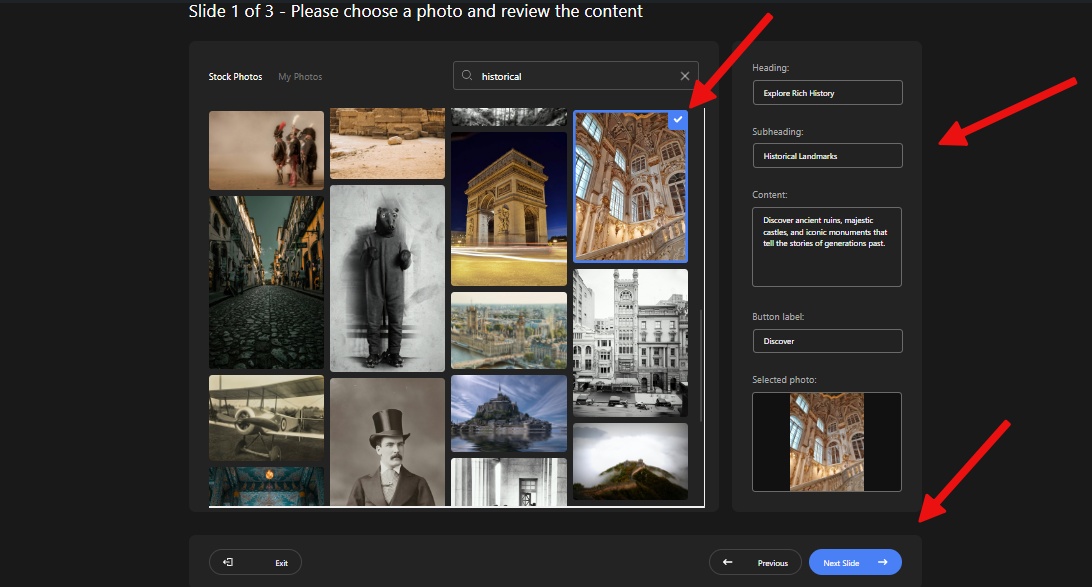
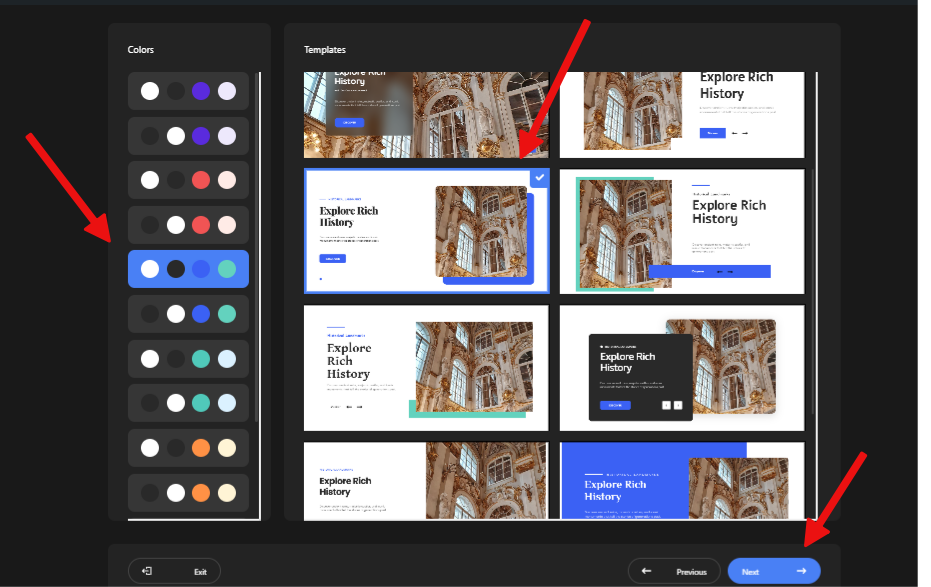
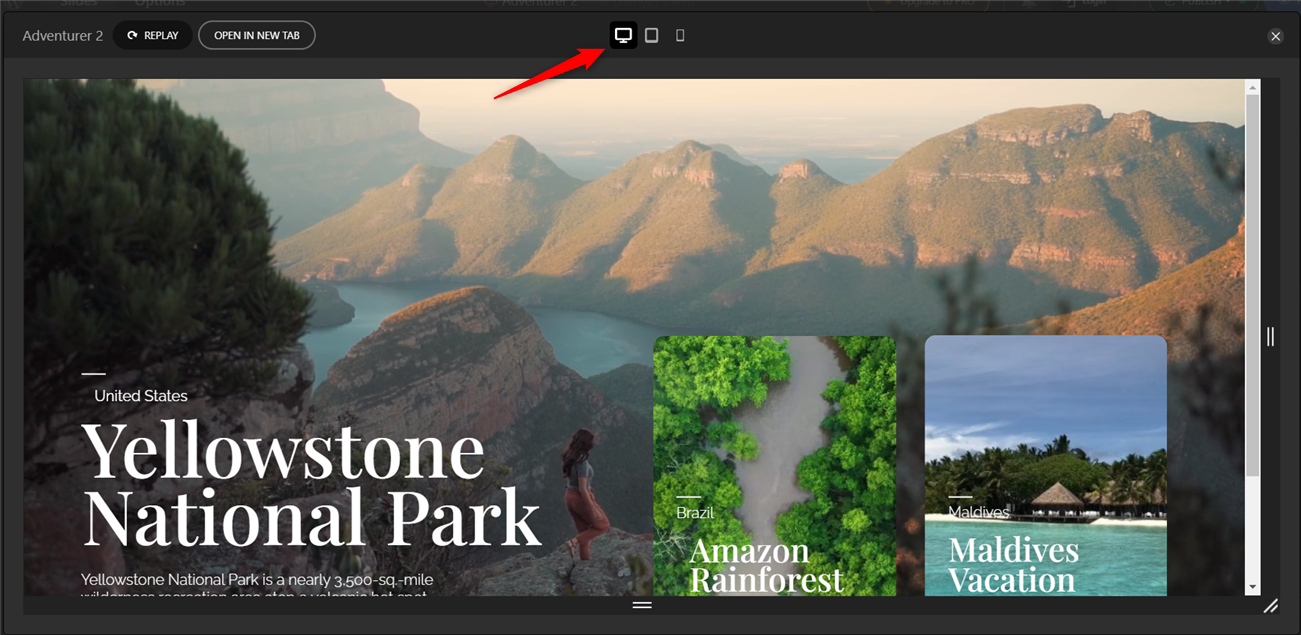
Browse through the templates, preview them, and choose one to your liking.
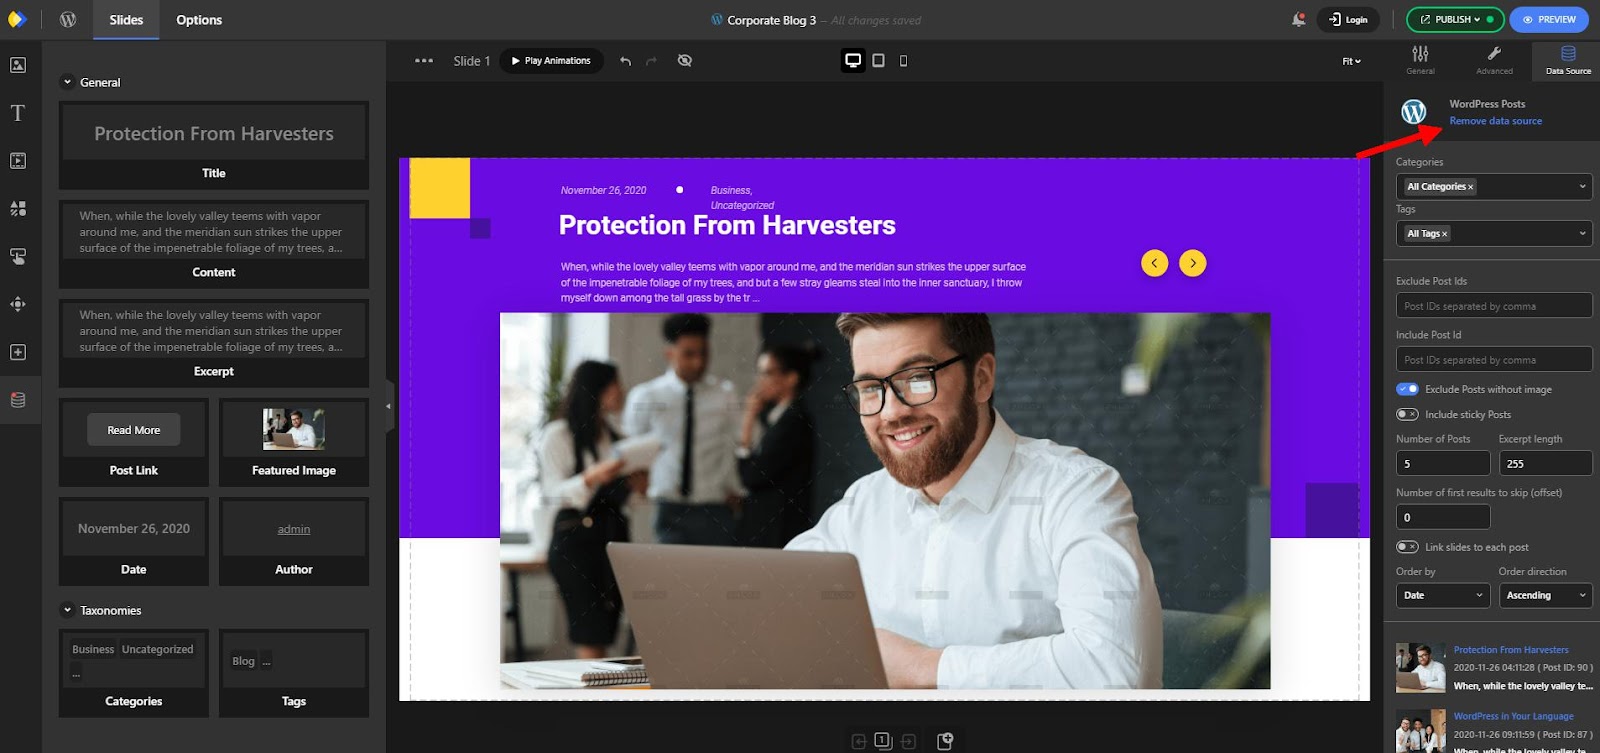
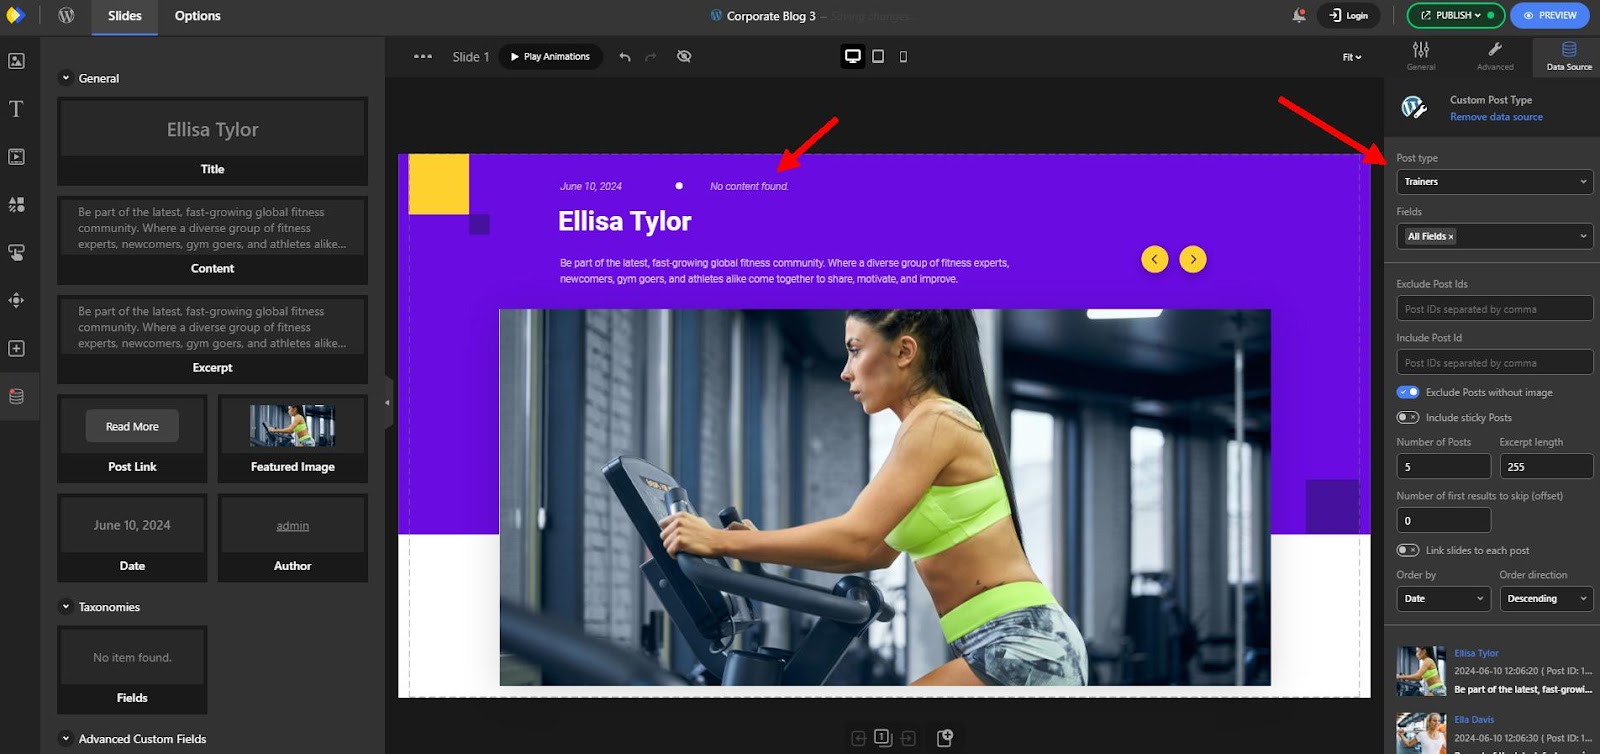
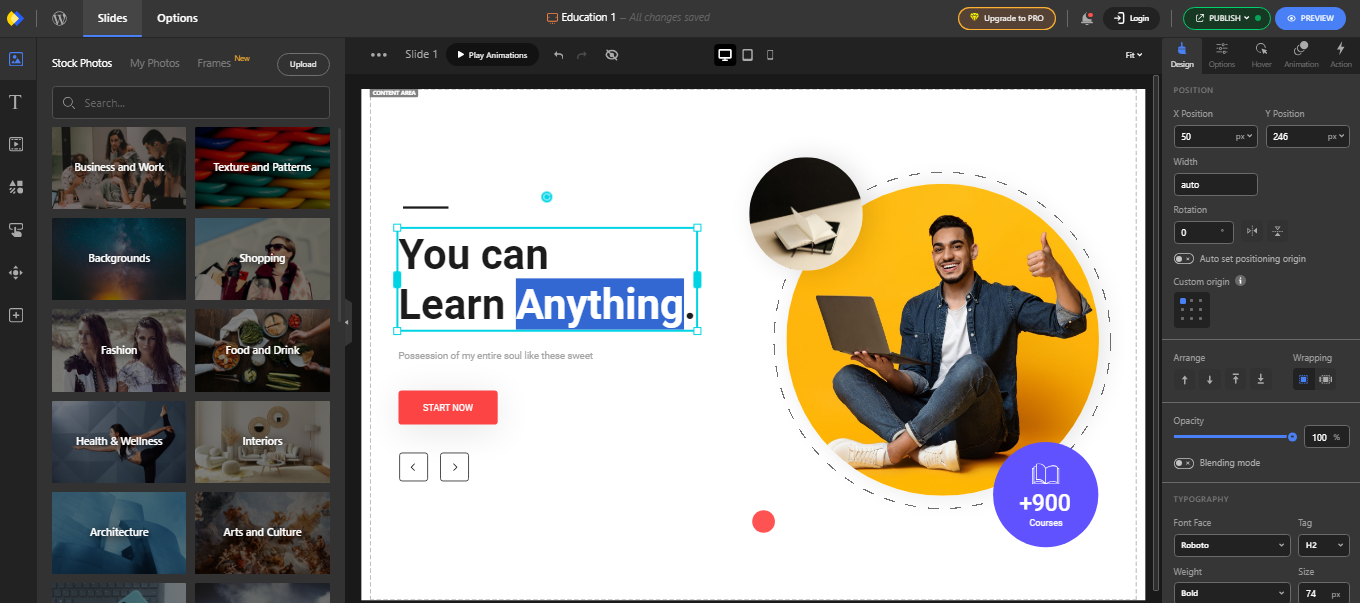
Once you import your template, you can customize it to your liking. Let’s go ahead and see what you can control in your notification banner.
3. Website Notification Bar Settings and Options
Once you’re done customizing the overall appearance of your website notification bar or sticky bar, it’s time to configure some option of your notification banner.
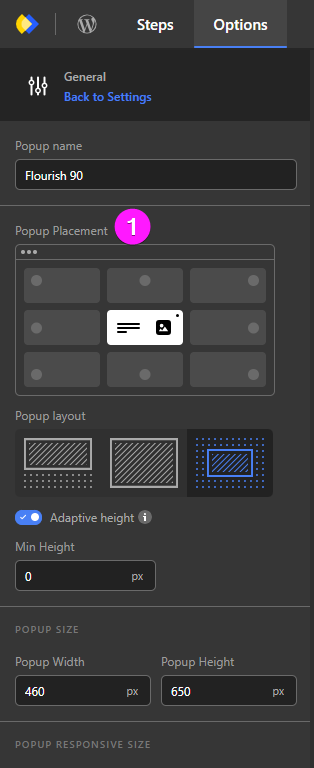
Options -> General
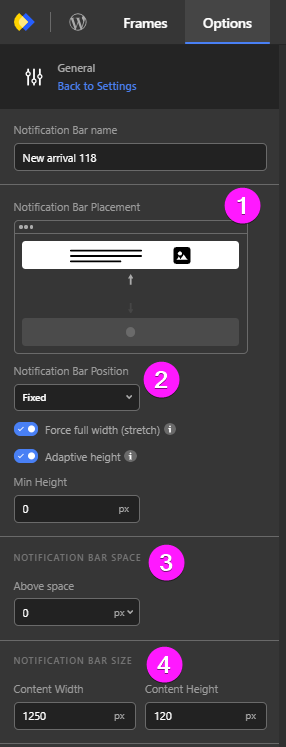
- Notification Bar Placement: Here you can set where your Notification bar or notification banner appears; Either at the top of the screen or at the bottom.
- Notification Bar Position:
- Set the notification banner to be “fixed,” “sticky,” or “static.”
- You can enable the “force full width (stretch) option.
- Enable the adaptive height.
- Notification Bar Space: Set the space above your sticky bar.
- Notification Bar Size: Set the width a height of your notification bar.
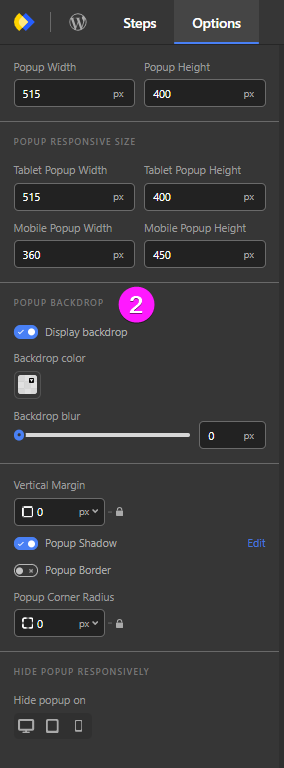
- Notification Bar Responsive Size: Make your notification banner responsive by giving a width and height value for every device.
- Notification Bar Backdrop:
- Enable the “Display backdrop.”
- Set a color for your backdrop.
- Set the blur intensity of the backdrop.
- Vertical Margin:
- Set a vertical margin for your notification banner.
- Enable/ disable the Notification bar shadow.
- Set a notification bar border if you wish.
- Specify a corner radius value.

Options -> Behavior
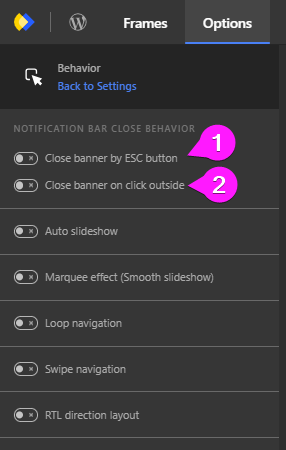
- Notification Bar Close Behavior:
- enable the first option to set the banner to close by the ESC button.
- enable the second option to close the banner by clicking outside of it.
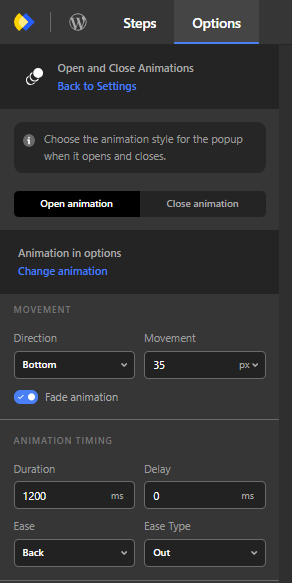
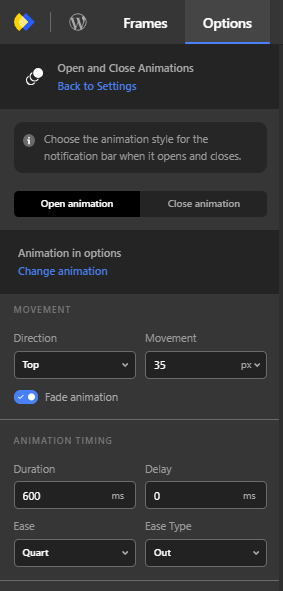
Open and Close Animation
- Specify or change the type of open and close animation.
- Set the direction and a movement value of your open and close animation.
- Enable or disable the fade animation.
- Customize the animation timing.
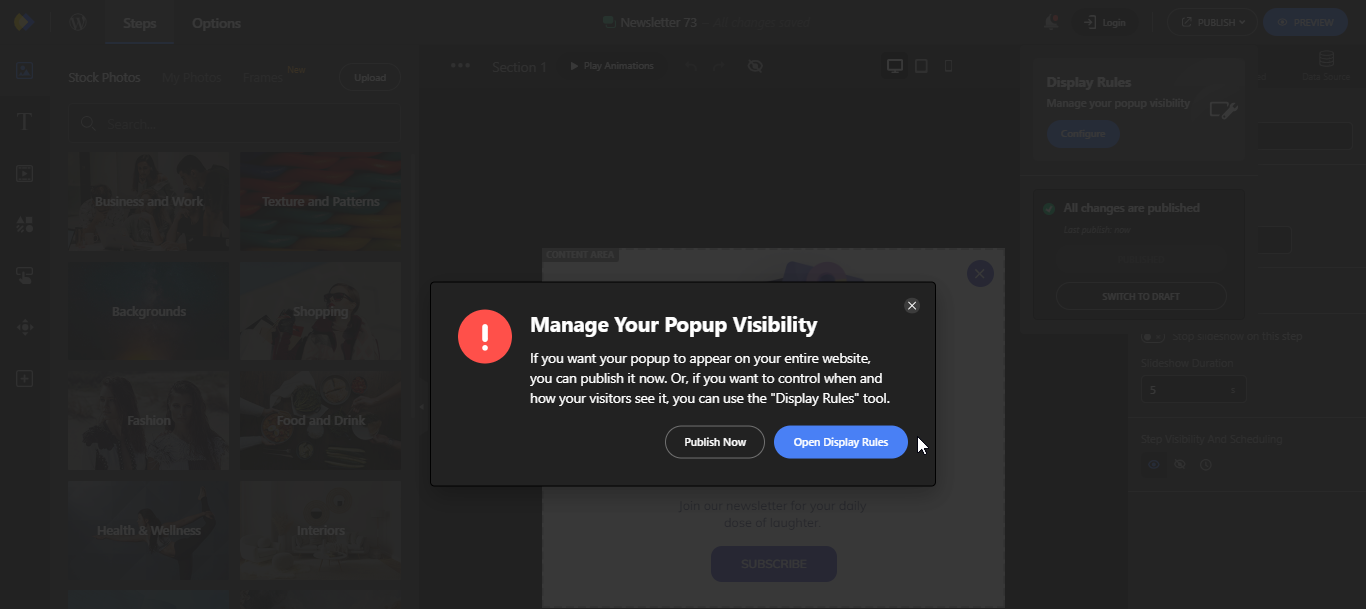
Display Rules
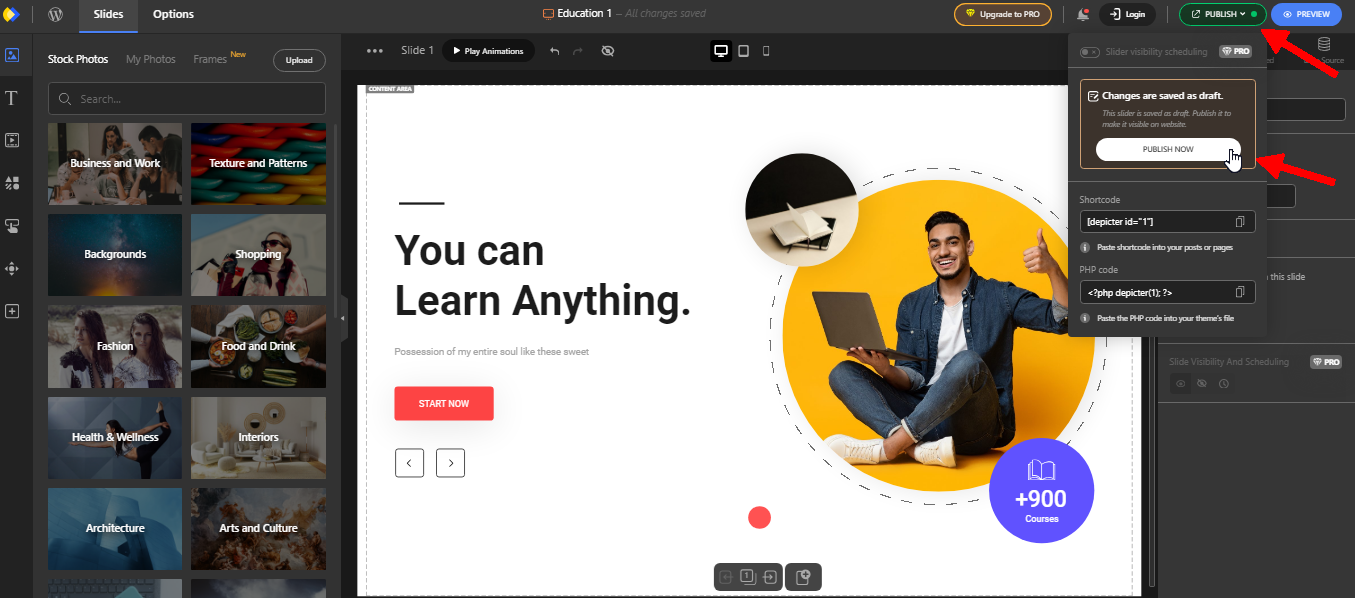
Right when you want to publish your notification banner, you’ll be asked to configure the “display rules.”
In this section, we’ll get to know these rules and how to configure them better.
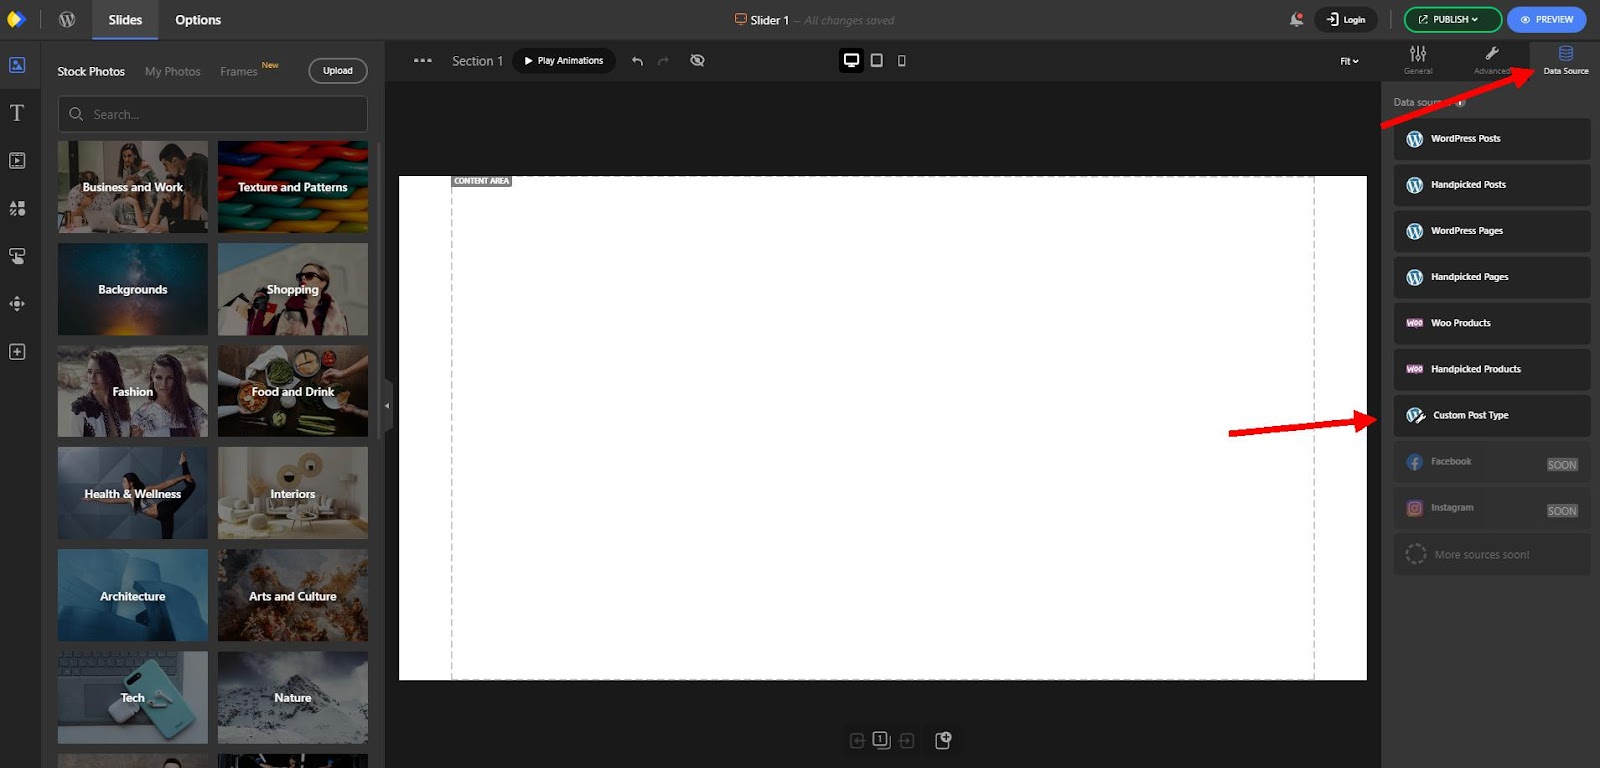
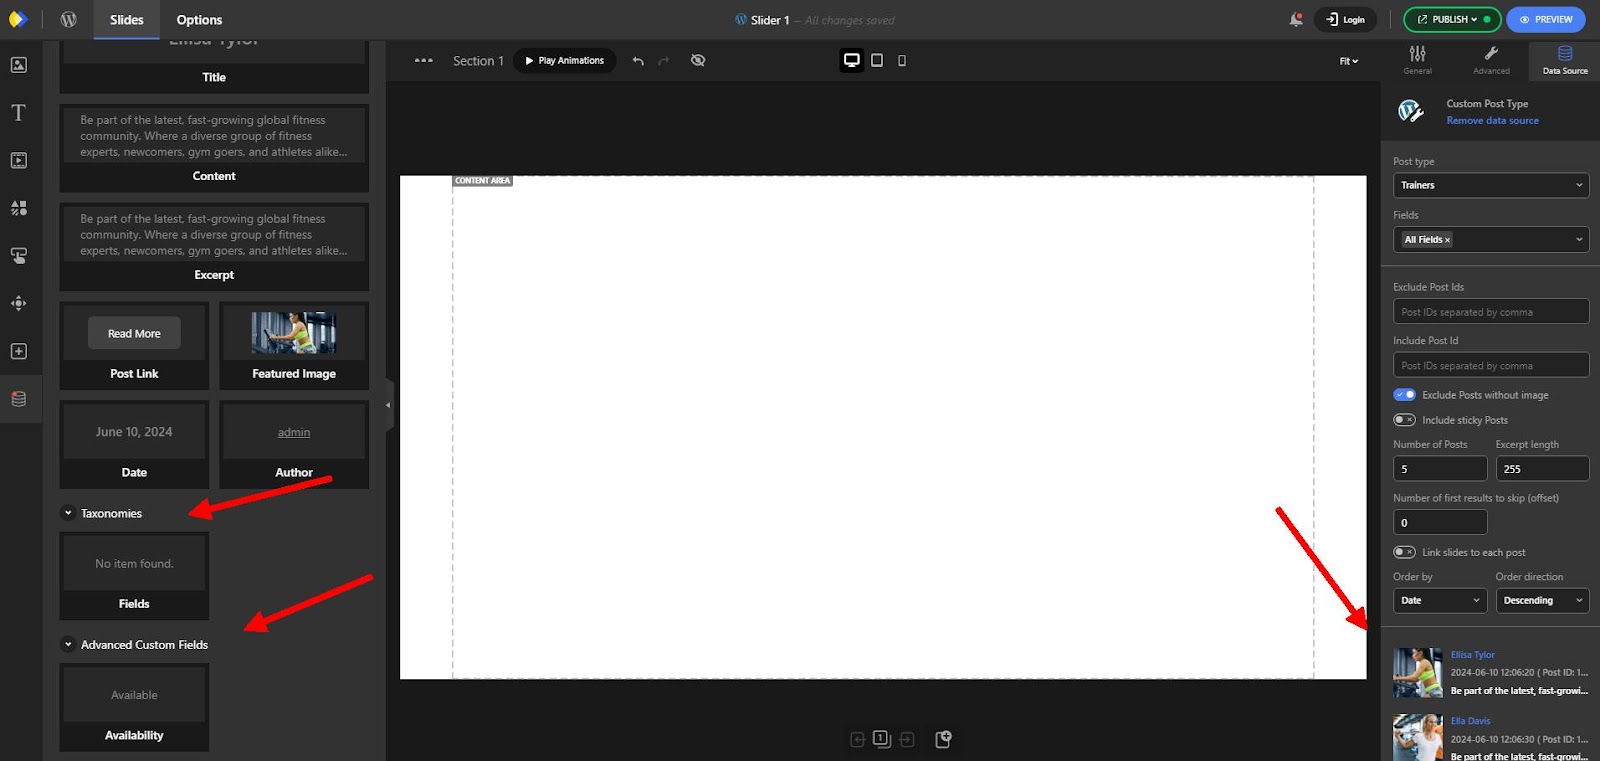
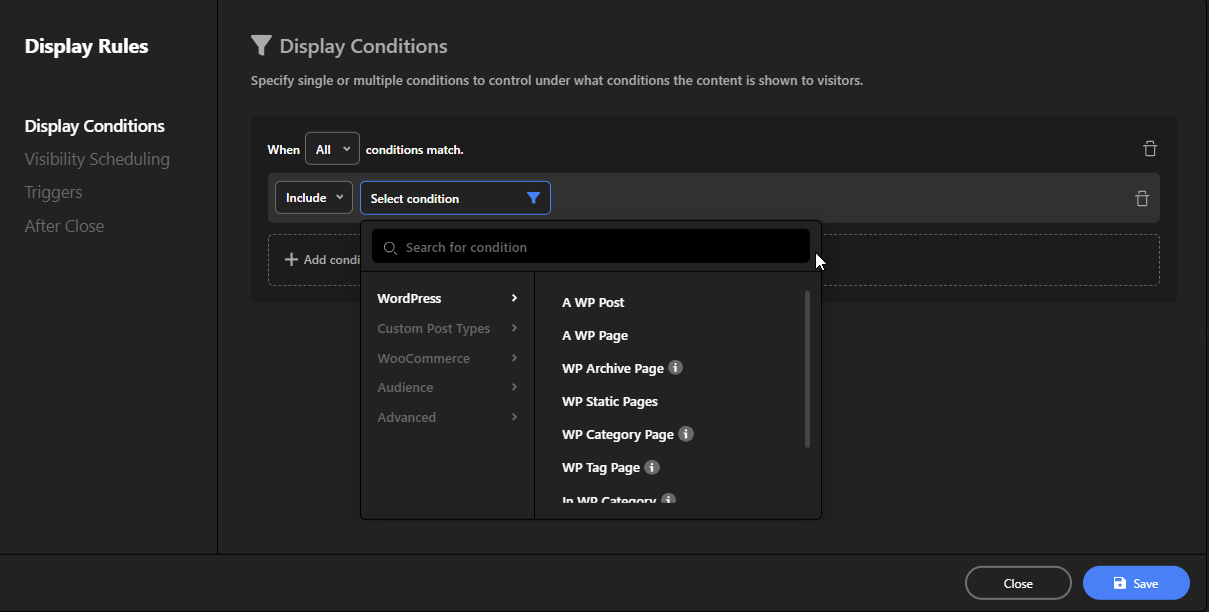
1. Display Conditions:
In display conditions, you can specify under which circumstances your notification banner is displayed to your visitors.
You are able to specify everything from WordPress pages, custom post types, products, type of device, country and more!
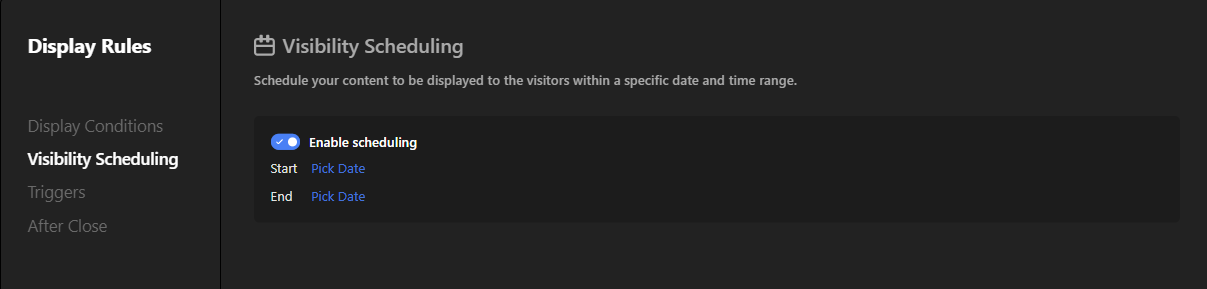
2. Visibility Scheduling:
As the name suggests, you’re able to schedule when your notification bar to be visible to your website visitors.
Let’s say you run an online flower shop and you have a limited time only free delivery for your service. So what you do is you create a notification banner, and you schedule it for that limited time only.
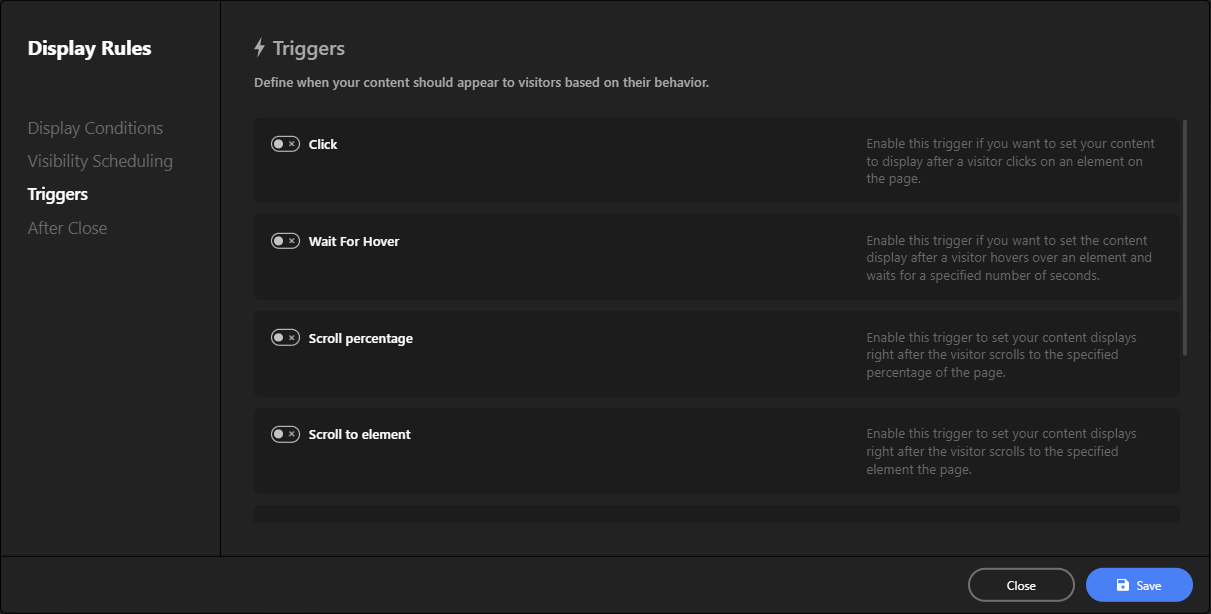
3. Triggers:
In triggers, you can set your notification bar to appear based on the visitor’s behavior:
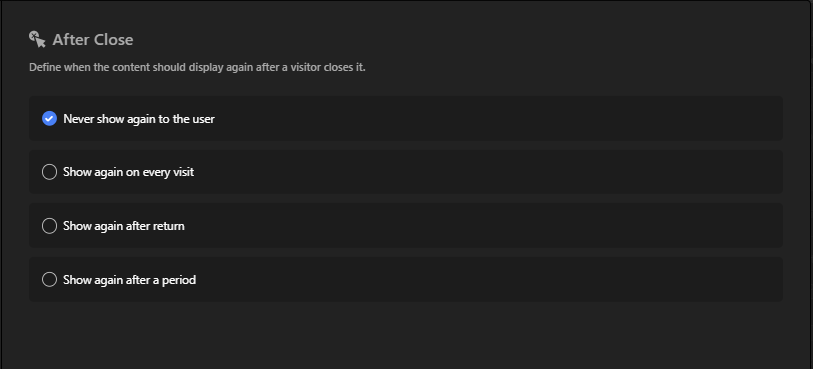
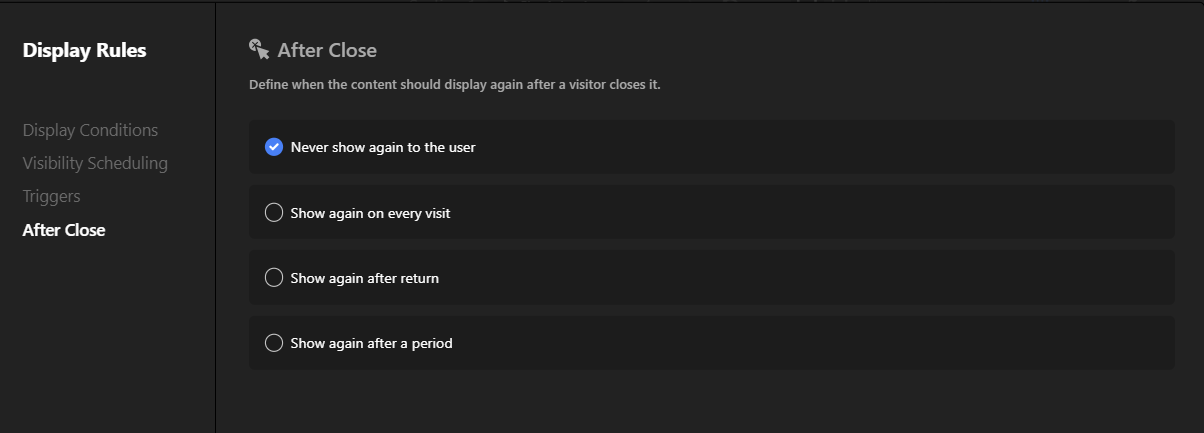
4. After Close:
And last but not least, you can even define what happens after a user closes the notification bar; Do you want it to appear again after they visit your website, or do you want it to appear every time they visit your website?
Your Website, Your Choice!
Building a Sticky Bar on Scroll
Building a sticky bar on scroll is very similar to creating a regular notification bar. In fact, they’re almost the same thing! The only difference is in a few small settings.
In the last section, you created a notification bar and explored its settings. Now, get ready to turn any notification bar into a sticky bar on scroll that follows you as you scroll down the page – all with just a few clicks!
Turning a Notification Bar Into a Sticky Bar on Scroll
The first thing you need to do is removing the backdrop so that you don’t have to close the notification bar in order to be able to hand around in the website!
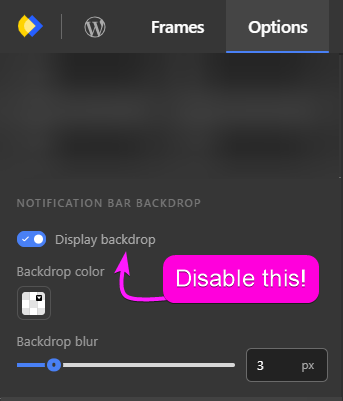
To do that go to Option -> General, and disable the backdrop!
Now the next step is, configuring the position setting.
In Options -> General you’ll see multiple positions; Fixed, Sticky and Static.
- Fixed: This means the notification bar will stay in a fixed position on the screen, even as you scroll down the page. It will appear to “stick” on top and temporarily cover other elements behind it.
- Sticky: This means the notification bar will also stay in a fixed position, but with a small gap around it. It will “stick” to the top or bottom of the screen as you scroll, but it won’t overlap the content below or above it.
- Static: This means the notification bar will stay in a specific location on the page and won’t move at all as you scroll. It will eventually disappear from view as you scroll down the page and it goes off-screen.
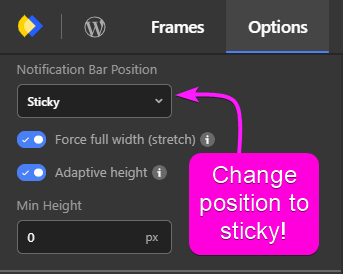
Now, to make a sticky bar on scroll you need to set the position to sticky!
Now the last thing that you can do, is remove the close button and you’re done, you have a sticky bar on scroll.
Conclusion
In conclusion, website notification bars are a simple yet powerful tool to enhance your website’s communication and engagement with visitors.
Whether you’re announcing exciting news, sharing important updates, or encouraging visitors to take action, these bars can be a subtle and effective way to convey your message without disrupting the user experience.
Creating your own notification bar is straightforward with various tools and plugins available, especially if you’re using a platform like WordPress.
By following the steps outlined in this guide, you can customize notification bars to fit your website’s style and functionality, ensuring they serve your specific needs.
Remember to keep your message concise, include a clear call to action, and make sure your notification bar matches your brand’s look and feel.
With these tips and the right tools, you’ll be able to leverage notification bars to effectively communicate with your website visitors. Happy creating!
FAQ About Website Notification Bars
A notification bar is a small bar that appears at the top or bottom of a website to share important information or announcements. It’s also known as a sticky bar or a website notification banner.
Notification bars typically appear as slim bars across the top or bottom of the screen. They often contain concise messages and a call-to-action. You can see various website notification bar examples, like those from Google or PayPal, to understand their appearance and use.
Yes, you can create a sticky bar on scroll, which stays visible as users scroll down the page. This can be done using WordPress plugins or by setting the position to “sticky” in your notification bar’s settings.
A WordPress notification bar plugin is a tool that allows you to easily create, customize, and manage notification bars on your WordPress website without needing to code.
A website notification bar generator allows you to design a bar online, providing limited customization options. Once designed, you can copy the generated code and embed it into your website.
Sticky bars, like notification bars, stay fixed on the screen as users scroll. Examples include persistent call-to-action bars on e-commerce sites or promotional bars on content-heavy websites.
To make a notification bar sticky:
– Go to the bar’s settings.
– Set the position to “sticky” instead of “fixed” or “static.”
– Ensure the bar remains visible as users scroll.