
In fast-paced industries like news, sports, finance, or even e-commerce, timing is everything. When something important happens, your audience expects to see it right away, not buried somewhere in a blog post or a social media feed they might miss.
Highlighting breaking news in your website header ensures your message gets seen first. It’s a simple move that can improve user experience, increase engagement, and help build trust with your visitors. Whether it’s a major announcement, a live event, or an urgent update, putting it at the top of your site shows your visitors that you’re up-to-date — and that you care about keeping them informed.
Benefits of Showing Breaking News in the Header
Displaying breaking news or the so-called news ticker in the header offers several key advantages. First, it instantly captures visitors’ attention by placing urgent updates at the very top of the page, where they’re hard to miss.
This not only helps users stay informed but also improves their overall experience. It shows that your site is active and reliable, which builds trust, especially important for news platforms, public services, or any business with time-sensitive content.
A header announcement can also guide users toward specific pages, such as detailed articles or product updates, increasing traffic to those areas.
Plus, in urgent situations like service disruptions or major announcements, it’s a fast and effective way to get critical information in front of your audience without delay.
How to Add Breaking News to Your Header Using Depicter
Depicter is a free notification bar builder for WordPress that lets you easily display announcements, updates, and messages on your website — all without needing to code. But it’s not just limited to notification bars. Depicter also works as a powerful Popup Builder and slider creator, giving you a flexible set of tools to grab attention, promote offers, or guide visitors through your content. It has features like dynamic content, responsive design, animation effects, and a rich template library. It’s perfect for anyone who wants to create engaging visuals and boost user interaction without relying on multiple plugins.
Before you begin, ensure that the Depicter plugin is installed on your site.
To install it, just head to the Plugins section in your WordPress dashboard and search for “Depicter” — it’s quick and easy to add.
Need help? Check out our full guide and video tutorial on how to install Depicter.
Start with a Notification Bar Template
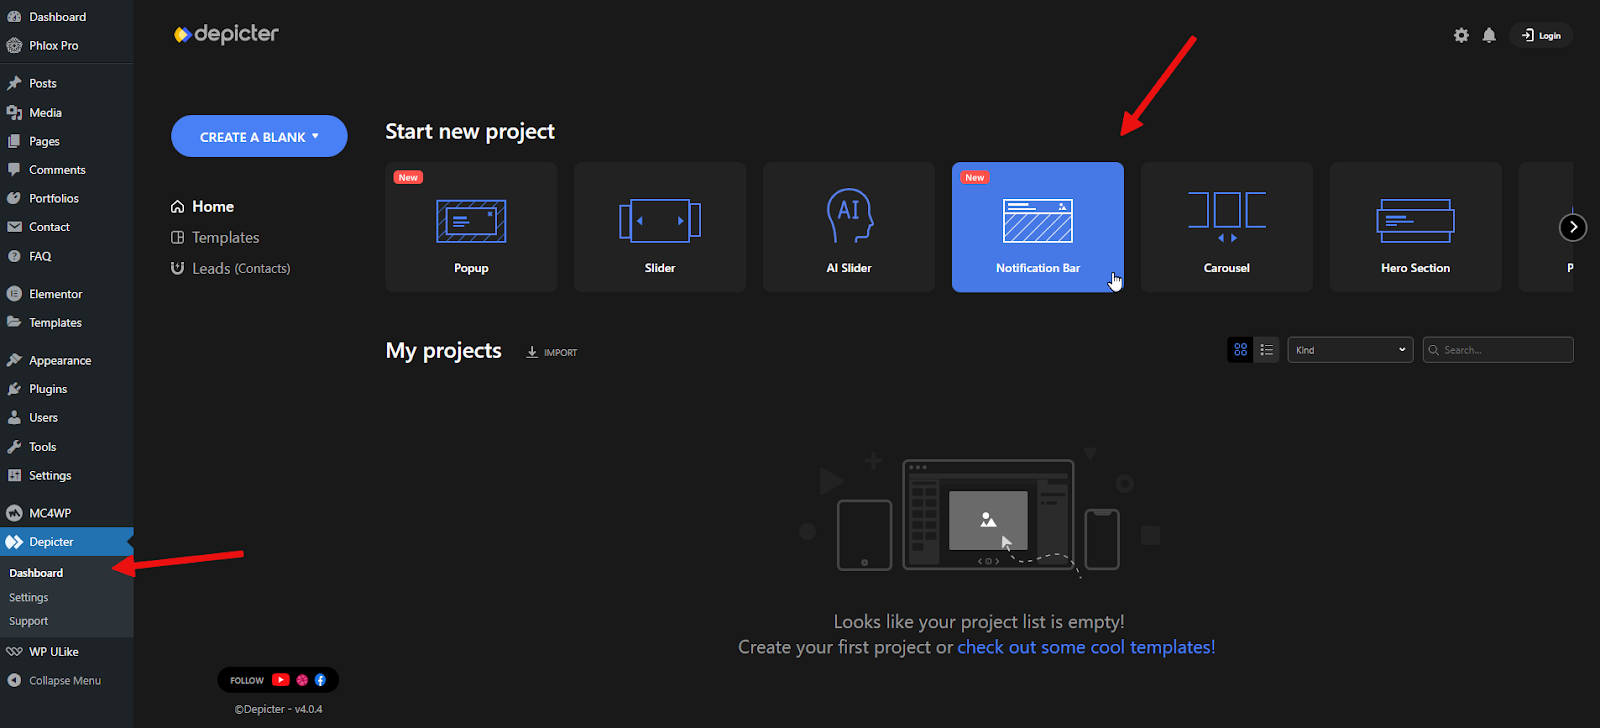
After opening the Depicter dashboard, go to the Notification Bar section to get started.
To speed things up, we’ll use a ready-made template — it’s a quick way to get everything set up without starting from scratch.
Depicter’s extensive template library makes it easy to create a professional-looking Notification Bar with minimal effort.
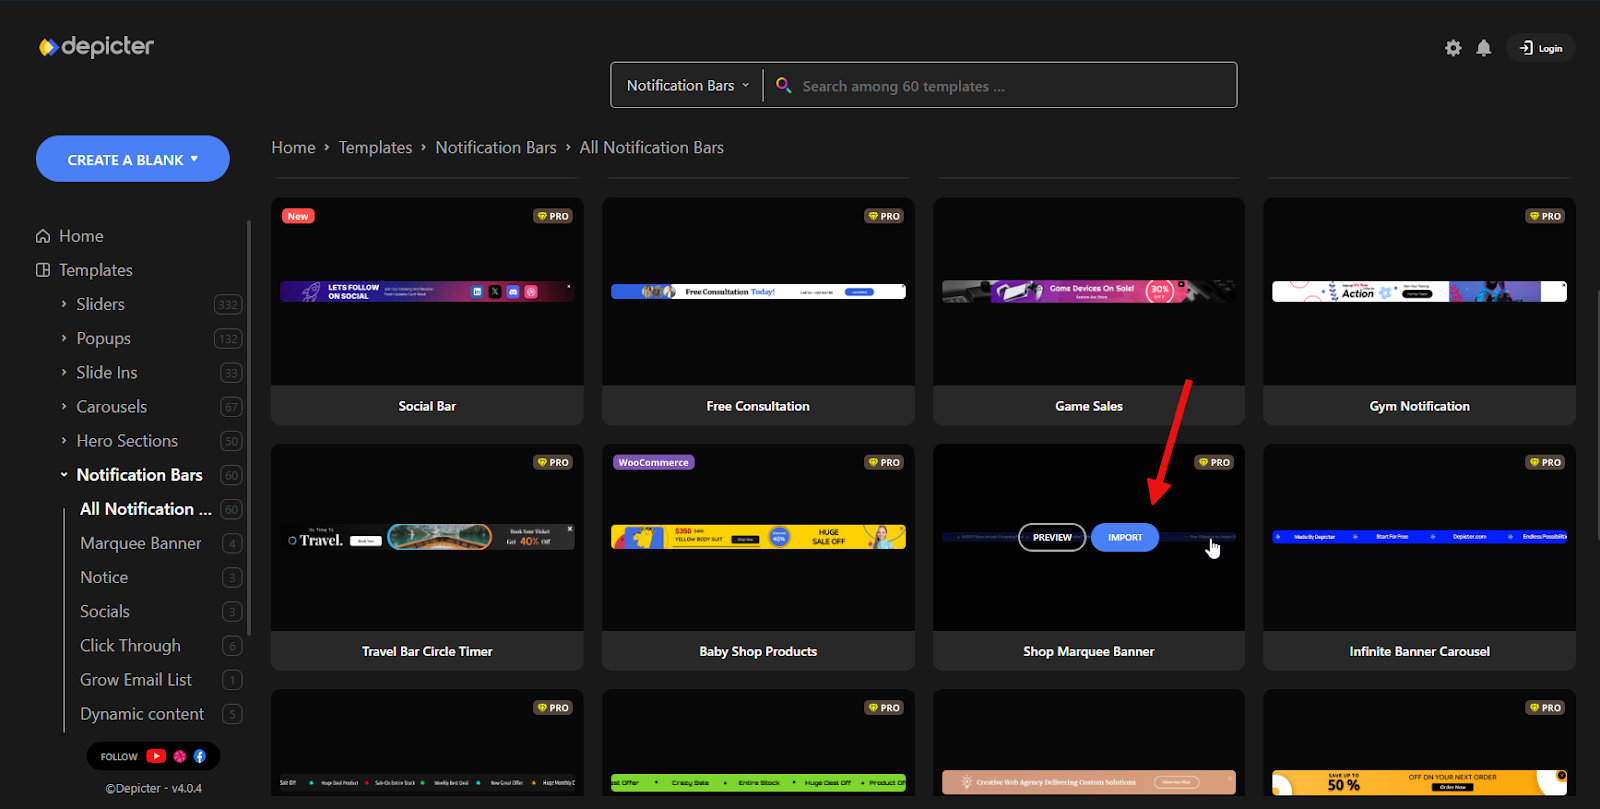
Depicter offers a wide range of clean, modern, and professionally designed templates, including free Notification Bar templates you can use at no cost. You can browse through different categories using the menu on the left or quickly find what you’re looking for with the search bar.
No need to start from zero — just pick a template you like and hit Import to begin.
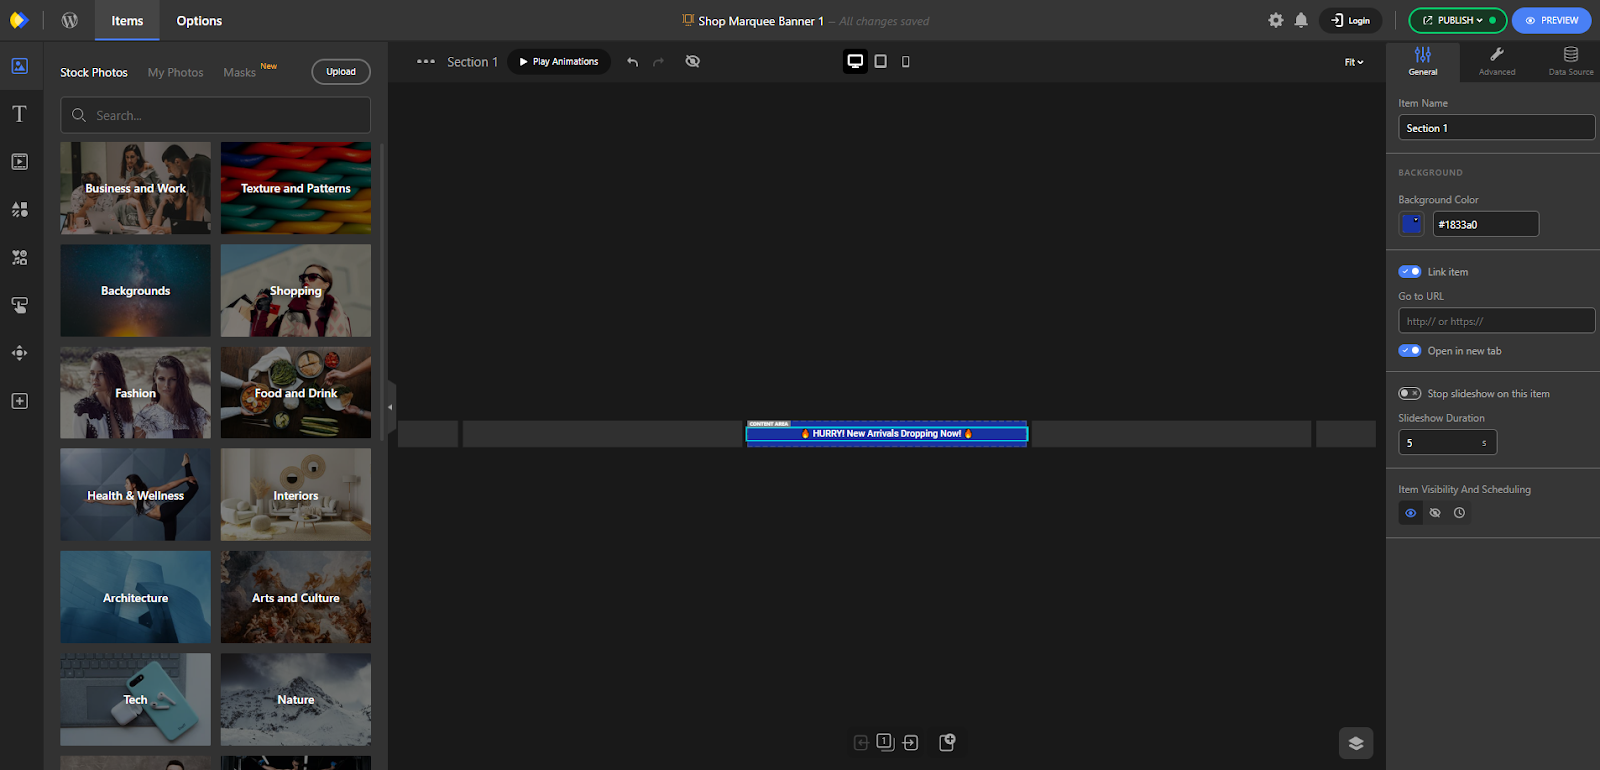
In just a few seconds, the template will load, and you’ll be taken straight to the Depicter Notification Bar Builder.
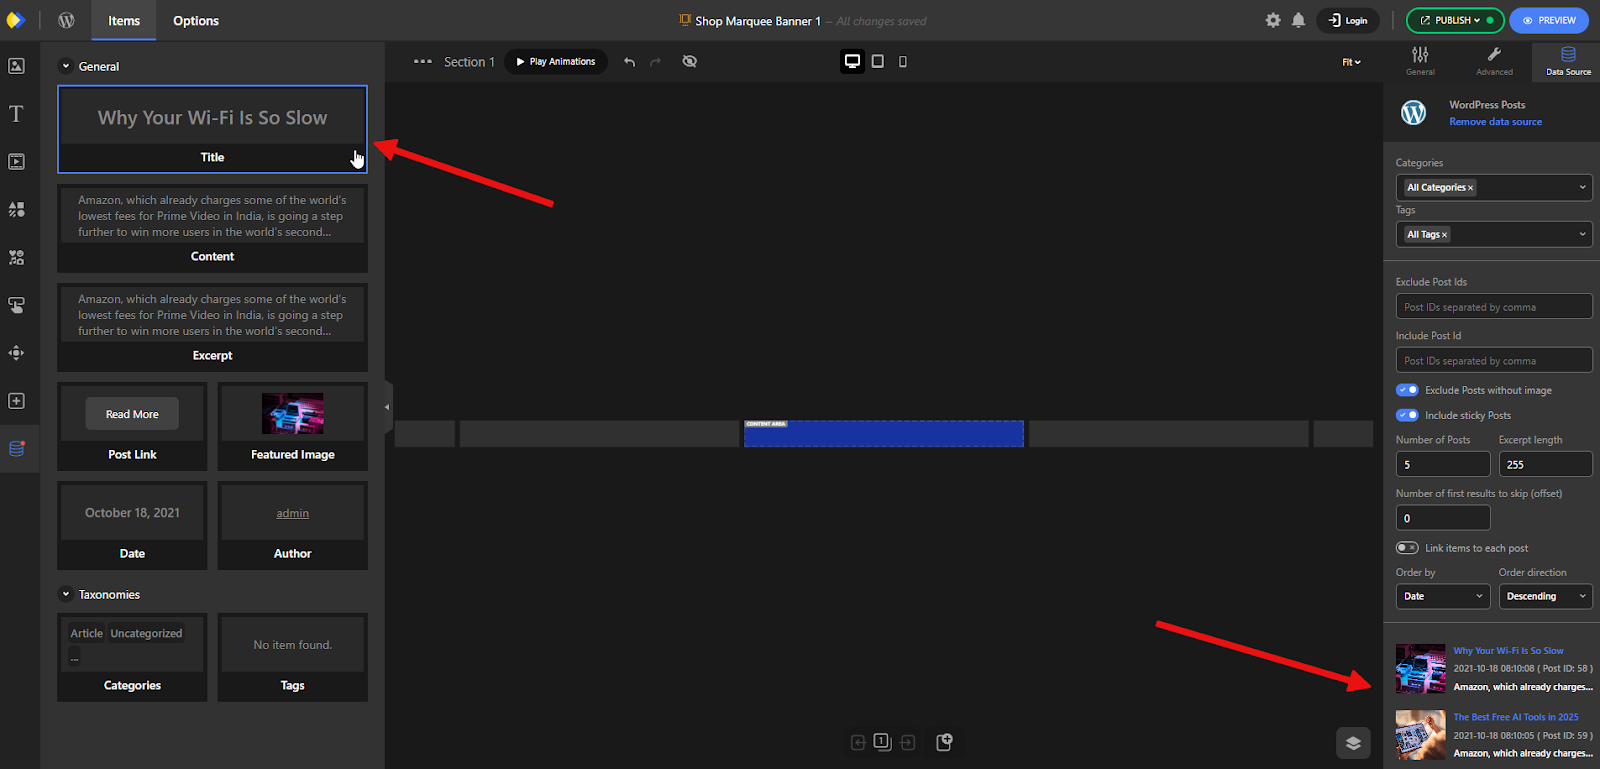
This is where you can make it your own. Click on any of the Notification Bar elements, and its settings will appear in the panel on the right, ready for you to adjust.
We want to display the latest posts from our website automatically, so we’ll use the Dynamic Content feature. To do this, open the Data Source menu on the right and select WordPress Posts.
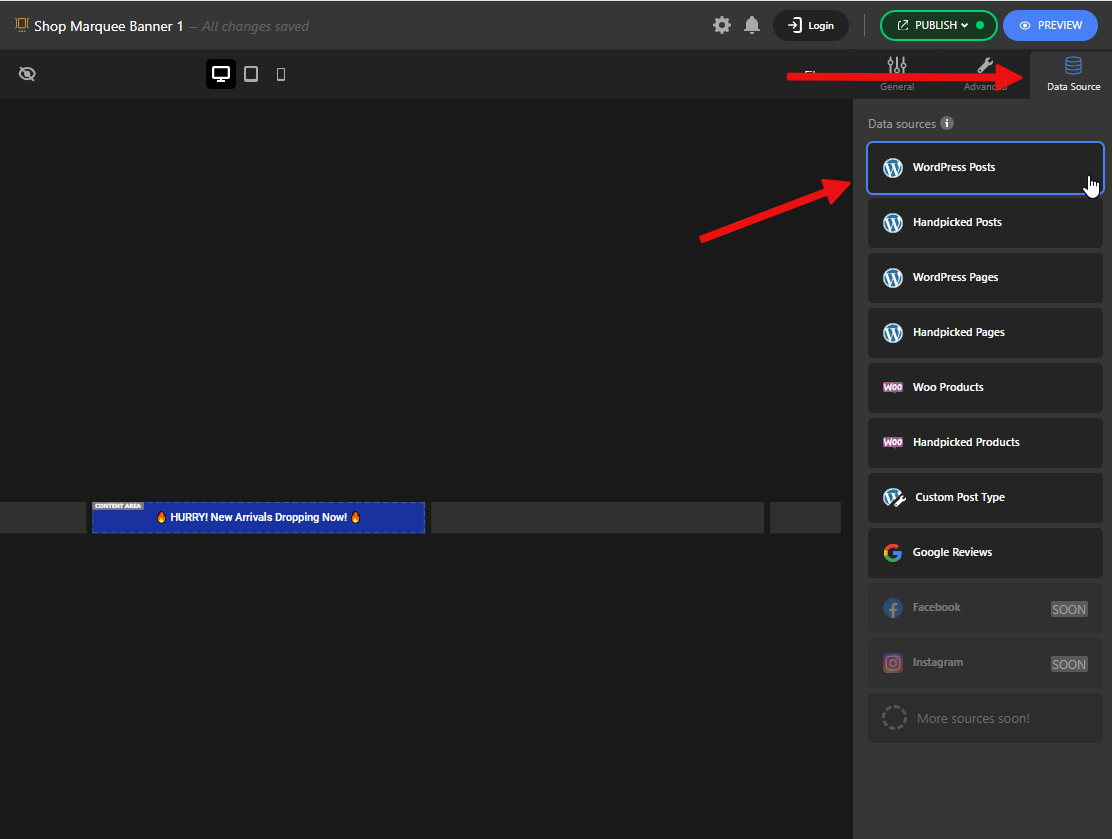
Once that’s done, all the dynamic elements related to posts will appear in the menu on the left. You can use these in your Notification Bar.
For this example, we’ll only use the Title.
After customizing the appearance — including color, size, layout, and more — we’re ready to go. Just click Publish to apply the changes.
Add the News Ticker on your Website Header
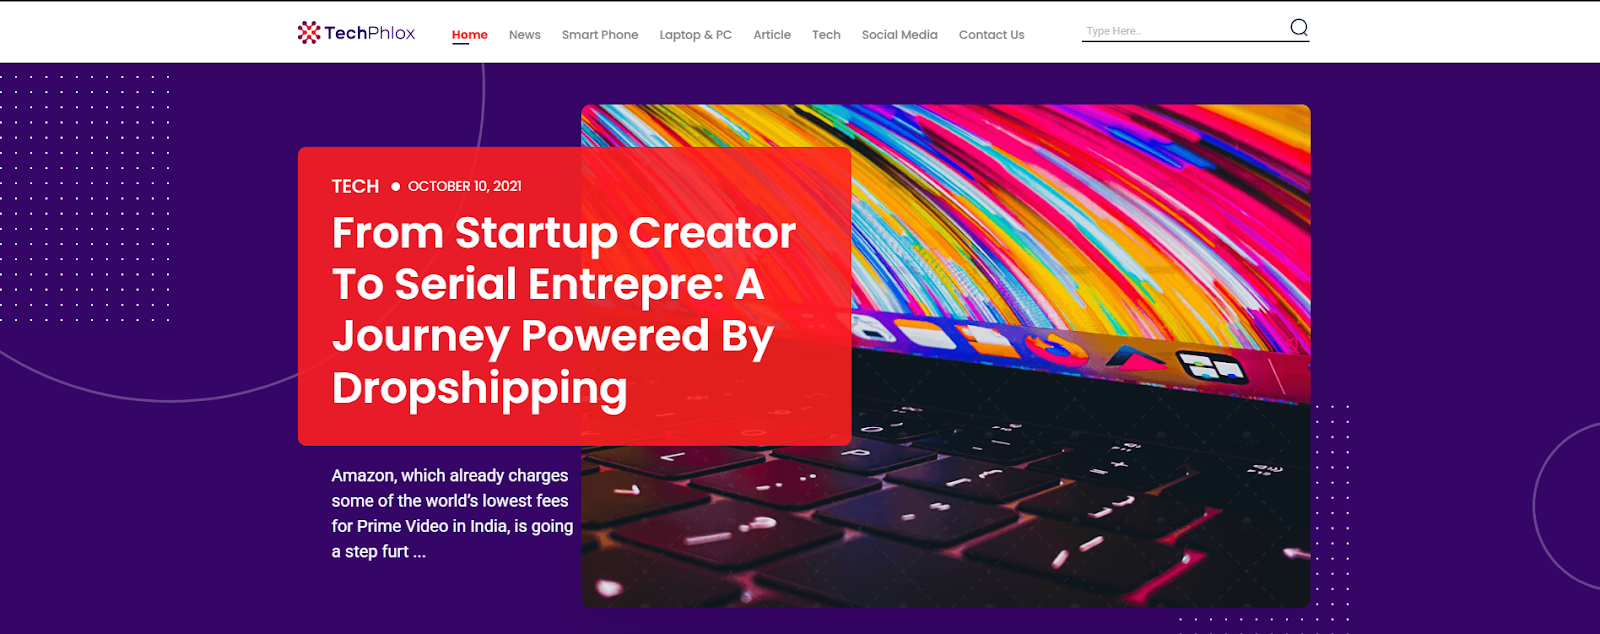
This is our website, and we want to place the Notification Bar at the top of the header.
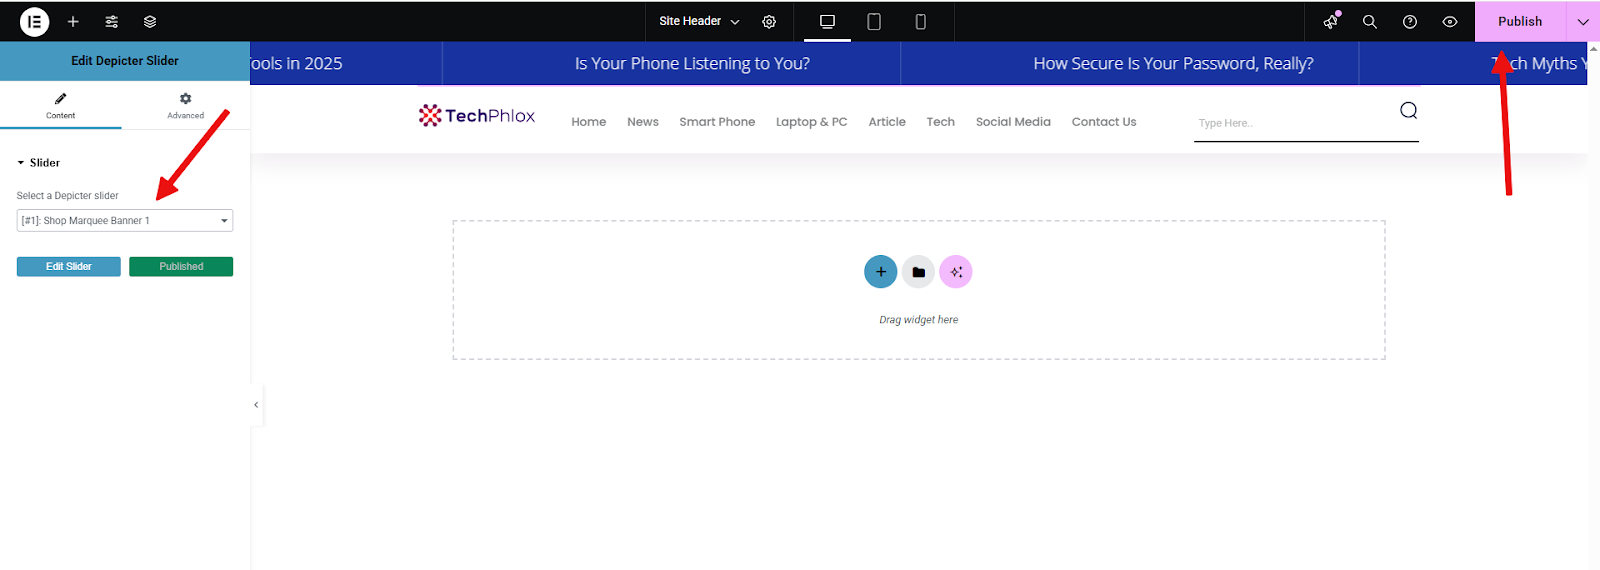
To do that, we’ll edit the header built with Elementor, drag the Depicter widget into the top section, and save the changes.
That’s it! As you can see, the Notification Bar is now live, animated, and automatically showing the latest posts from our site.
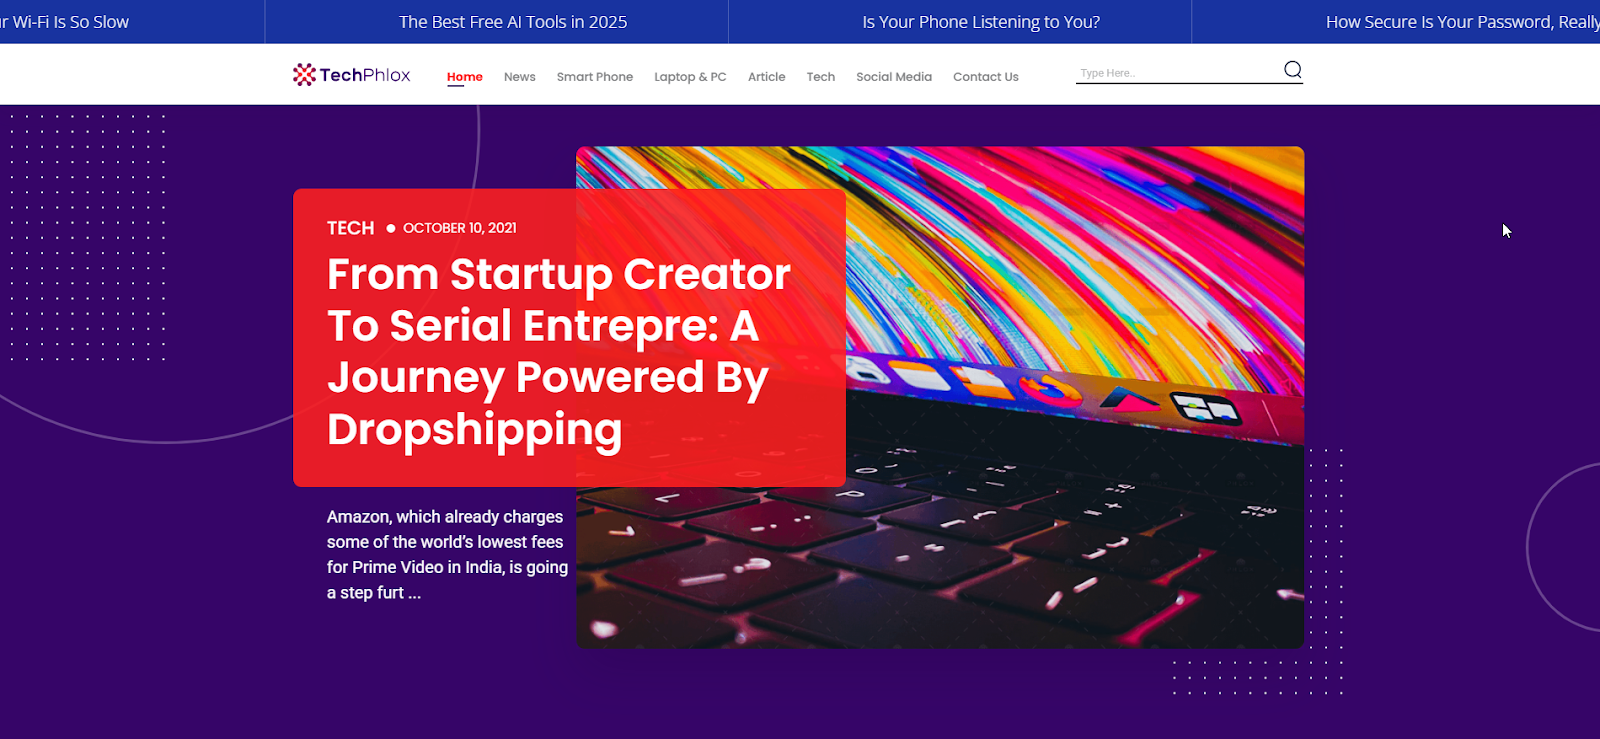
You can see a live demo here.
Conclusion
Adding a breaking news bar to your website header is a small change that can make a big difference. It helps visitors stay informed, builds trust, and improves overall engagement, especially when every second counts. With Depicter, you can set it up in minutes using ready-made templates, dynamic content, and an intuitive drag-and-drop interface. Whether you’re running a news site, an online store, or a business that values real-time updates, a notification bar at the top of your site is one of the easiest ways to keep your audience in the loop.
FAQs
Do I need to know coding to add a notification bar with Depicter?
No coding is required. Depicter is a visual builder with drag-and-drop functionality, perfect for beginners and professionals alike.
Can I use dynamic content like the latest blog posts in the notification bar?
Yes! Depicter supports dynamic content from WordPress. You can display post titles, links, and more — all updated automatically.
What if I want to show more than just breaking news?
No problem. You can use the notification bar to show promotions, event reminders, announcements, or any other custom message.
Leave Comment