
What is a Vertical Slider?
You’re familiar with regular sliders that move side to side. But there are also vertical sliders. They move from top to bottom. And they’ve become a popular design trend. Designers are always looking for new ways to display content and vertical sliders, also called vertical transitions, are a good option. They can add visual interest to a website that might otherwise be static. We often think of website sliders as horizontal, scrolling left to right. But more designers are using other options. This article will focus on the vertical slider, a modern type of slider that’s actually easy to create. Often, these sliders take up the whole page, unlike horizontal ones. This makes them dynamic and still leaves room for other elements, like text or buttons. Vertical sliders can change how users interact with content.
When to Use Vertical Sliders?
Vertical sliders are a good choice when you want to show content in a visual and interactive way, without making things too complicated. They work well for portfolios, tutorials (like step-by-step guides), and image galleries. The smooth scrolling and the changes in the content make them interesting to use.
Think about using them to show off product features, tell a story, or in mobile designs where they can make navigation easier.
Basically, if you need to take people through information step-by-step, and you want it to look good and work well, vertical sliders can be a useful tool. They keep things organized and prevent users from being overwhelmed with too much information at once. And because they often work well on mobile, they’re good for reaching a lot of users.
How to Create a Vertical Slider in WordPress with Depicter?
Here’s a video tutorial that walks you through the simple process of setting up a vertical slider in Depicter.
However, if you’d like more detailed instructions, feel free to read the rest of this article.
First, we need to install the Depicter plugin. To install Depicter, go to Plugins > Add New in your WordPress dashboard, search for “Depicter,” click “Install Now,” and then “Activate.”
This is our website, and we want to import one of Depicter’s pre-made sliders into the first section, set it vertically, and position it there.

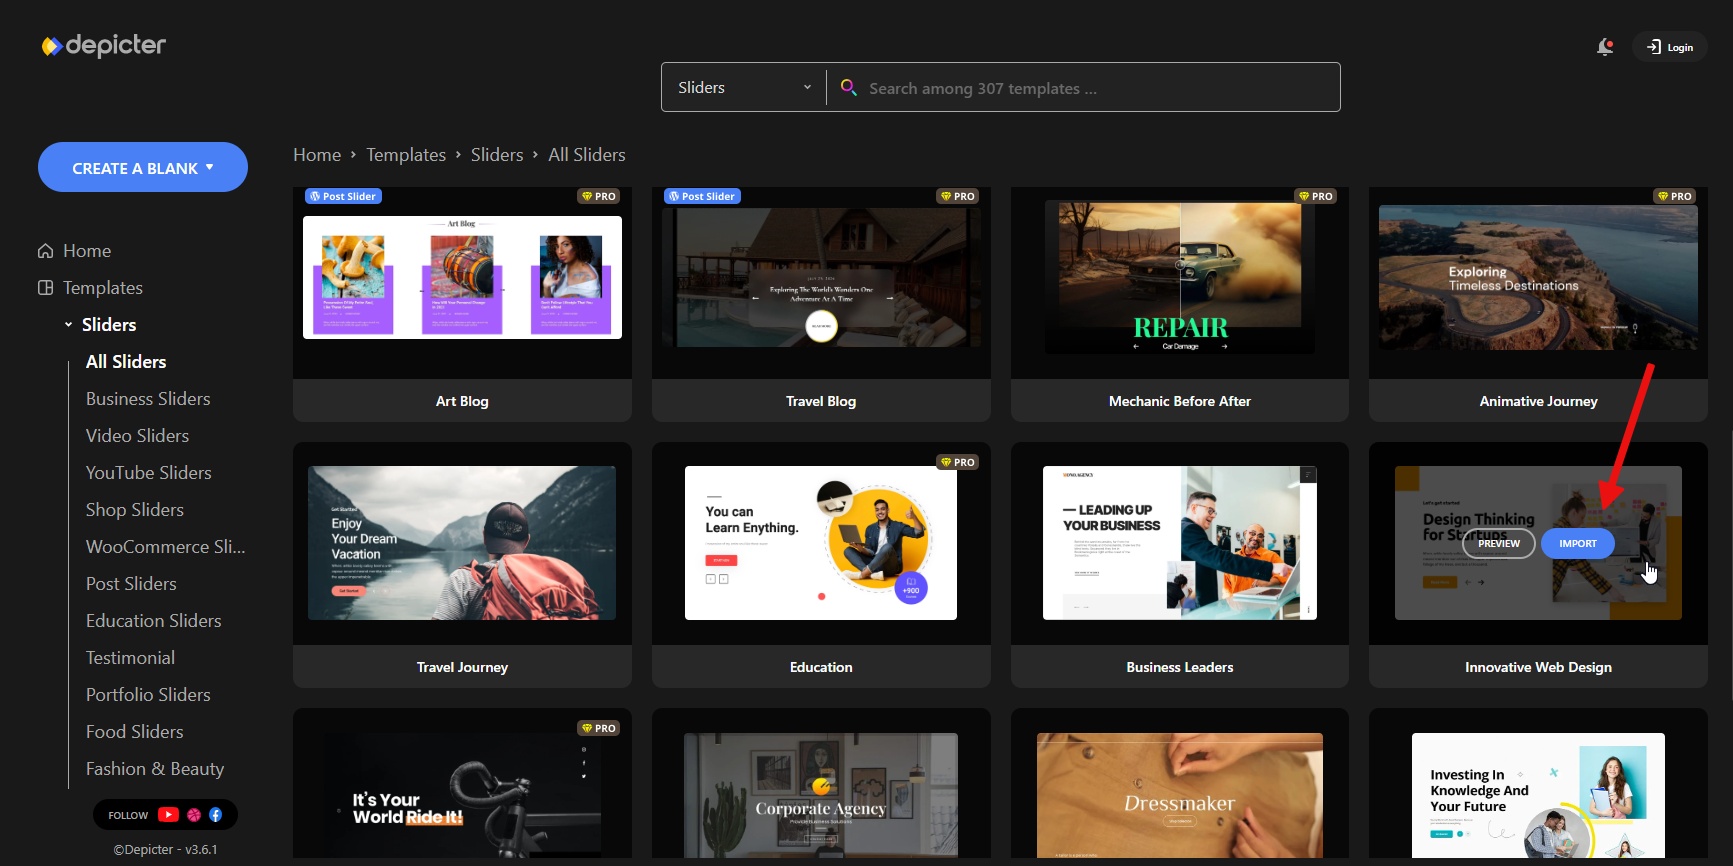
Once Depicter is installed, go to the Templates section and import your desired slider by clicking the Import button.
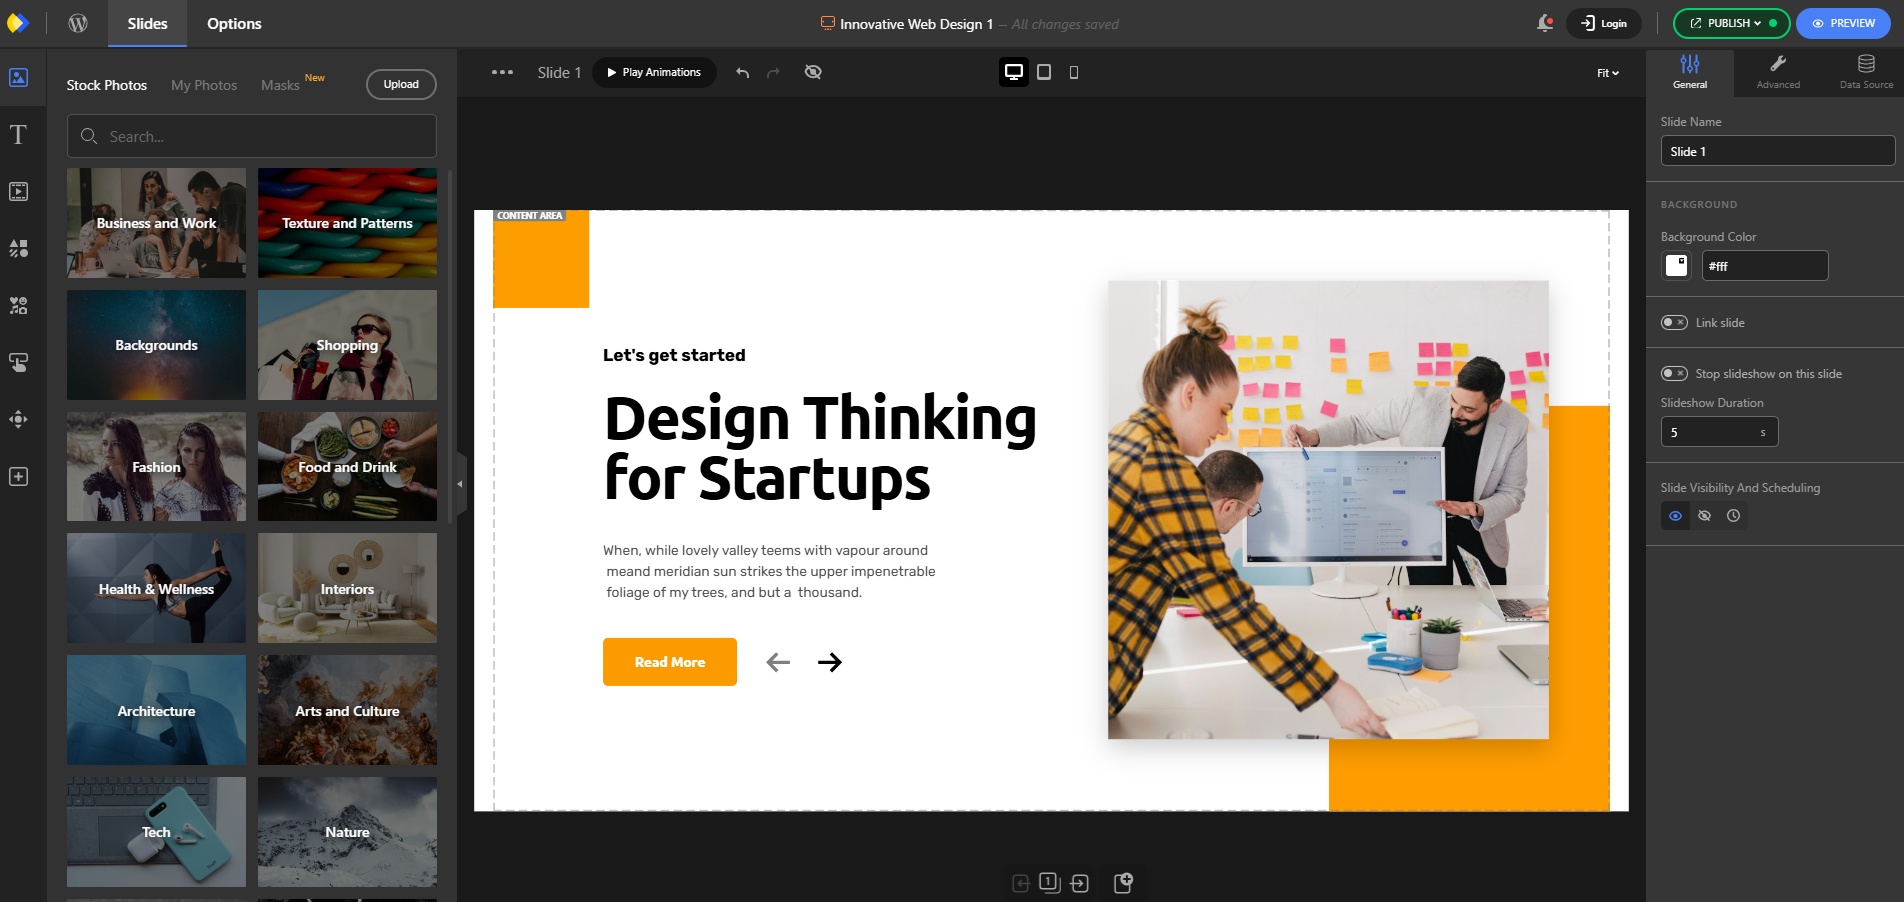
After a few seconds, the slide editor will import and you’ll enter the Depicter editor. Here, you can configure all the necessary settings to create a vertical slider, as well as any style customizations you want.
First, go to the Navigations section in the Options menu. Then, under Swiping Direction, select Vertical.

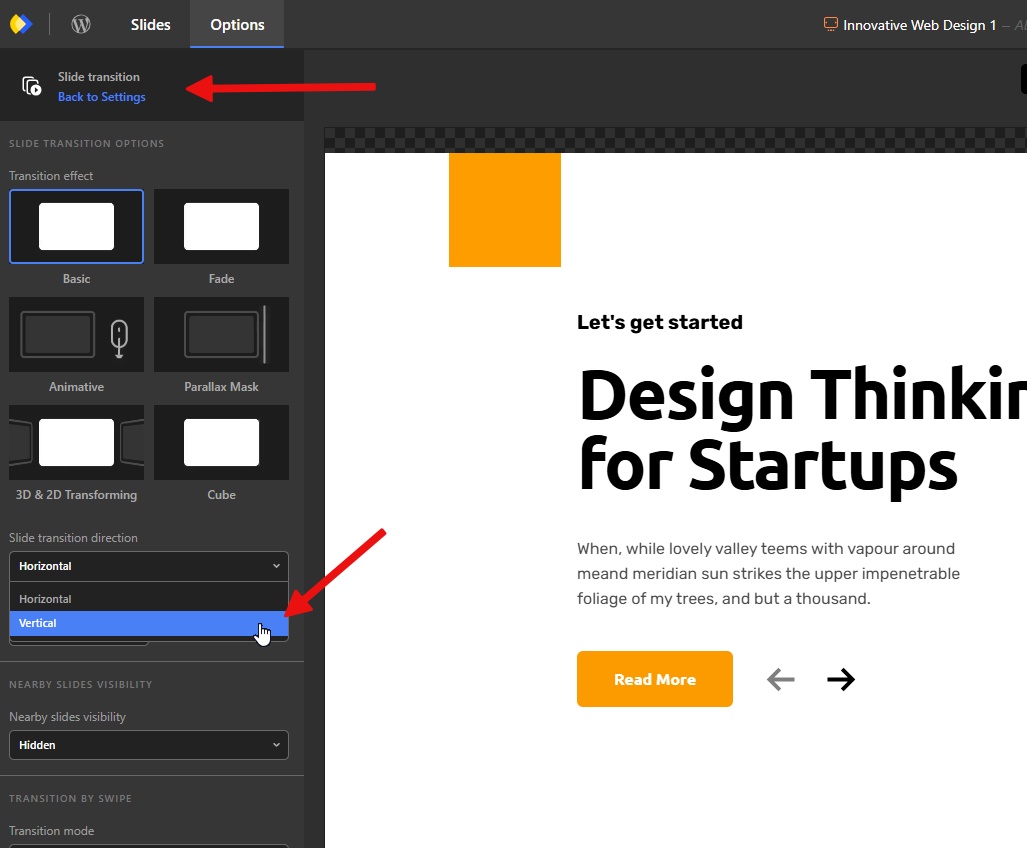
Next, go back to the Options menu, but this time select Slide transition direction under the Transition section. Then, set it to Vertical.
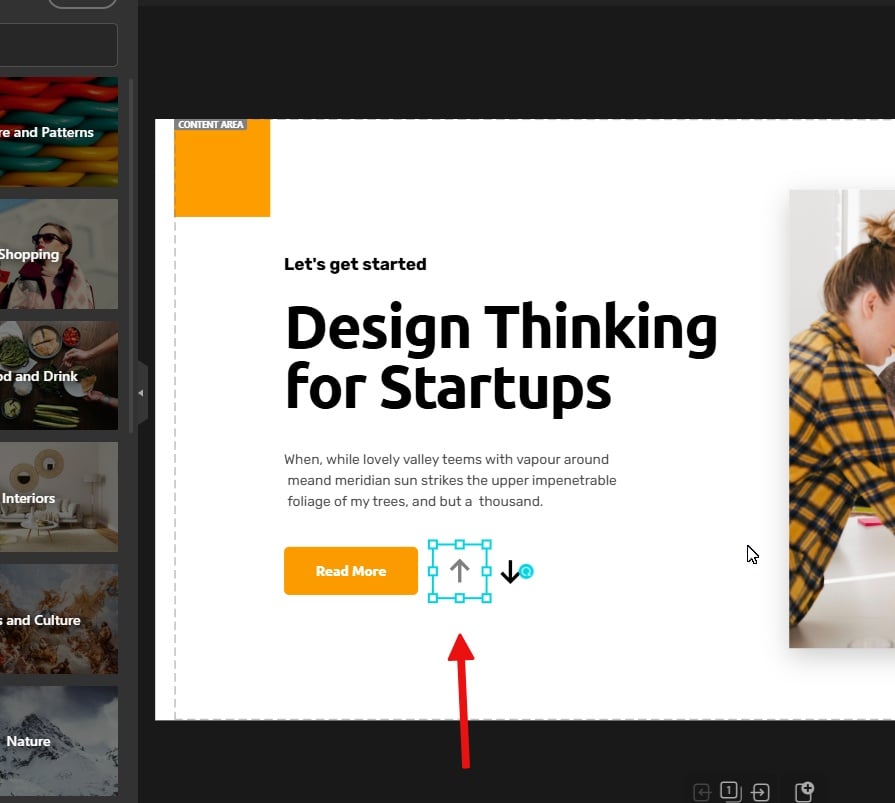
We’re done with the Options section, but let’s not overlook the important details. Go back to the editor and rotate the navigation arrows 90 degrees so they’re aligned vertically with the slider’s behavior.
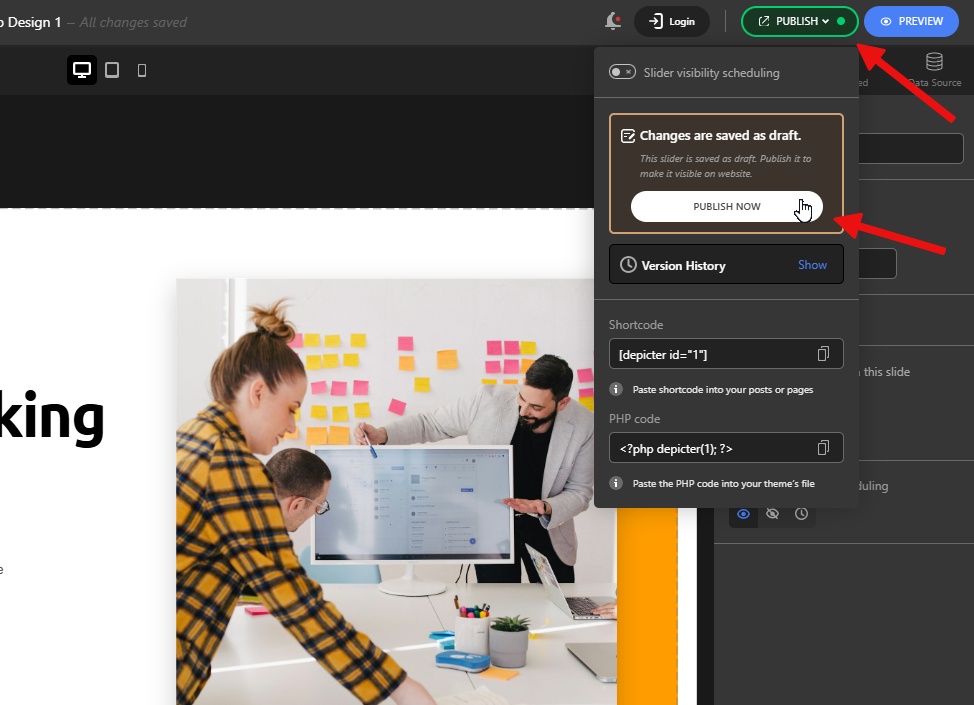
Alright, we’re done. Let’s publish the slider, and then we’ll add it to our page.
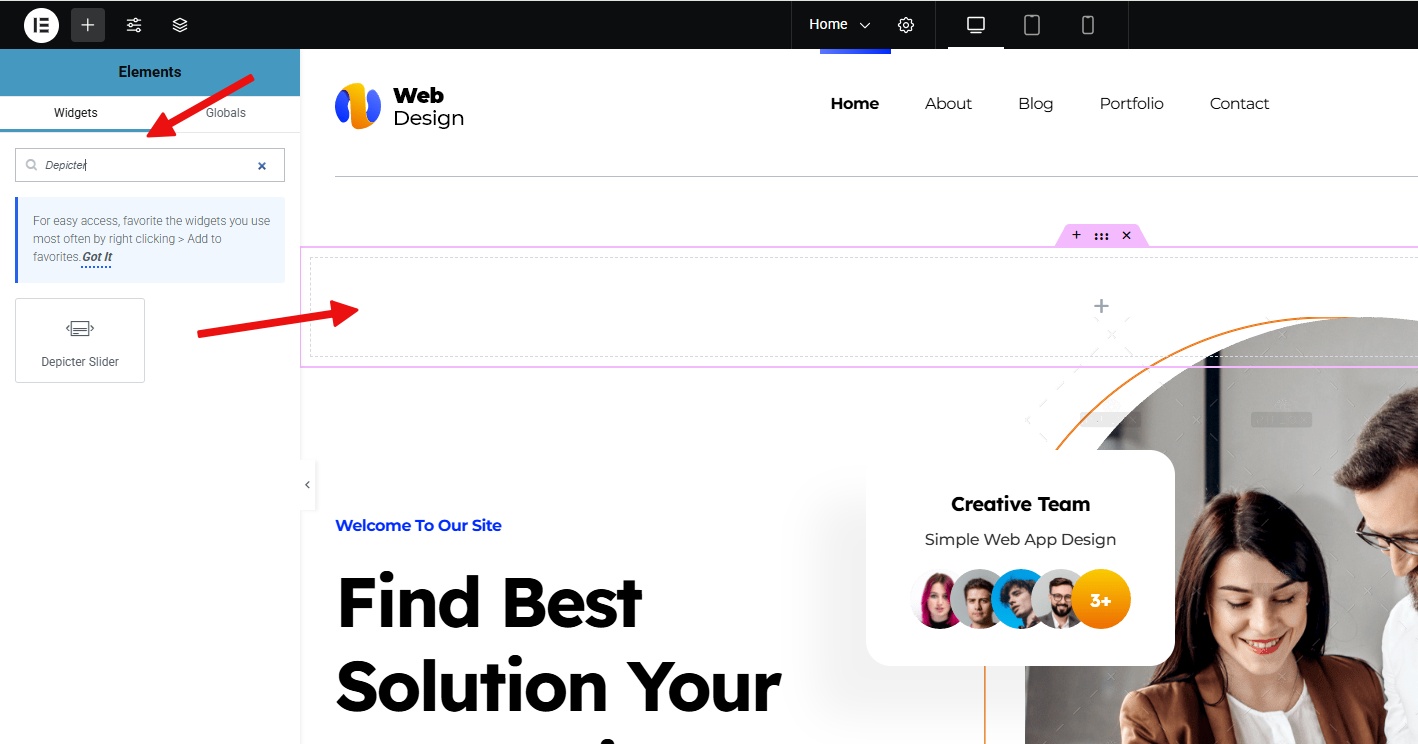
We use Elementor to edit our pages here, but Depicter is fully compatible with all common page builders.

Search for Depicter and add its element to the page.
Select the slider from the list and save the page changes.
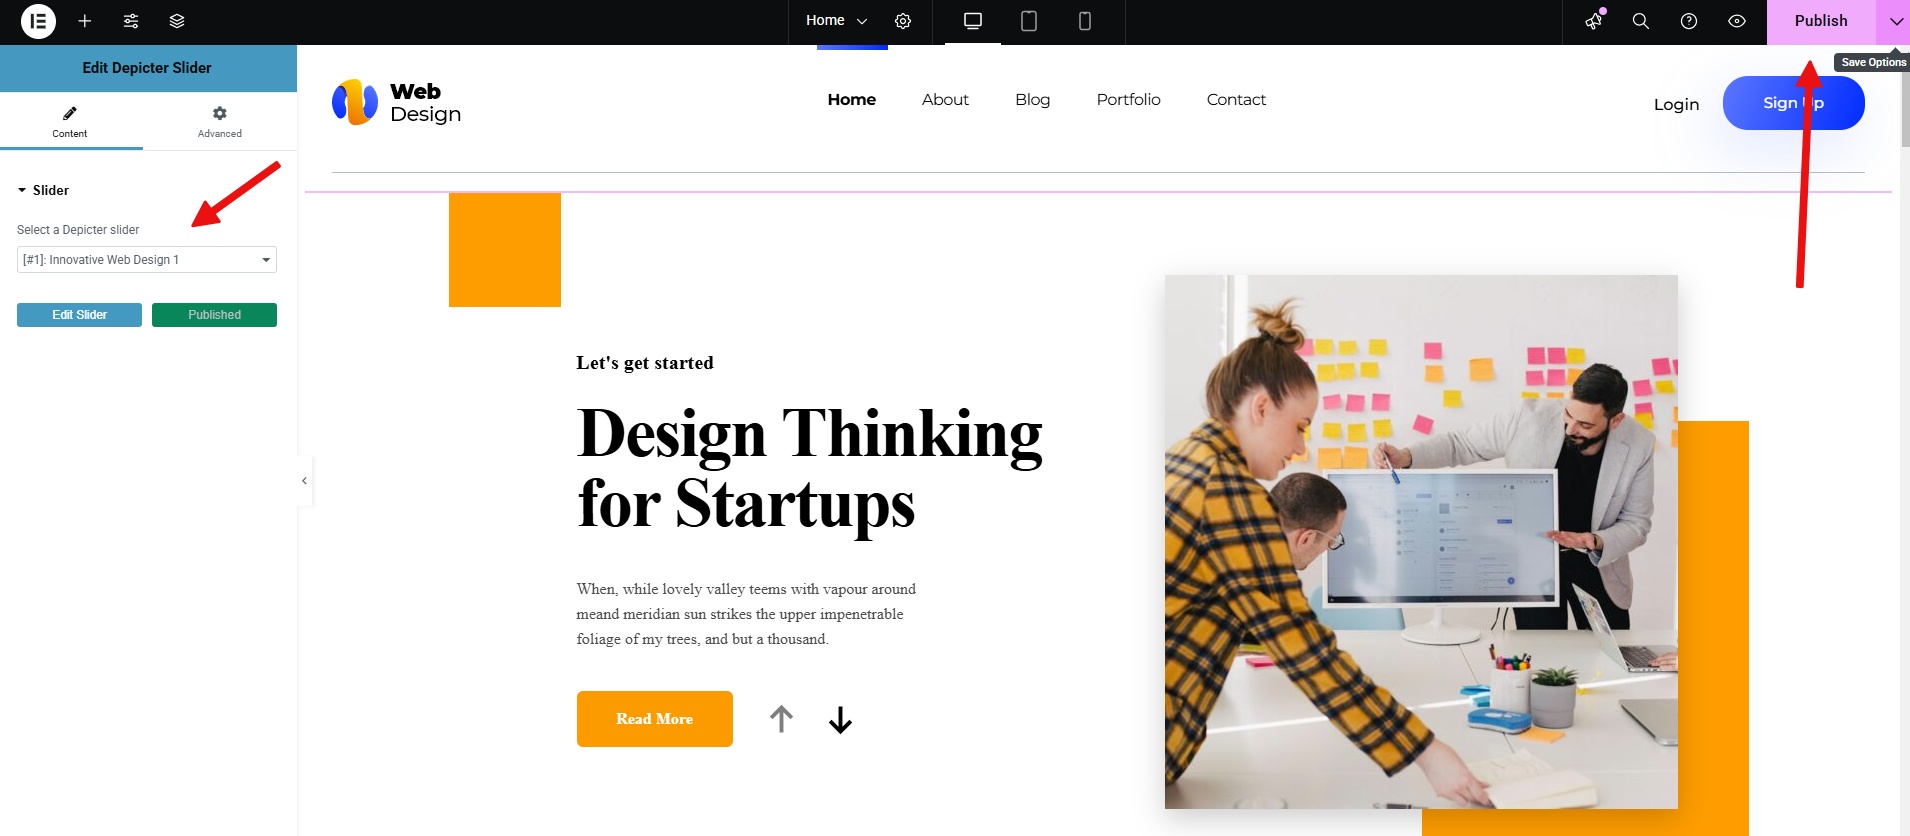
The final result of our work will be like this.
Conclusion
So, there you have it. That’s how you create a vertical slider using Depicter. We walked through the installation, importing a template, configuring the vertical settings, and adding it to a page. This approach lets you add a dynamic element to your website without a lot of hassle. And remember, Depicter works with most page builders so that you can integrate it into your existing workflow.
Leave Comment