Running a WooCommerce store is exciting. But turning visitors into paying customers is where the real challenge begins. Many store owners launch their site full of hope, only to realize sales don’t come in as easily as expected.
The good news? Boosting WooCommerce sales isn’t about luck. It’s about strategy. With the right tools, smart tweaks, and proven methods, you can turn your store into a sales machine.
In this guide, we’ll break down practical steps to increase your WooCommerce sales. So, without any further ado, let’s get started!
Key Takeaways
- Audit First: Before making changes, audit your store’s performance. Understand key metrics like conversion rate and AOV, and benchmark them against industry standards to find your biggest opportunities.
- Master SEO: Optimize your store for search engines by conducting thorough keyword research, perfecting on-page and technical SEO, and using content marketing to drive organic traffic.
- Focus on CRO: Implement Conversion Rate Optimization (CRO) by analyzing your sales funnel, enhancing product pages with high-quality visuals and social proof, and streamlining your checkout process to reduce friction.
- Increase AOV: Boost your Average Order Value (AOV) with strategic upsells and cross-sells on product pages, in the cart, and at checkout. Implement smart pricing like bundles and tiered discounts.
- Leverage Email Marketing: Build and segment your email list to run automated workflows for abandoned carts, welcome series, and post-purchase follow-ups. Email provides one of the highest ROIs in marketing.
- Prioritize Speed: A fast-loading store is crucial for sales. Optimize your site speed through quality hosting, caching, image optimization, and ensuring a seamless mobile experience.
6 Proven Steps to Skyrocket Your WooCommerce Sales
Want to sell more on your WooCommerce store? Follow these 6 proven steps to skyrocket your WooCommerce sales.
- Audit Your WooCommerce Store’s Performance
- Optimize Your WooCommerce Store for Search Engines
- Work on Conversion Rate Optimization (CRO)
- Increase Average Order Value (AOV)
- Utilize Email Marketing
- Speed Up Your WooCommerce Store
Each of these steps can give your sales a serious push. Now let’s break them down one by one and see how you can put them into action.
Step 1: Audit Your WooCommerce Store’s Performance
Before you can improve your WooCommerce sales, you must first understand where you stand. A thorough performance audit is the critical first step to identifying the leaks in your sales funnel and uncovering opportunities for growth.
1.1 Understanding Key E-commerce Metrics
Data provides the map for your optimization journey. Familiarize yourself with these essential Key Performance Indicators (KPIs) to track your store’s health:
- Conversion Rate: The percentage of visitors who complete a purchase. This is a primary indicator of your store’s overall effectiveness
- Average Order Value (AOV): The average amount spent each time a customer places an order. Increasing AOV is a direct path to higher revenue
- Cart Abandonment Rate: The percentage of shoppers who add items to their cart but leave without completing the purchase. Plugins like StoreGrowth help with reducing cart abandonment, while ensuring higher AOV.
- Customer Lifetime Value (CLV): The total revenue you can expect from a single customer over their entire relationship with your business. This metric shifts focus from single transactions to long-term profitability
- Customer Acquisition Cost (CAC): The total cost of sales and marketing efforts needed to acquire a new customer
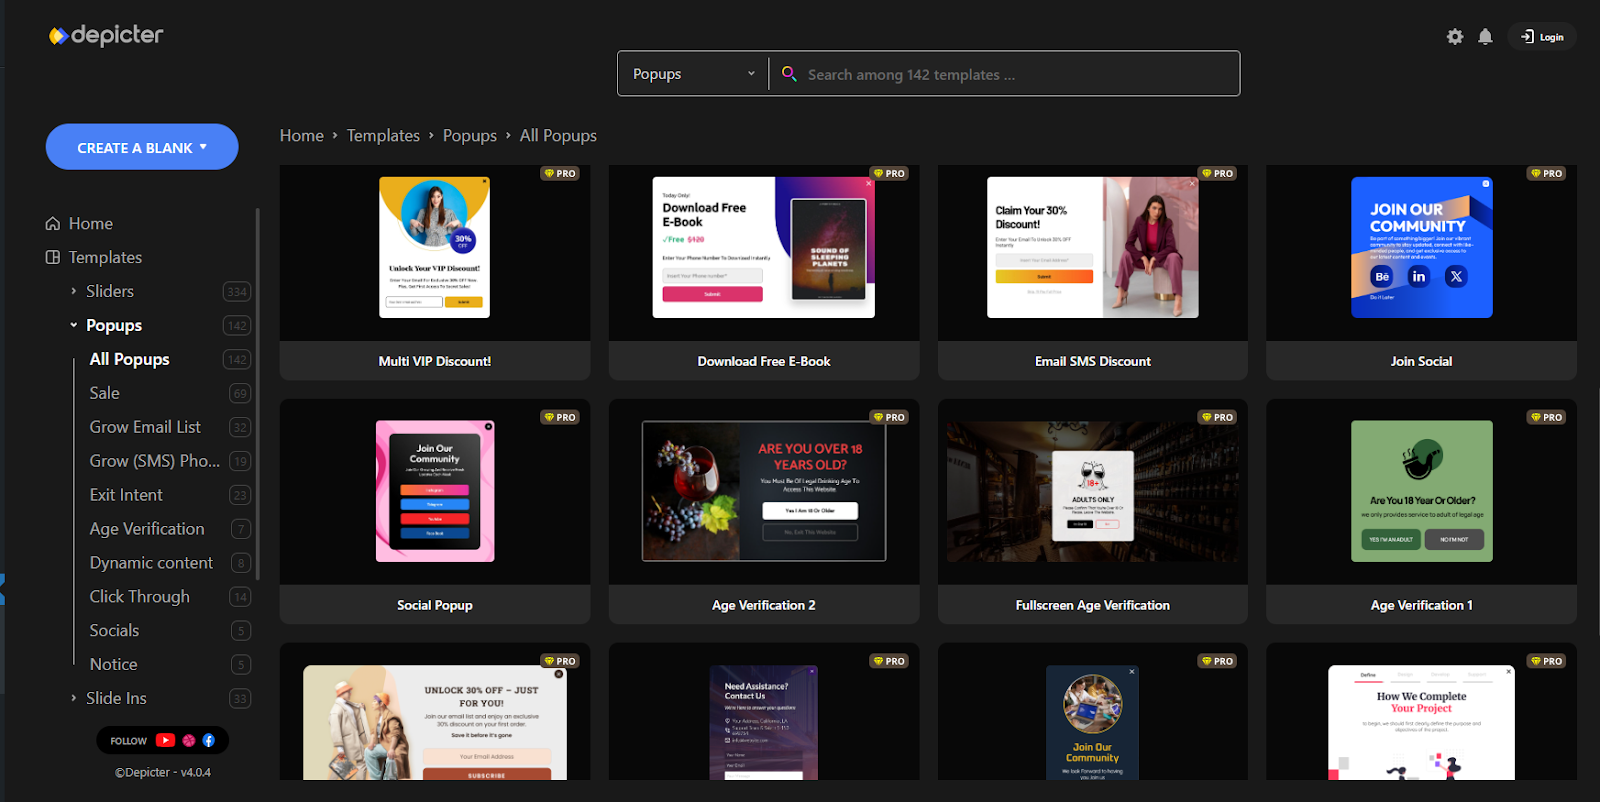
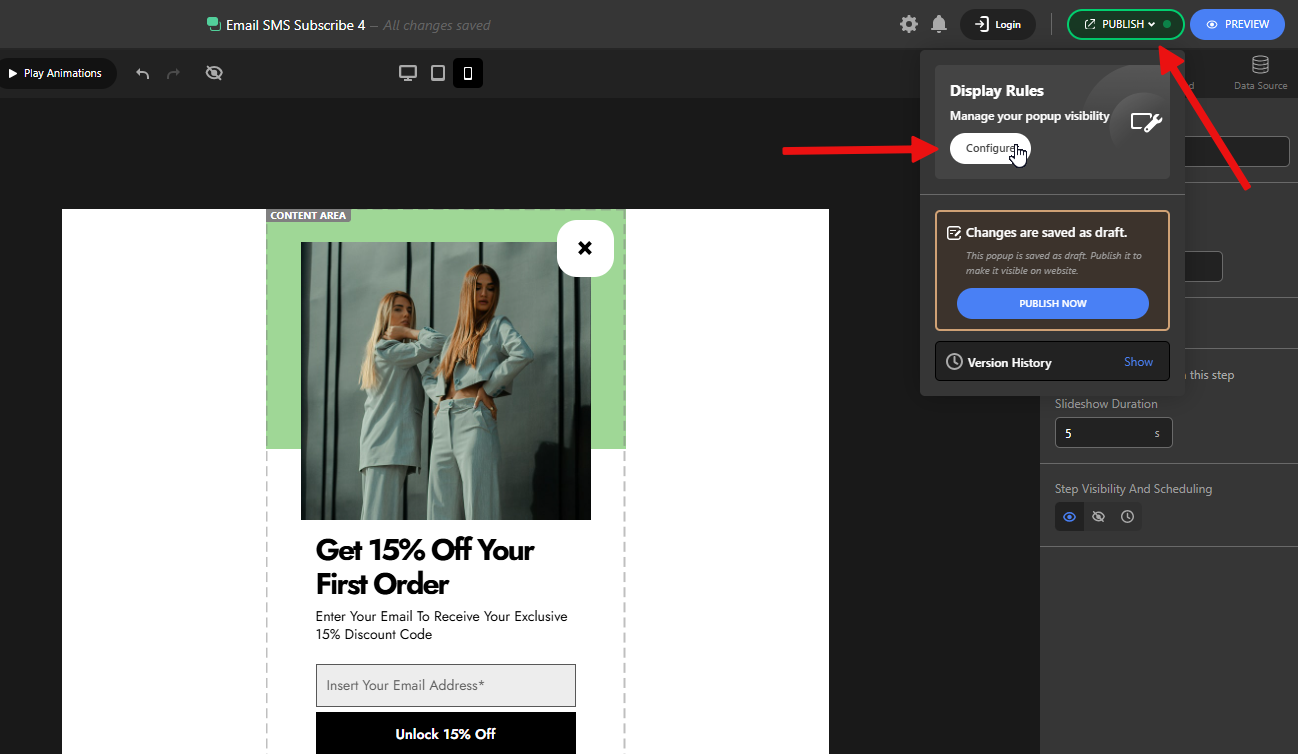
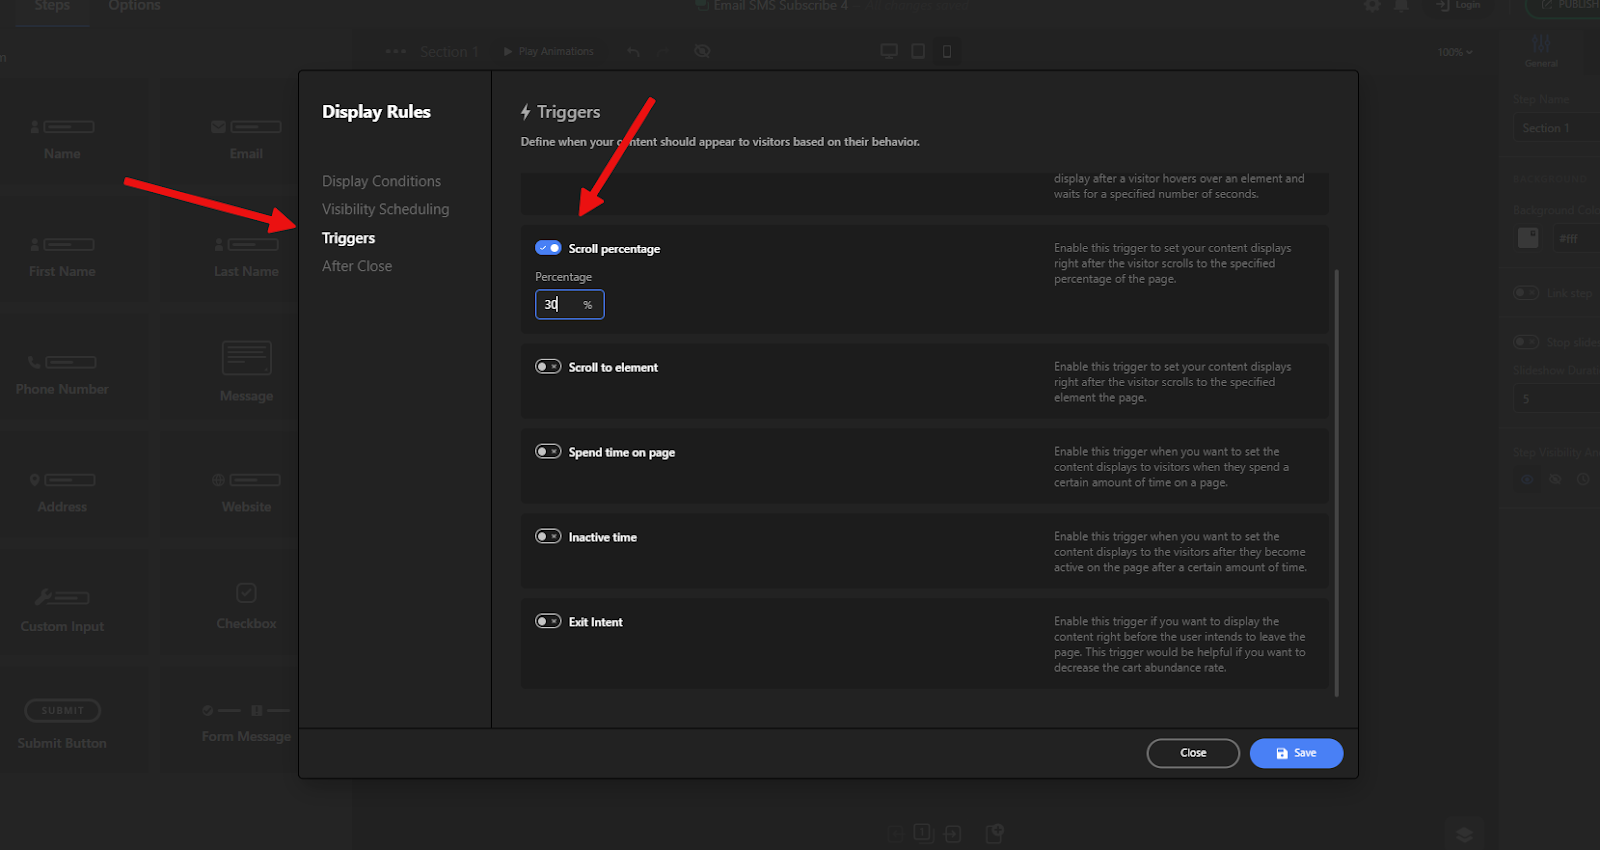
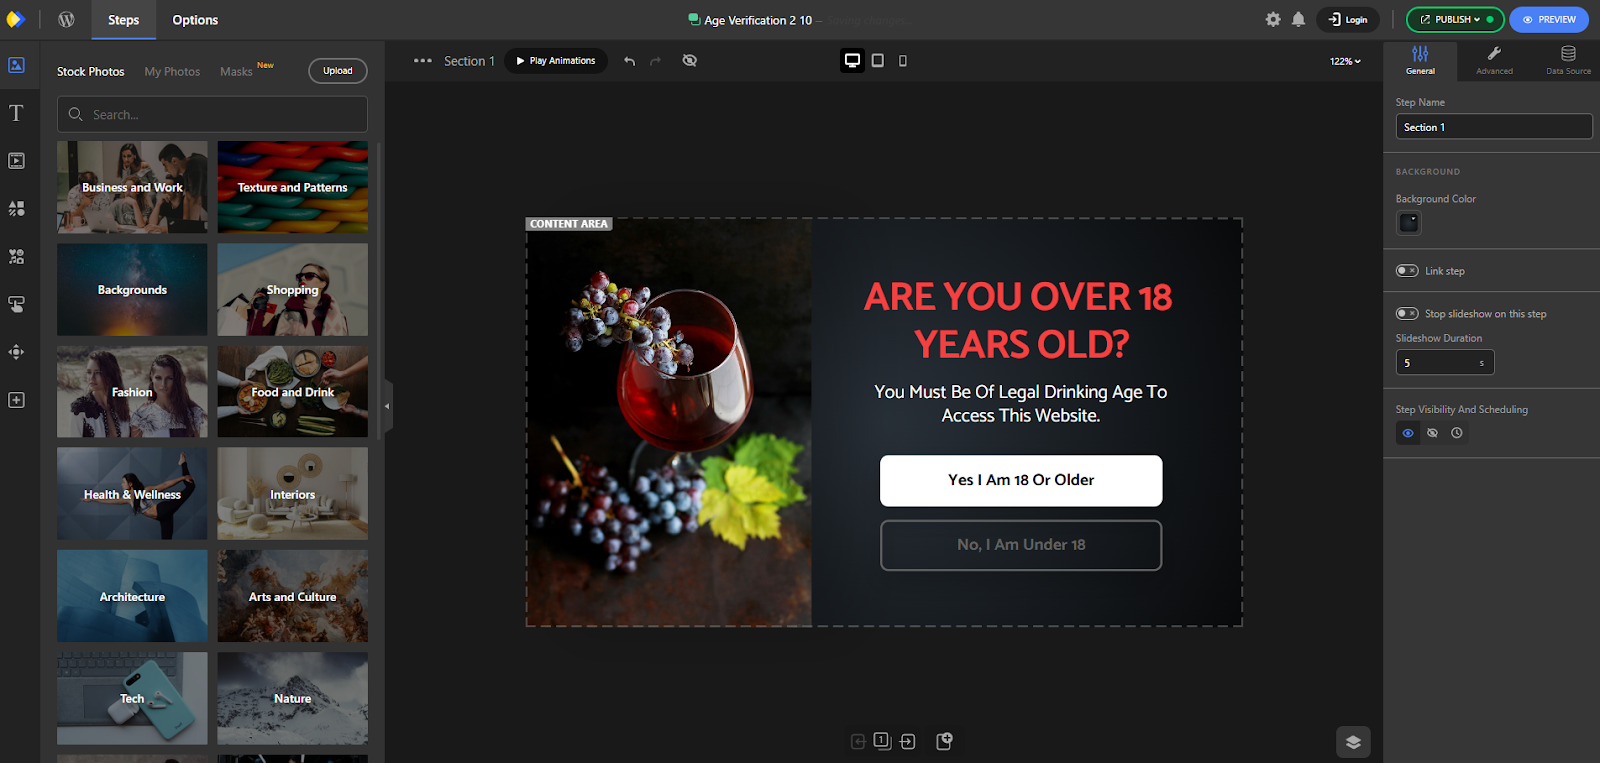
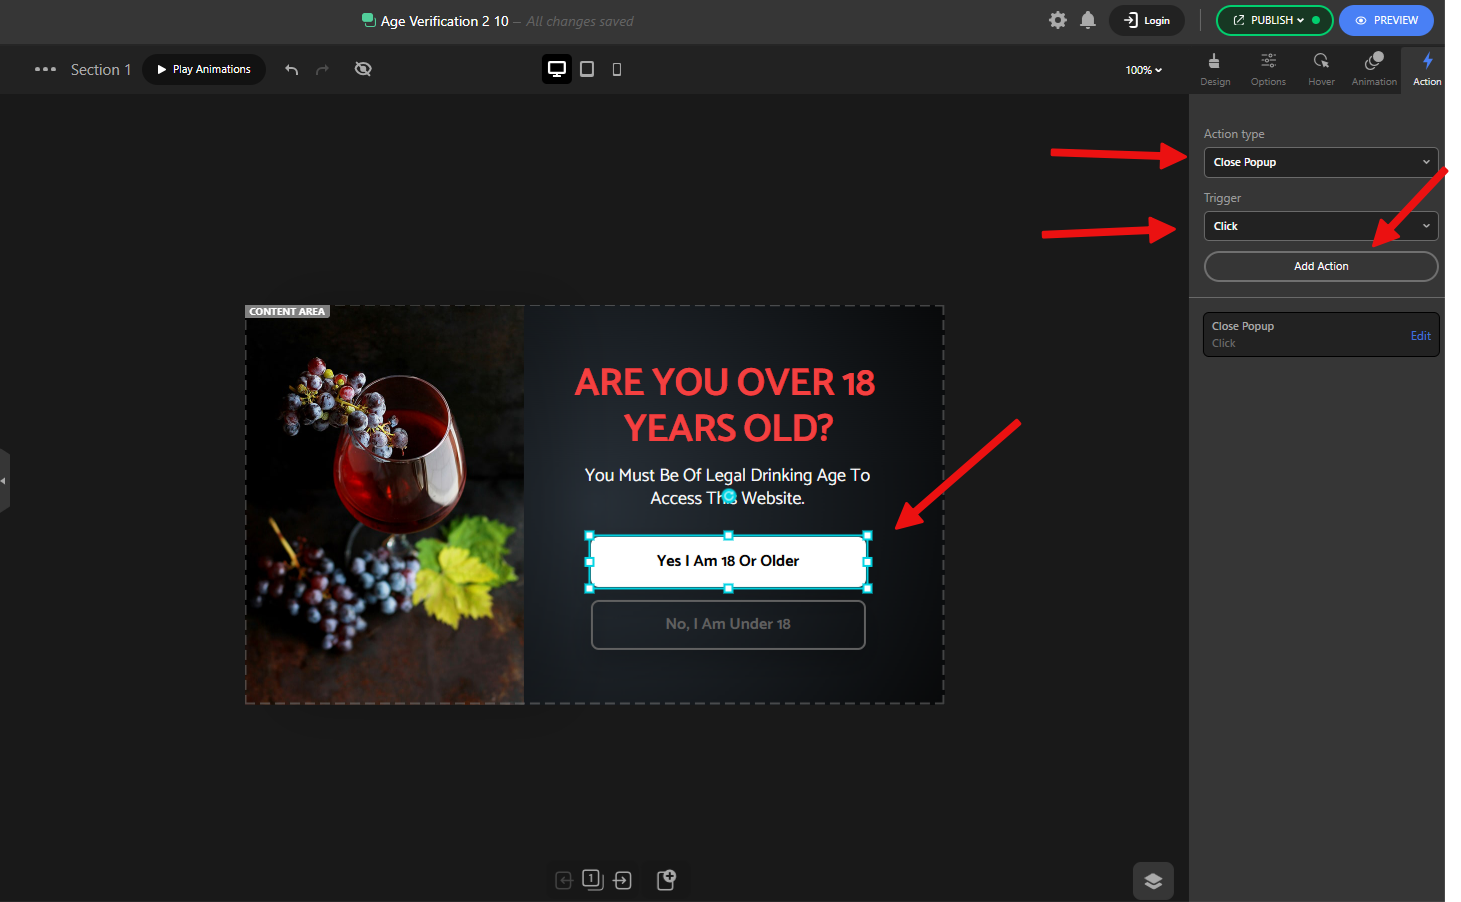
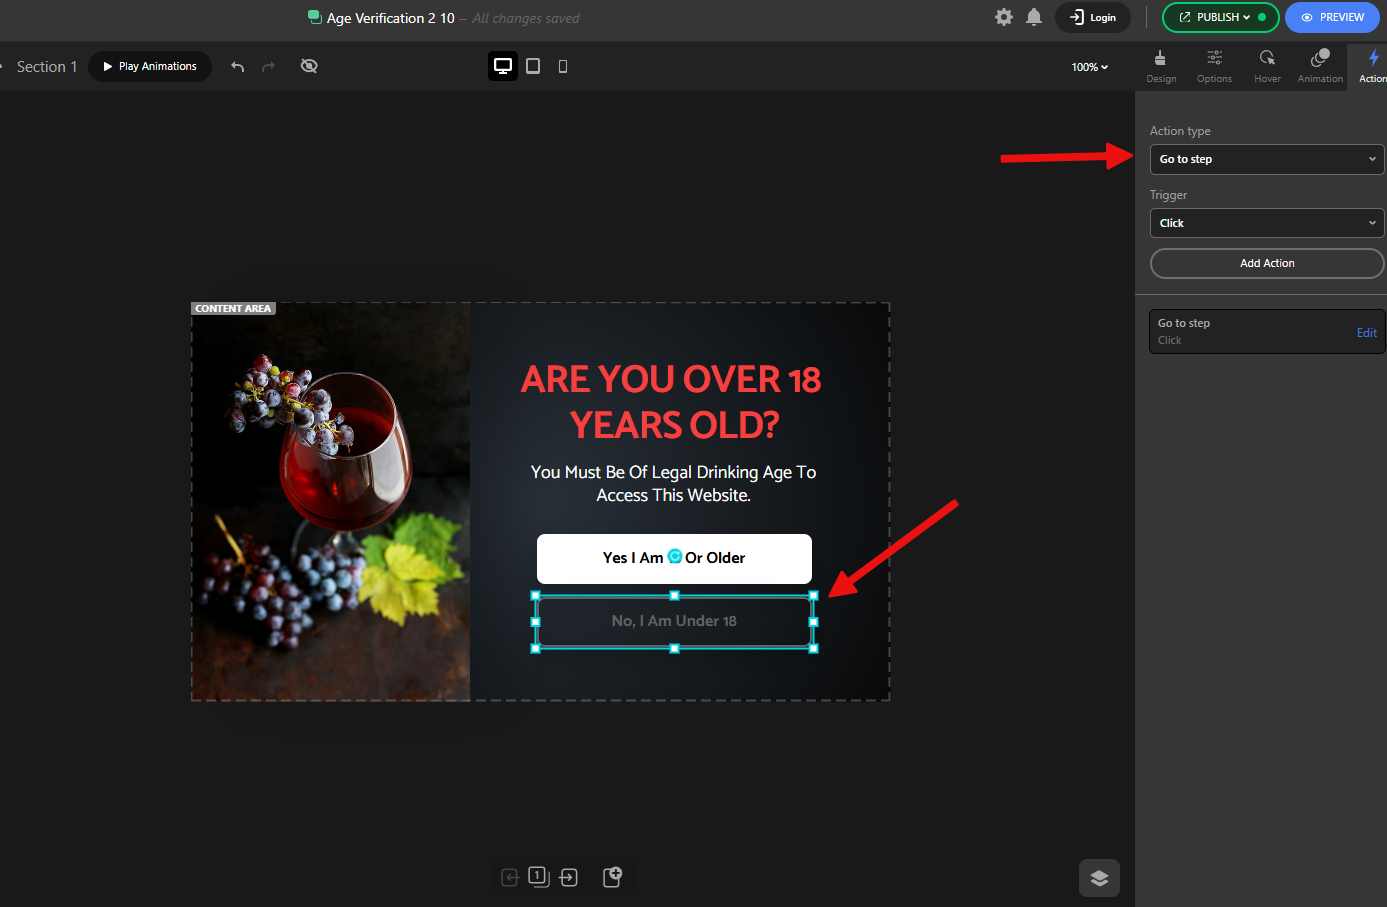
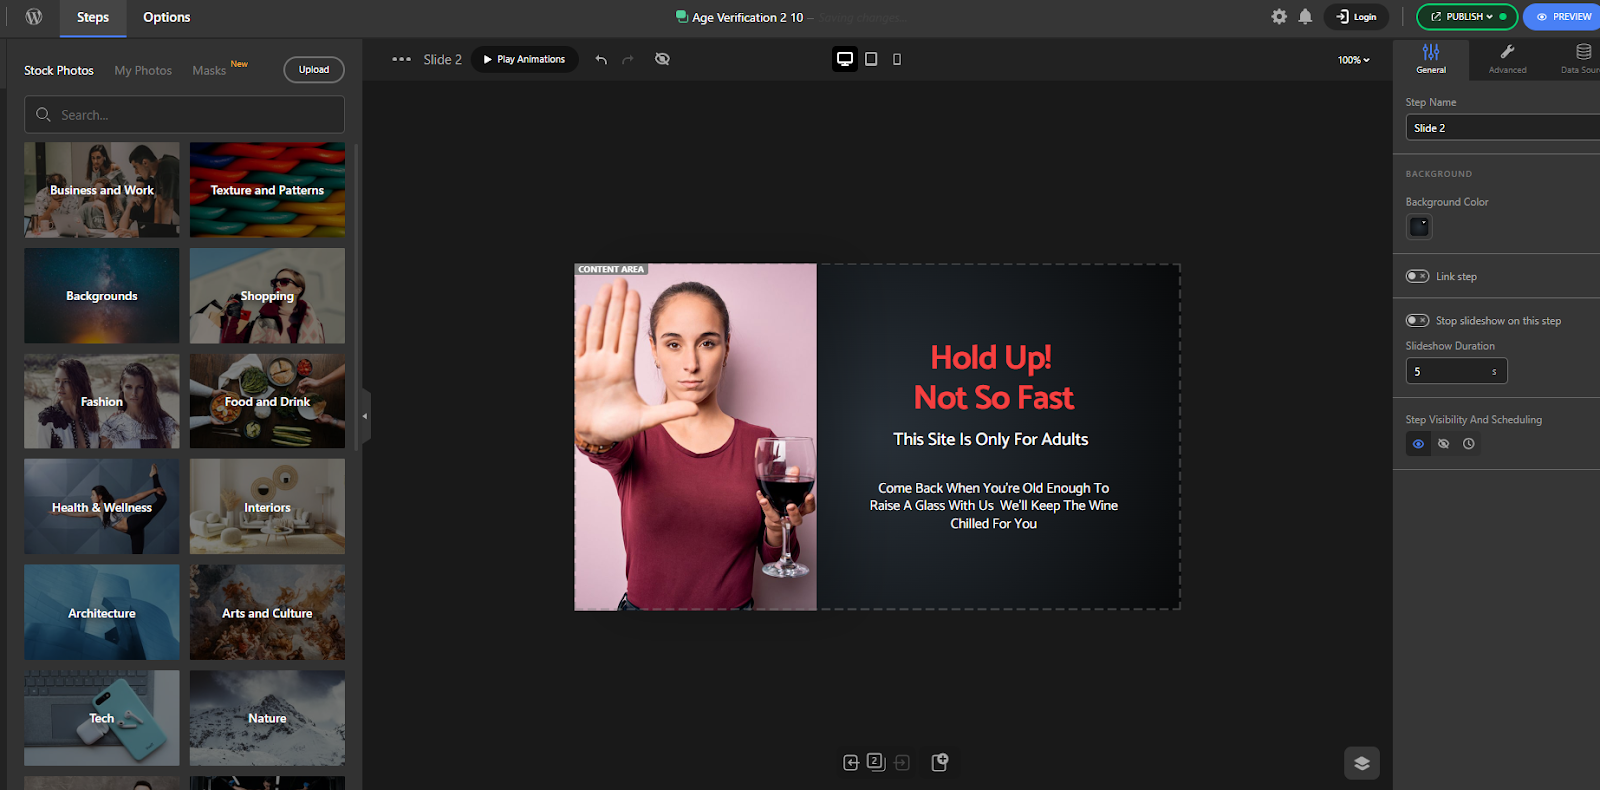
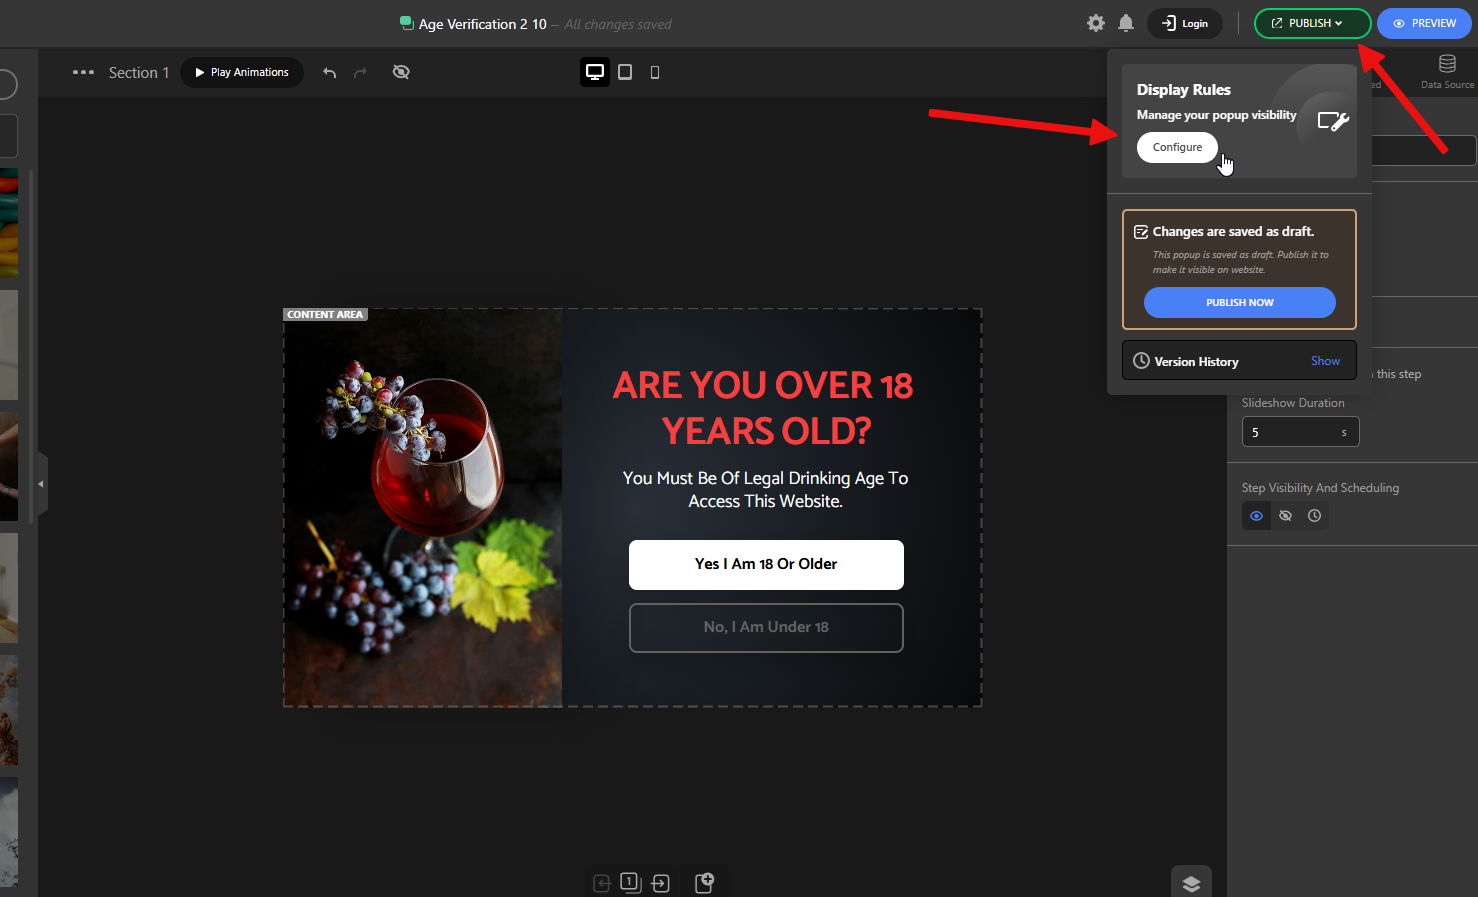
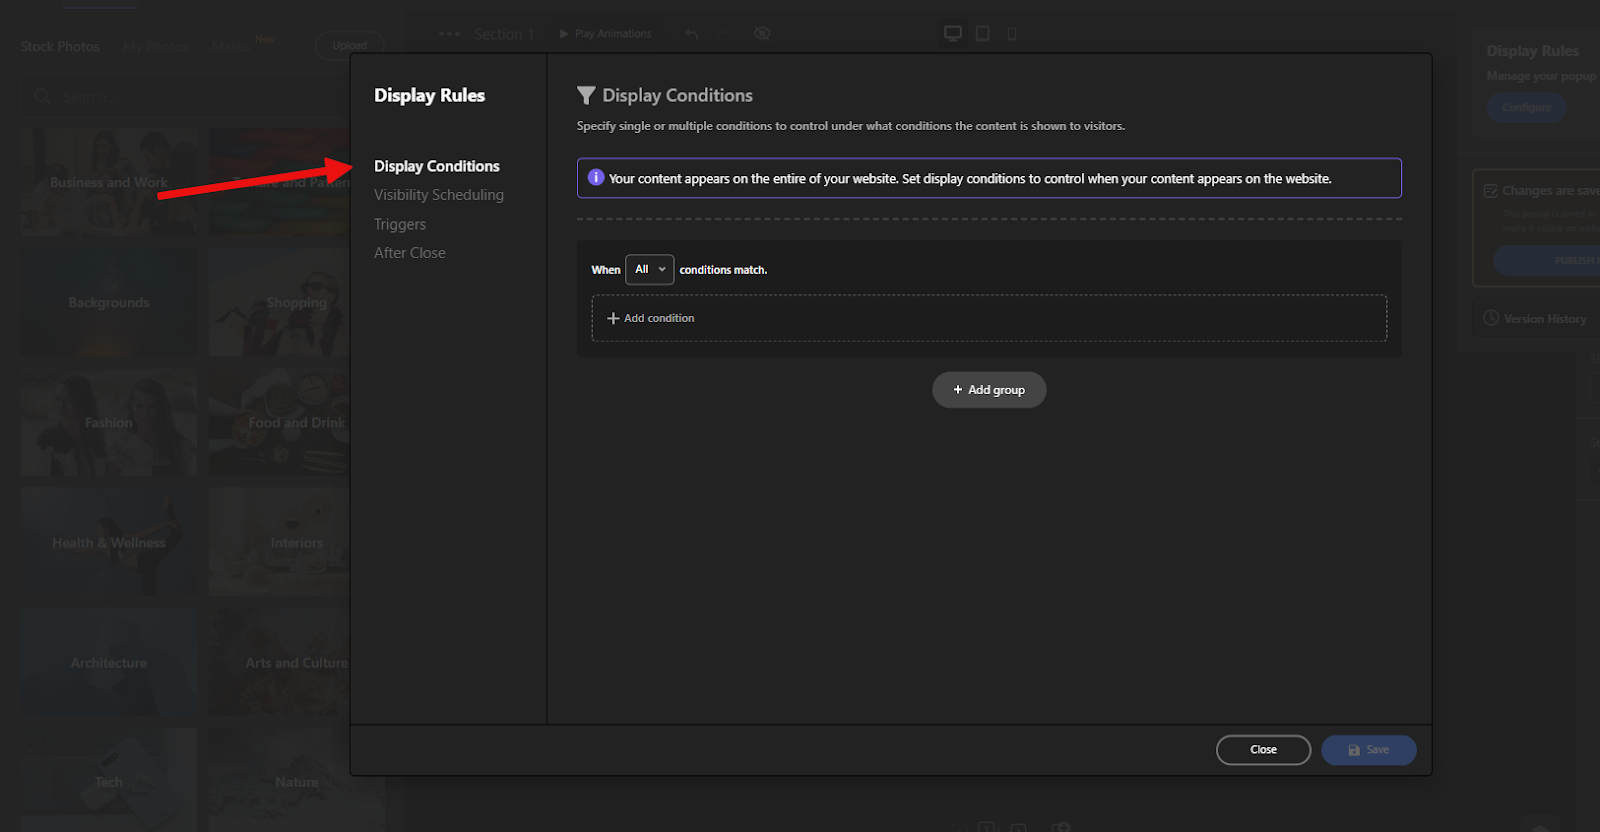
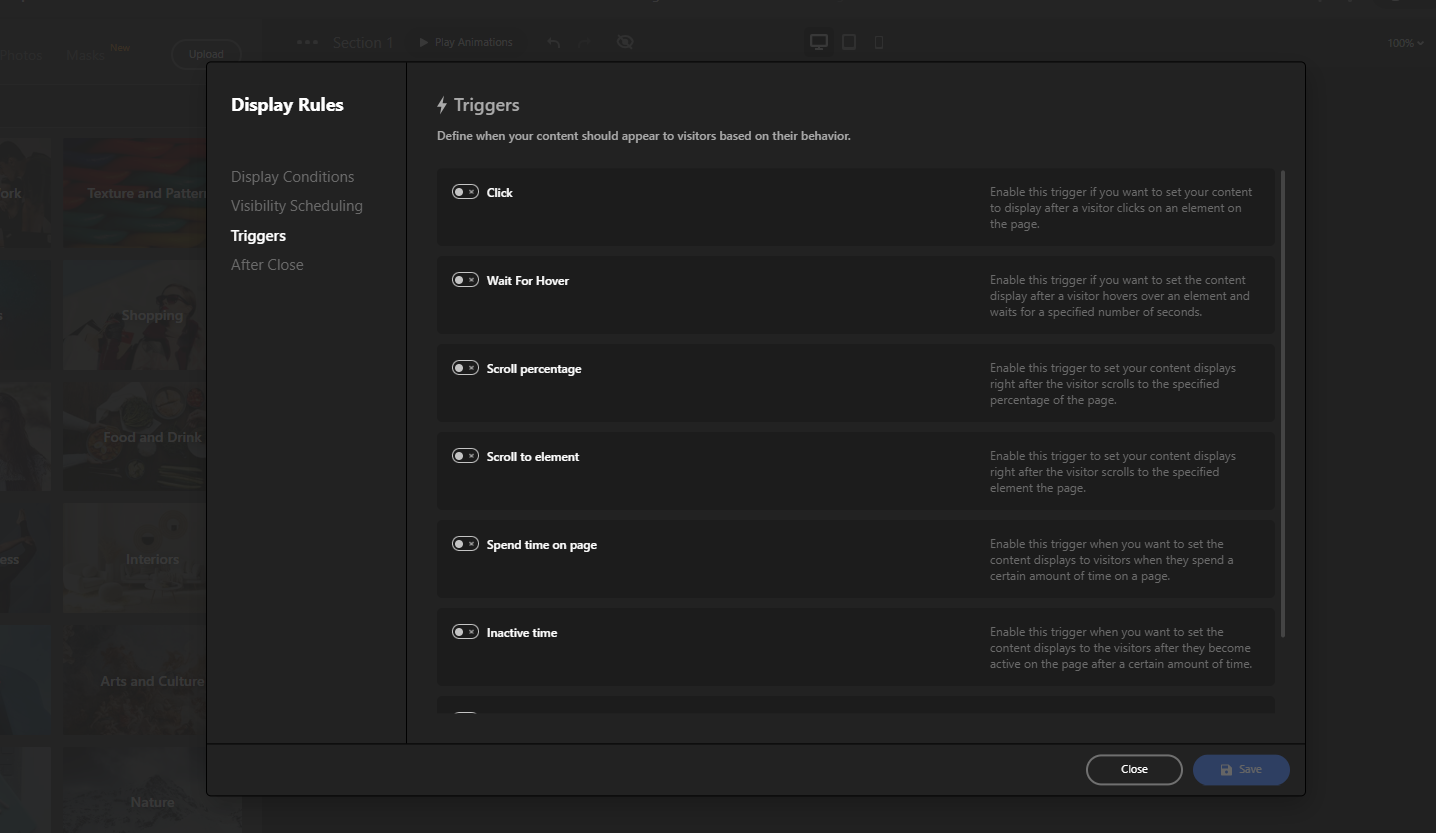
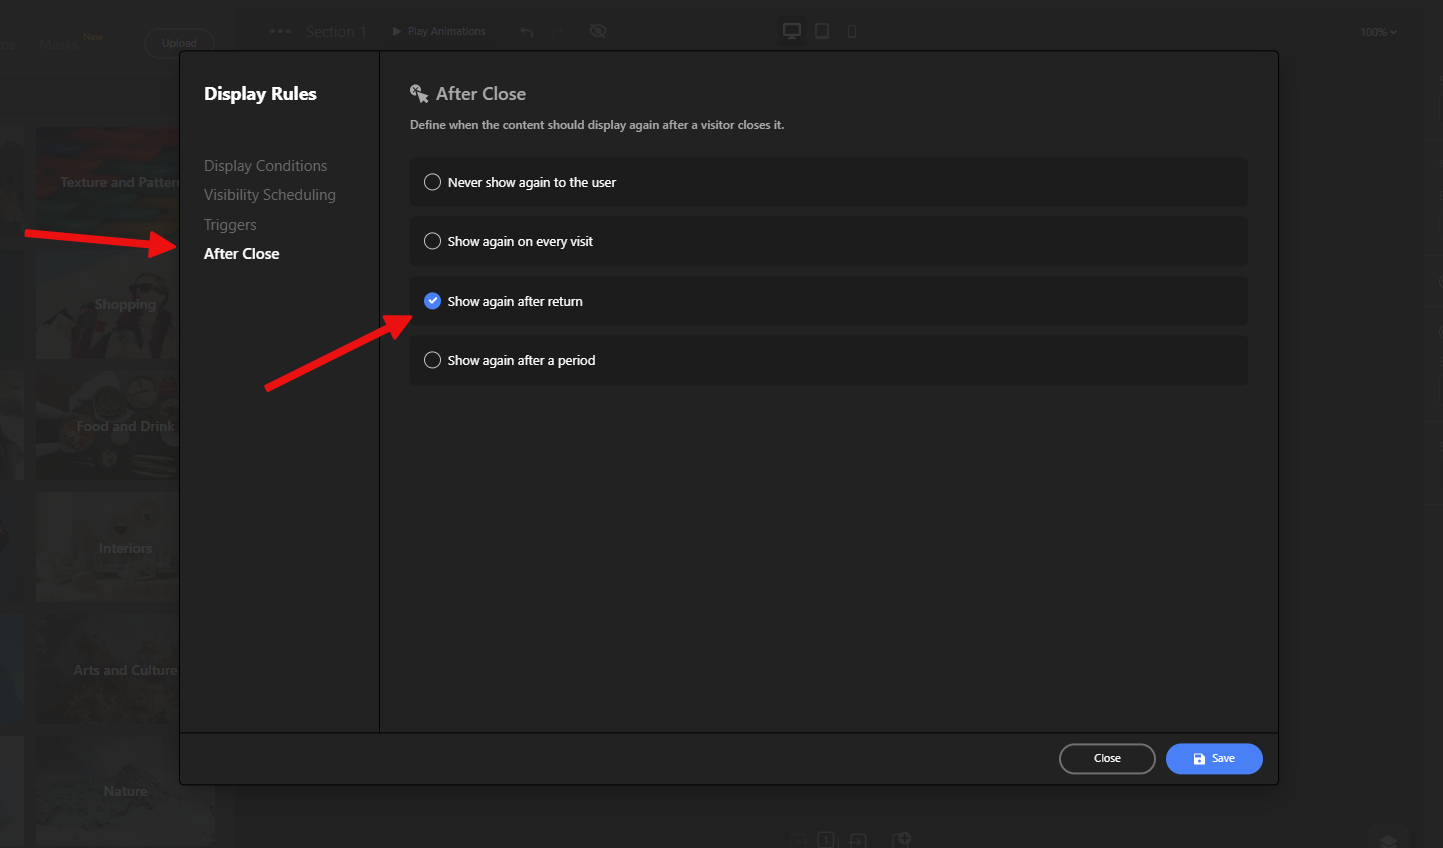
Depicter can also help reduce cart abandonment with exit-intent popups. By showing personalized offers or reminders right before a shopper leaves, you get a second chance to capture the sale and keep customers engaged.
1.2 Actionable Step: Compare Your Data to Industry Benchmarks
Once you have your numbers, see how they stack up. While performance varies, industry benchmarks provide a useful baseline.
In 2025, the average global e-commerce conversion rate hovers between 2% and 4%.
| Industry | Average Conversion Rate (2025) |
| Personal Care | 6.8% |
| Food & Beverages | 4.9% |
| Electronics & Home Appliances | 3.6% |
| Pet Care | 2.32% |
| Cars & Automobile Parts | 2.1% |
| Retail (Fashion, Jewelry) | 1.9% |
| Home Decor | 1.4% |
Source: SpeedCommerce
Device-specific benchmarks are also crucial. While mobile drives the most traffic, desktop still boasts a higher conversion rate (4.8% vs. 2.9%), highlighting the need for a smooth experience on all platforms.
1.3 A Quick-Win Audit Checklist for Your WooCommerce Store
Perform these quick checks to identify immediate areas for improvement:
- Speed Test: Use tools like Google PageSpeed Insights to analyze your load times. Your Largest Contentful Paint (LCP) should be under 2.5 seconds.
- Checkout Flow: Go through the entire purchase process yourself. Is it simple? Are there any unnecessary fields or steps? Is guest checkout an option?
- Mobile Experience: Test your store on multiple mobile devices. Are buttons large and easy to tap? Is navigation intuitive? Is the text legible without zooming?
Step 2: Optimize Your WooCommerce Store for Search Engines
Search Engine Optimization (SEO) is the art and science of making your store visible to customers actively searching for your products on Google and other search engines.
2.1 How to Do Keyword Research for Your WooCommerce Products
Effective SEO starts with understanding the exact words and phrases your customers use.
By uncovering the language they naturally type into Google, you’re not just optimizing for algorithms, you’re serving what shoppings are actually searching for; questions, and buying triggers.
- Identify Your Target Market: Understand who your ideal customer is, their pain points, and the language they use.
- Use “Google Suggest”: Start typing a product name into Google and see what autocomplete suggestions appear. These are long-tail keywords that real people are searching for.
- Analyze Competitors: Use SEO tools to see which keywords are driving traffic to your competitors’ sites.
- Focus on Search Intent: Determine the goal a user has when searching. For e-commerce, keywords with commercial intent (e.g., “buy red running shoes”) are highly valuable.
2.2 On-Page SEO for Product & Category Pages: A Complete Checklist
On-page SEO involves optimizing the individual pages of your store.
When each page is optimized, search engines can better understand what you’re selling, and customers are more likely to find you right when they’re ready to buy.
- Title Tags: Include your primary keyword near the beginning of the title. Keep it under 65 characters to avoid it being cut off in search results.
- Meta Descriptions: Write a compelling summary (under 150 characters) that includes your keyword and entices users to click.
- Headings (H1, H2, etc.): Use a single, keyword-rich H1 tag for your page title. Use H2 and H3 tags to structure the rest of your content.
- Product Descriptions: Write unique, benefit-driven descriptions. Don’t just copy from the manufacturer, as this can create duplicate content issues.
- Image Alt Text: Add descriptive alt text to all product images. This helps search engines “see” your images and improves accessibility.
- URLs (Slugs): Use short, descriptive URLs that include your main keyword (e.g., yourstore.com/womens-shoes/red-running-shoes).
2.3 Technical SEO Best Practices for WooCommerce
Technical SEO ensures your site’s foundation is solid, allowing search engines to crawl and index it efficiently.
- Submit an XML Sitemap: A sitemap is a roadmap of your store. Use an SEO plugin to generate one and submit it to Google Search Console.
- Use Schema Markup (Rich Snippets): Schema is a special code that helps search engines understand your product data (price, availability, reviews). This can result in “rich snippets”, enhanced search listings with star ratings and pricing, that dramatically increase click-through rates.
- Ensure Mobile-Friendliness: A responsive design that adapts to all screen sizes is non-negotiable.
- Fix Broken Links: Routinely scan your site for dead links and update or remove them to ensure a smooth user experience.
- Secure Your Site with HTTPS: An SSL certificate is essential for protecting customer data and is a confirmed ranking factor.
2.4 Using Content Marketing and Link Building to Drive Traffic
Content marketing establishes your brand as an authority and attracts customers through valuable information.
- Start a Blog: Write blog posts that answer your customers’ questions, offer solutions to their problems, and provide value beyond just selling a product. This can include “how-to” guides, buying guides, or industry news.
- Create Video Content: Product demonstrations, tutorials, and behind-the-scenes videos can engage customers and be shared across social media.
- Build Links: Earn backlinks from reputable sites in your industry by creating high-quality content, contributing expert quotes to media outlets, or appearing as a guest on podcasts.
2.5 Essential WooCommerce SEO Plugins and Tools
Make the most out of powerful plugins to simplify your SEO efforts:
All in One SEO (AIOSEO)
AIOSEO is designed for store owners who want powerful SEO without the steep learning curve. It guides you through optimizing titles, meta descriptions, and product content with built-in checklists.
Beyond on-page SEO, it automatically generates XML sitemaps, integrates with social media, and supports schema markup, helping search engines better understand your products and improving your chances of showing up in rich results
Rank Math
Known for its extensive free feature set, including basic WooCommerce SEO and internal link suggestions. It covers all the SEO basics (like meta optimization and breadcrumbs) while also providing WooCommerce-specific features such as product schema, advanced SEO analysis, and internal link suggestions.
For growing stores, it even includes features like 404 monitoring and redirection management, so you can keep your site healthy without extra plugins.
Yoast SEO
Yoast is trusted by millions of WordPress users. Its strength lies in content optimization, it analyzes your product pages and blog posts in real time, offering suggestions to improve readability and keyword use.
The dedicated WooCommerce SEO add-on takes it a step further by optimizing category pages, breadcrumbs, and structured data, making sure your products are not just listed, but showcased effectively in search results.
2.6 Local SEO for WooCommerce
For businesses with physical stores, Local SEO is a game-changer. It connects your digital presence with your physical locations, targeting high-intent customers searching for products “near me.”
Its WooCommerce add-on further optimizes category pages, breadcrumbs, and structured data so your products stand out in search results.
Optimize Your Google Business Profile (GBP)
This is your digital storefront on Google. Complete every field: business name, address, phone number (NAP), hours, and a detailed description.
Use precise categories (e.g., “Specialty Food Shop”) and add high-quality photos of your products and store. Enable messaging and post regular updates about new items or sales.
Create Location-Specific Landing Pages:
Each physical store should have its own dedicated page on your website. This page should include the store’s unique NAP, hours, local testimonials, and localized content (e.g., “Best Winter Coats for the Denver Climate”).
This helps each location rank independently in its geographic area.
Use Local Keywords
Optimize your location pages and content with local keywords. Instead of just “handmade furniture,” target “handmade furniture in Austin.”
This reduces competition and attracts highly qualified local buyers.
Integrate WooCommerce with Local Offerings
Use your WooCommerce setup to offer local pickup, same-day delivery within specific zones, or display in-store stock levels.
These features bridge the gap between your online and offline experiences, providing convenience that drives local sales.
Step 3: Work on Conversion Rate Optimization (CRO)
Conversion Rate Optimization (CRO) is the process of systematically improving your website to increase the percentage of visitors who make a purchase.
3.1 Using Funnel Analysis to Find and Fix Revenue Leaks
Use analytics tools to track the customer journey from the homepage to the thank you page.
Identify where users are dropping off – is it on a specific product page? Or during the checkout process? This data will reveal the friction points that need fixing.
3.2 How to Optimize Product Pages for Higher Conversions
The product page is your digital salesperson. Every element must work to persuade the visitor.
- Use High-Quality Visuals: Display multiple high-resolution images and product videos to help customers visualize the item.
- Write Persuasive Copies: Rather than selling your features, focus on the benefits derived from your product. Use clear, compelling language and a prominent call-to-action (CTA) button.
- Leverage Social Proof: Displaying customer reviews and ratings is incredibly powerful. A product with just five reviews can see a 270% increase in its conversion rate compared to one with none. You can also use tools to display live sales notifications to build trust.
- Offer a Quick View Option: Allow users to see product details and add items to their cart from the category page without a full page load, reducing friction. A Fly Cart can further streamline this experience.
3.3 Optimizing the WooCommerce Checkout Process to Reduce Abandonment
The checkout is where most sales are lost. Make it as frictionless as possible.
- Eliminate Surprises: Be transparent about all costs, including shipping and taxes, upfront. Unexpected costs account for the majority of carts being abandoned.
- Offer Guest Checkout: Any forceful action creates friction. By pushing users to create an account, a lot of customers will fall off the lead pipeline. 24% of shoppers will abandon a purchase if required to create an account.
- Simplify Forms: Only ask for the absolute minimum information required to complete the order. Use a single-page checkout where possible.
- Provide Multiple Payment Options: Accept major credit cards, digital wallets like PayPal and Apple Pay, and other popular payment gateways.
3.4 Using Trust Signals and Urgency to Increase Sales
Build confidence and motivate immediate action with psychological triggers.
- Display Trust Seals: Show security badges (SSL certificates) and logos of accepted payment methods to reassure customers their data is safe
- Create Urgency: Use limited-time offers and countdown timers to encourage customers to buy now rather than later.
- Signal Scarcity: Display low-stock warnings (e.g., “Only 3 left!”) to create a fear of missing out (FOMO).
With Depicter, you can easily design time-limited offers like countdown timers, seasonal banners, or flash sale popups. These visuals push customers to act faster and directly improve your WooCommerce conversion rate.
3.5 How to A/B Test Your WooCommerce Store for Better Results
Don’t guess what works – test it. A/B testing (or split testing) involves comparing two versions of a page to see which one performs better.
- What to Test: Experiment with different headlines, product descriptions, CTA button colors and text (“Add to Cart” vs. “Buy Now”), and checkout page layouts.
- How to Test: Use tools like Google Optimize, VWO, or Optimizely to split your traffic between the two versions and measure the results.
- Best Practices: Formulate a clear hypothesis for each test (e.g., “Changing the CTA button to red will increase clicks”) and run the test long enough to gather statistically significant data.
Step 4: Increase Average Order Value (AOV)
Increasing the amount each customer spends is one of the fastest ways to grow revenue without needing more traffic.
We like to optimize our WooCommerce stores with the StoreGrowth plugin, as its advanced features help to lift the AOV, decrease cart abandonment, and encourage customer loyalty.
4.1 Upsell and Cross-sell Strategies for WooCommerce
Upsells
Encouraging customers to purchase a more expensive, premium version of the product they are considering (e.g., a larger size, a more powerful model).
Cross-sells
Recommending complementary products that enhance the original purchase (e.g., suggesting batteries for an electronic toy or a case for a new phone).
Where to Implement:
- Product Pages: Suggest “Frequently Bought Together” bundles.
- Cart/Checkout Page: Use an “order bump” – a simple, one-click offer presented directly on the checkout form – to add a low-cost, high-margin item.
- Post-Purchase: Use the “thank you” page or follow-up emails to offer a special discount on a related product.
Implementing effective upsells and order bumps is the fastest way to increase AOV. StoreGrowth’s one-click order bump module allows you to add irresistible offers directly on your checkout page.
A complete suite of tools can help you implement these powerful tactics. Plugins like StoreGrowth are designed to seamlessly integrate upselling and cross-selling into your store.
4.2 Implementing Smart Pricing Tiers and Packages
Product Bundling
Group several related products together and offer them at a discounted price compared to buying each item individually. This increases the perceived value and encourages larger purchases.
Volume Discounts
Offer tiered pricing that rewards customers for buying in bulk (e.g., “Buy 2 get 10% off, Buy 3 get 15% off”).
Step 5: Utilize Email Marketing
Email marketing is a powerful channel for building customer relationships and driving repeat purchases. In Digital Marketing, email marketing has always consistently delivered one of the highest ROI.
5.1 How to Build and Segment Your Email List
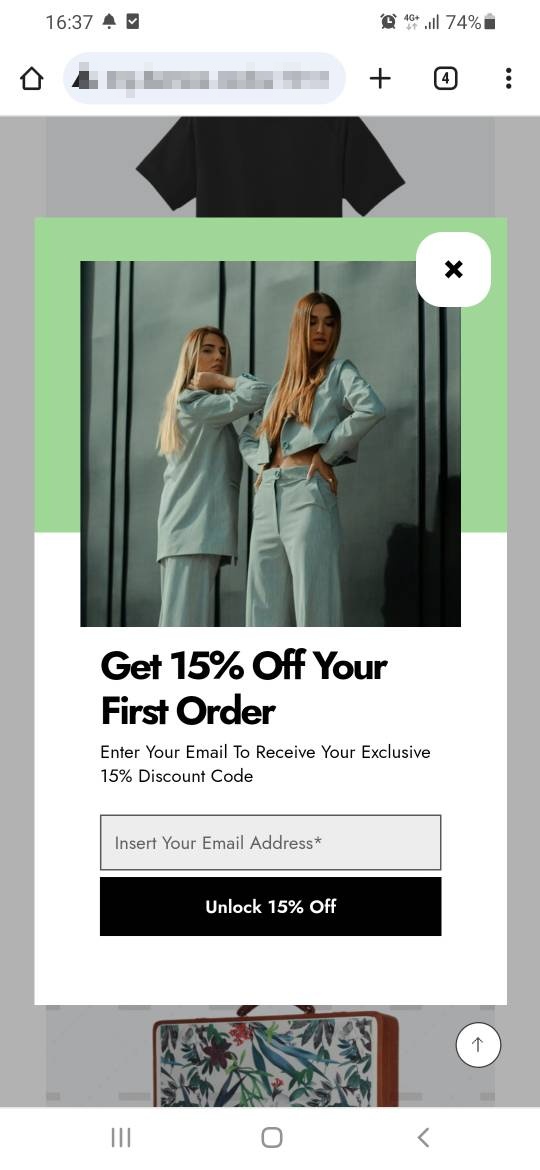
- Capture Emails: Use pop-ups to offer a discount in exchange for an email address. Add a simple, GDPR-friendly checkbox at checkout to let customers opt-in to your newsletter.
- Segment Your Audience: Group your subscribers based on their purchase history, browsing behavior, or demographics. This allows you to send highly relevant and personalized messages.
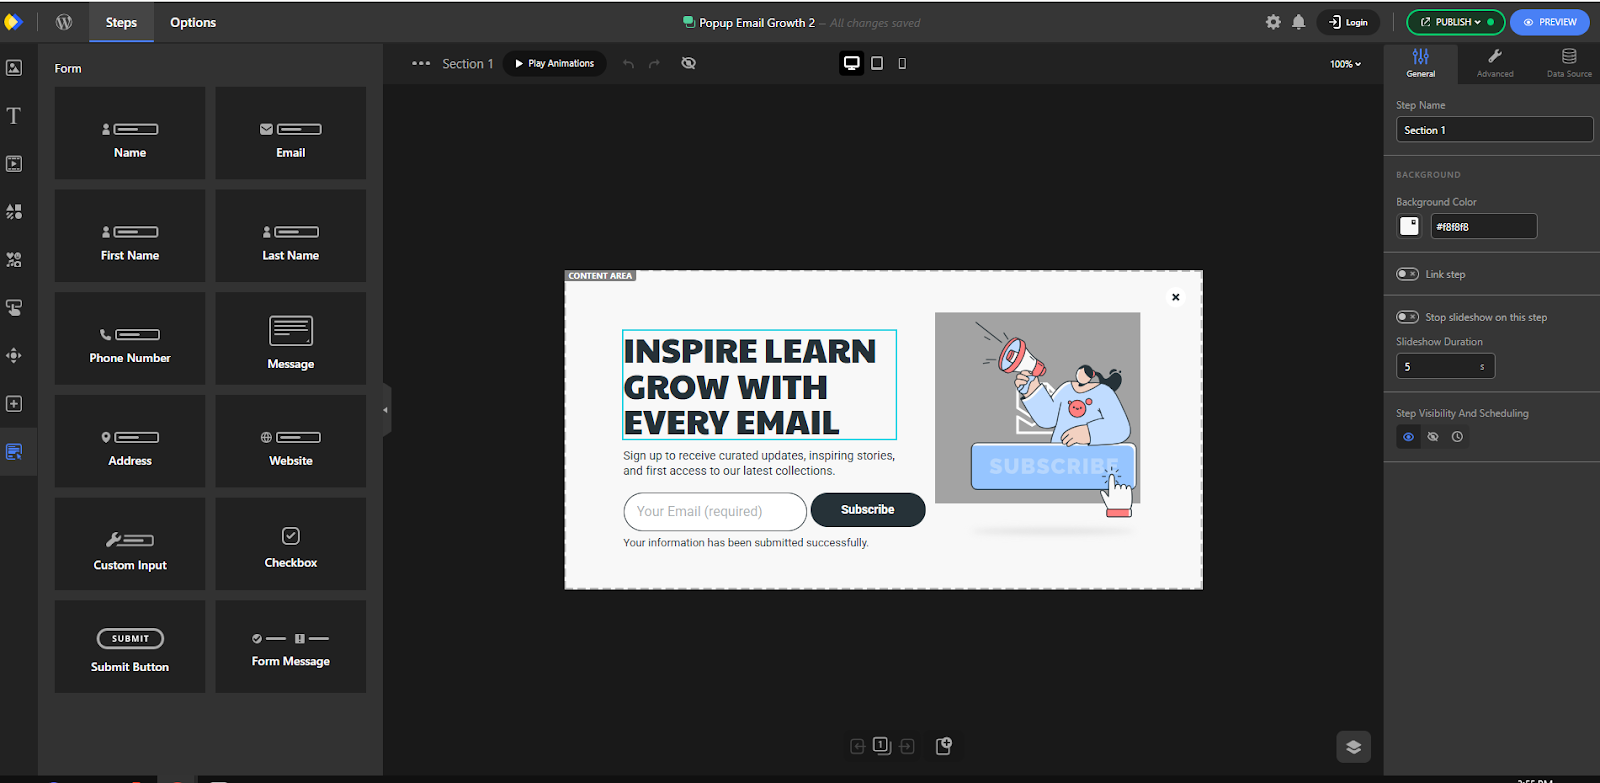
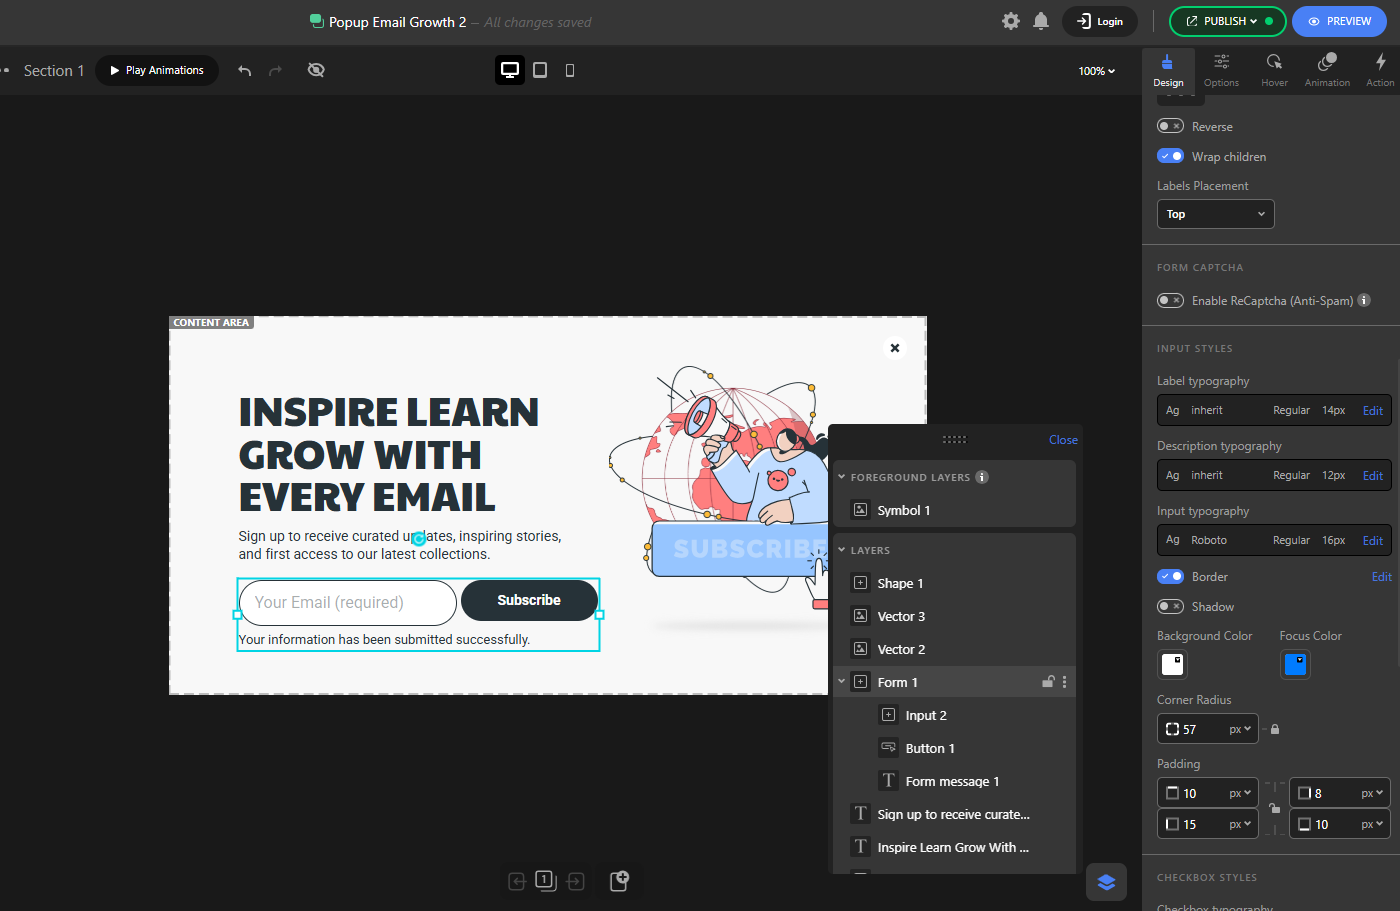
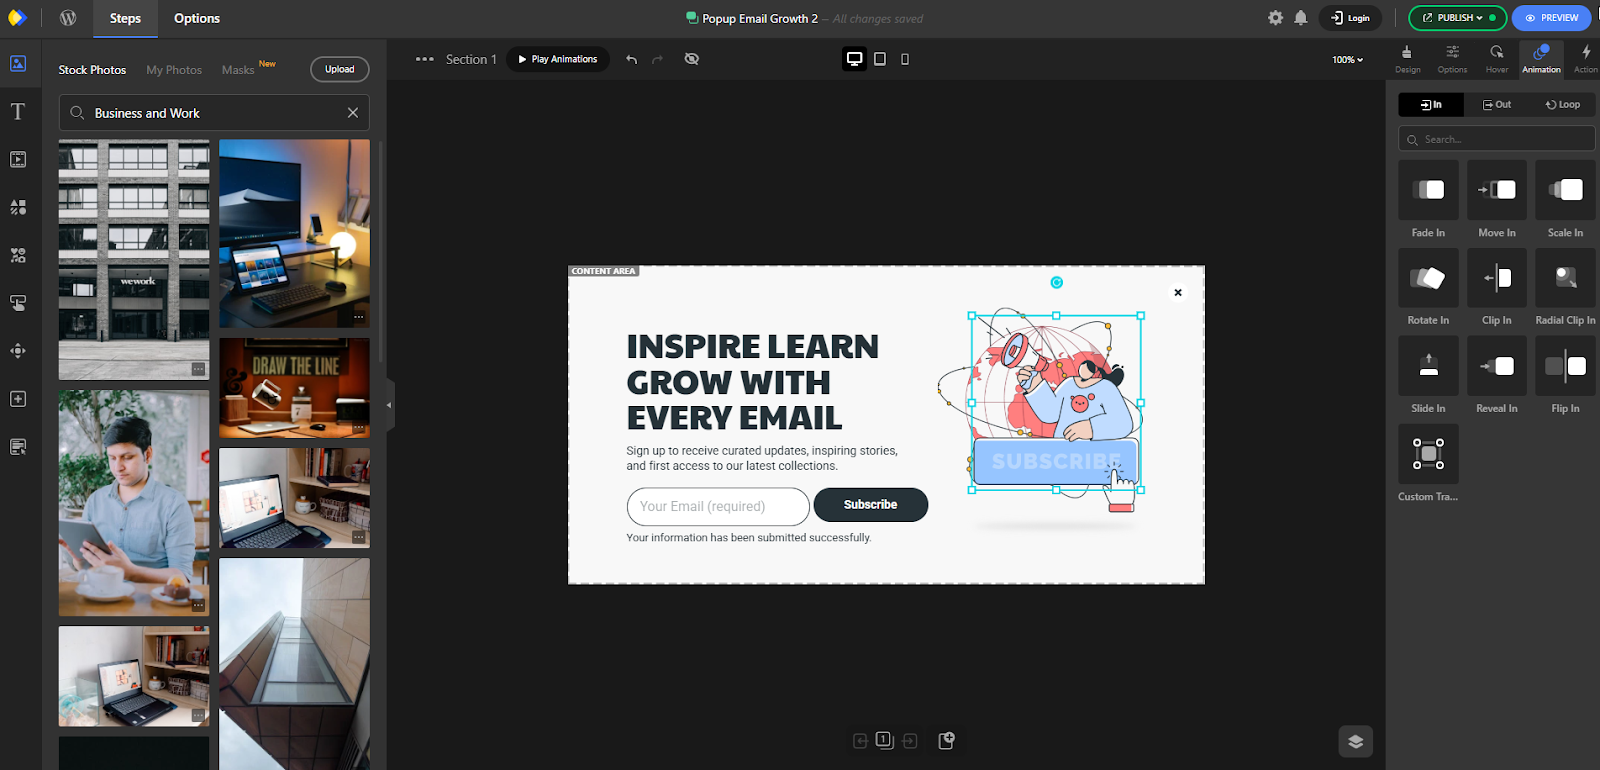
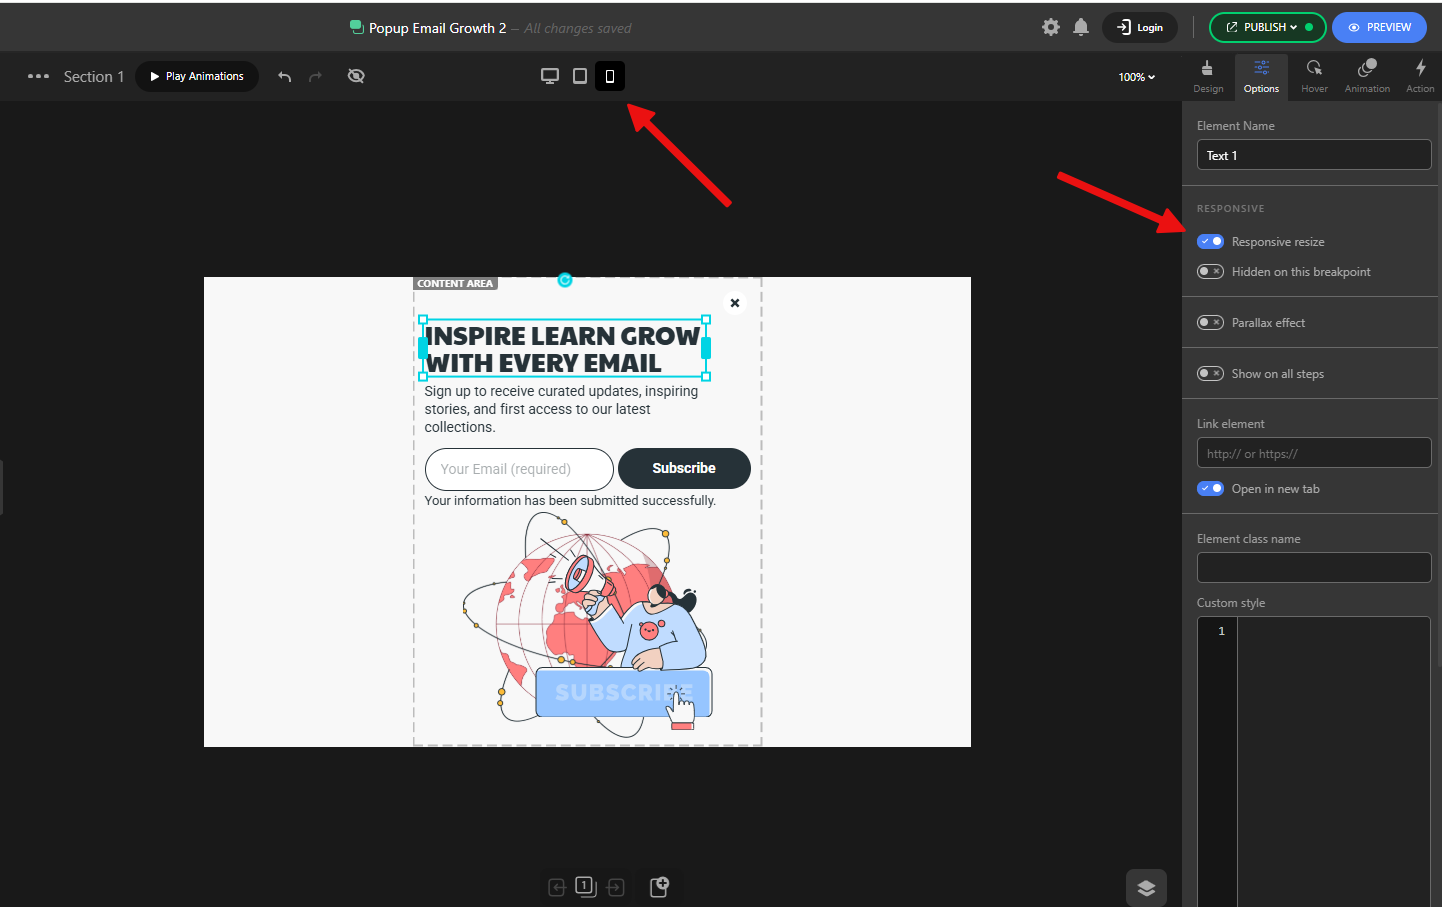
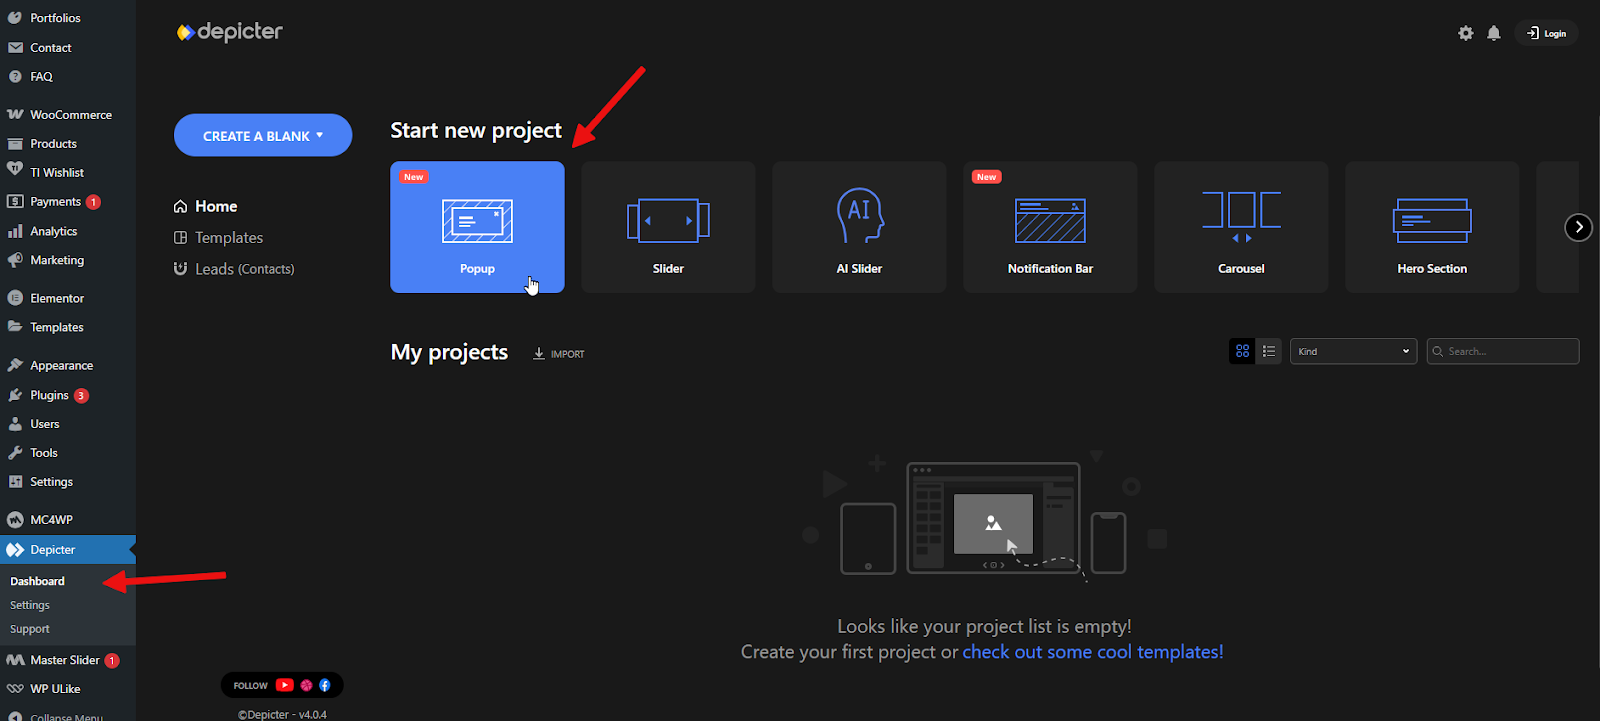
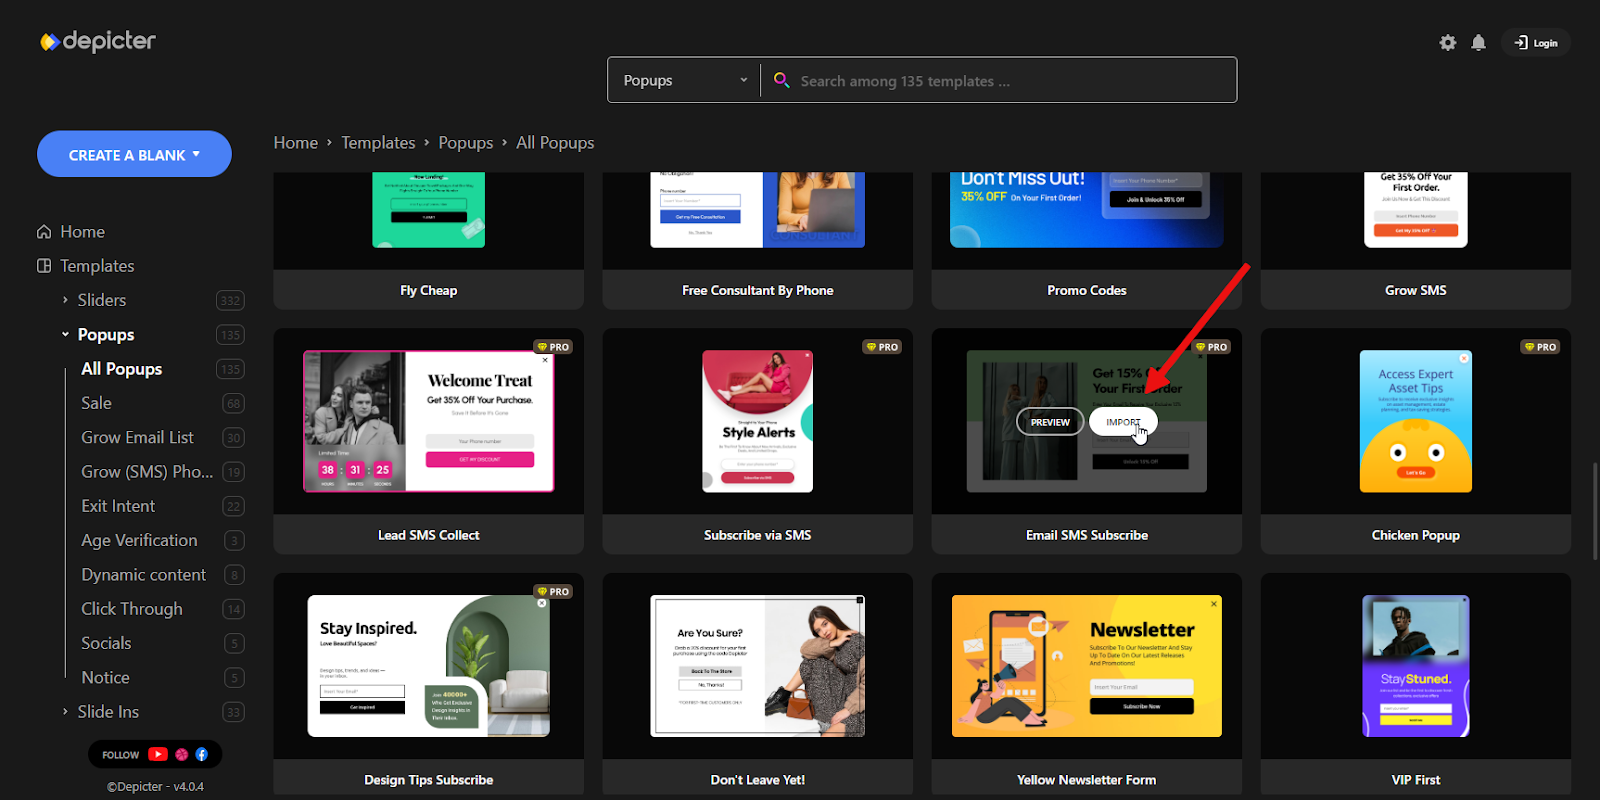
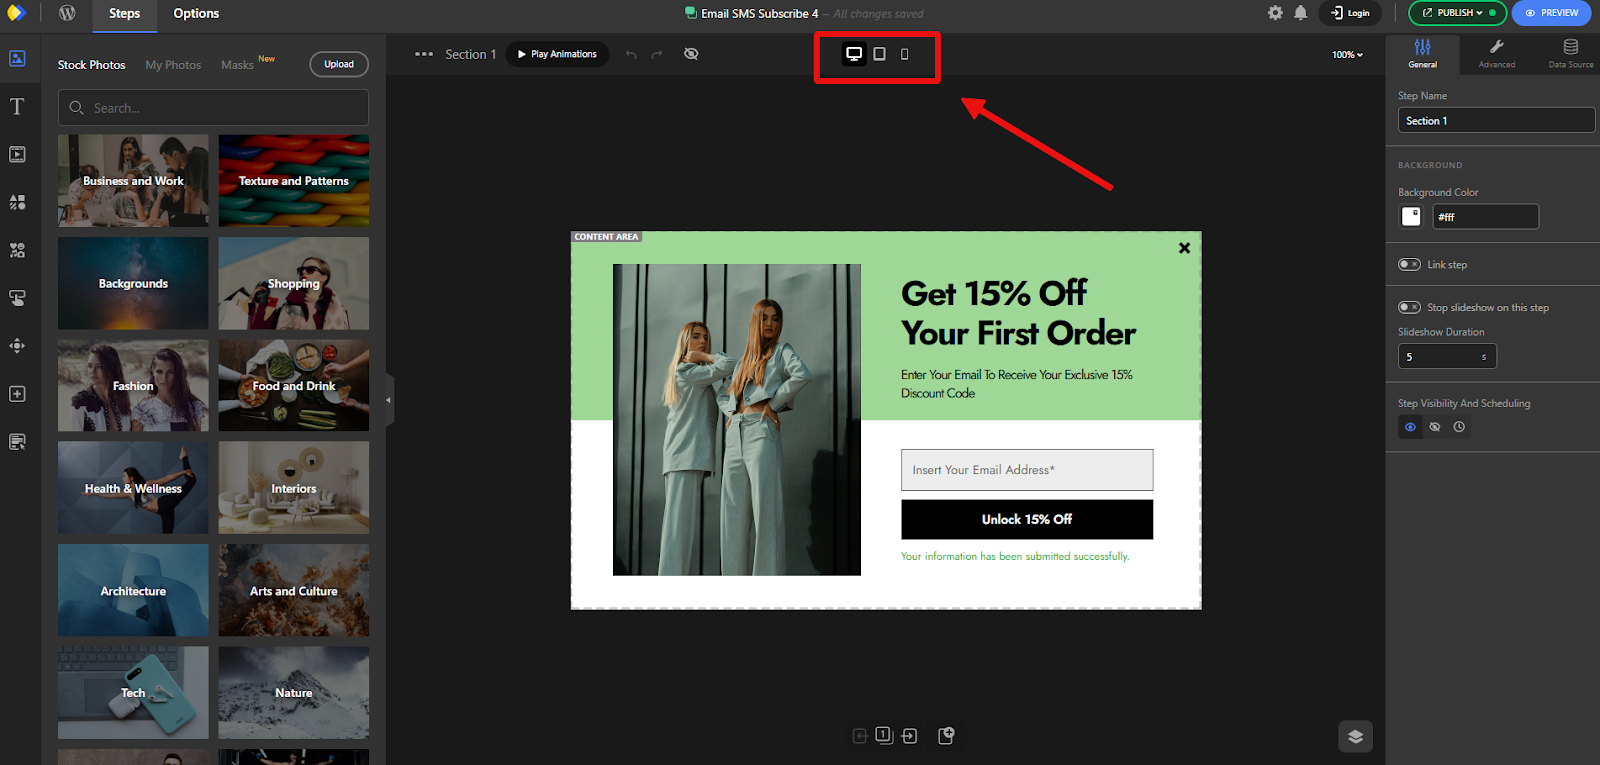
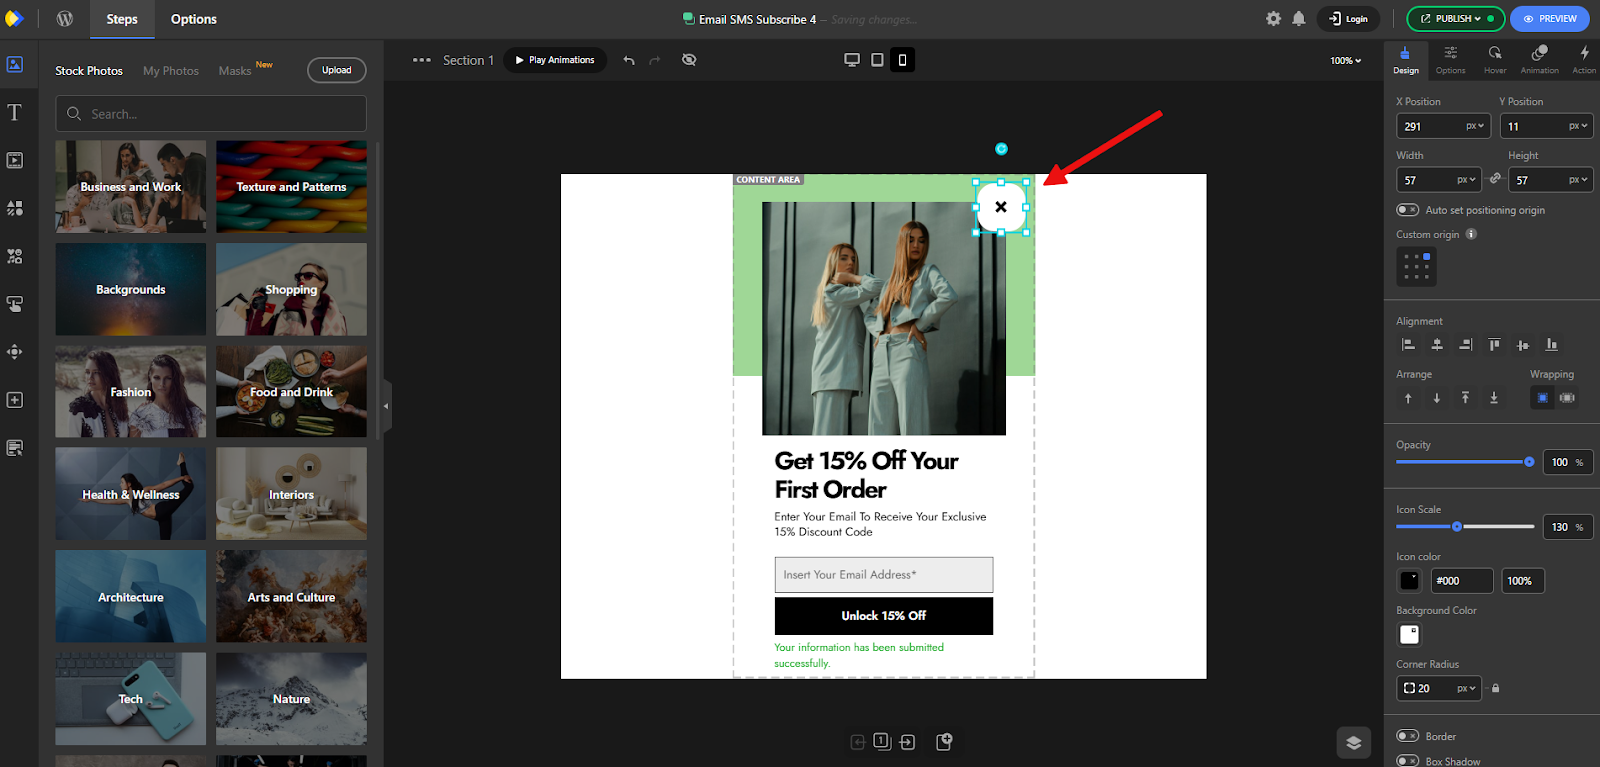
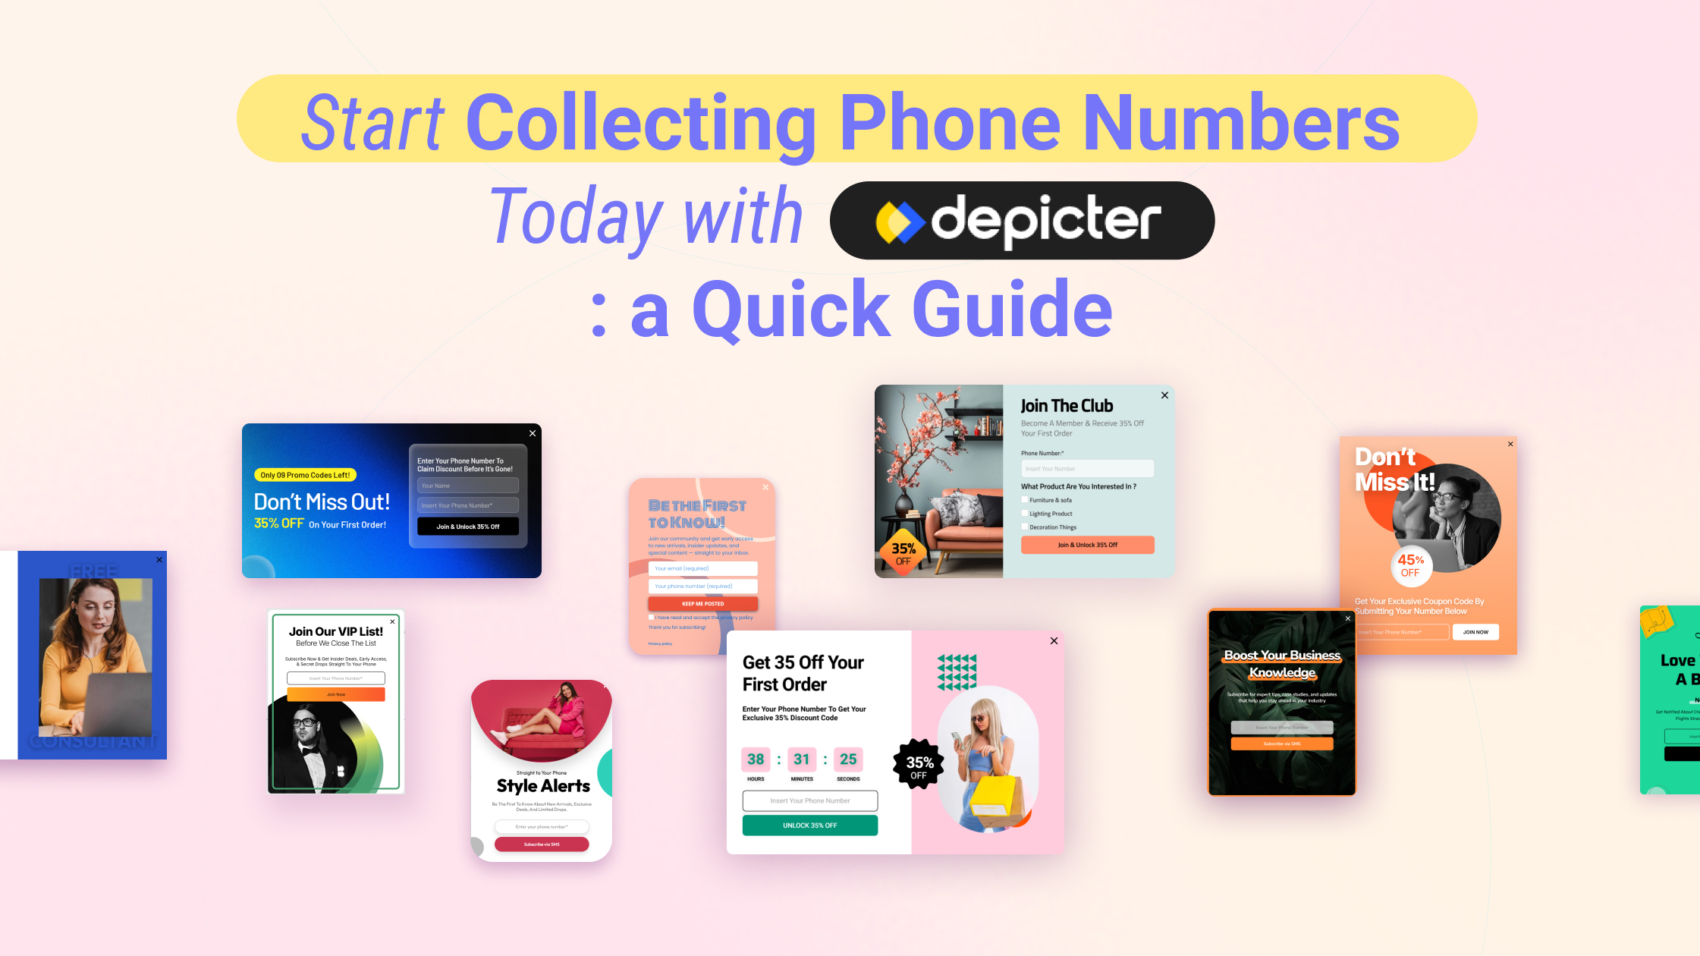
Depicter also makes it simple to grow your email list by creating eye-catching opt-in forms and popups. Instead of plain signup boxes, you can design engaging visuals that capture more leads and boost your WooCommerce email marketing results.
5.2 Setting Up Automated Email Workflows
Automation gives you the ability to talk directly with your prospects without all the manual work. By having a solid email automation system, you nudge the customers at the perfect time for them to take measurable actions.
- Welcome Series: Send a series of emails to new subscribers, introducing your brand and offering a first-time purchase incentive.
- Abandoned Cart Recovery: Automatically email customers who leave items in their cart, reminding them to complete their purchase. Including a small discount in the third email can be highly effective.
- Post-Purchase Follow-up: Send order confirmations, shipping updates, and a request for a product review a week or two after delivery.
5.3 Running Effective Promotional Campaigns
Use your email list to announce sales, new product launches, and personalized offers based on a customer’s past purchases.
Create a sense of exclusivity by giving your email subscribers early access to sales or special list-only discounts.
5.4 How to Measure the ROI of Your Email Marketing
Track key metrics for each campaign, including open rate, click-through rate (CTR), and, most importantly, the conversion rate and revenue generated per email.
Tools like MailPoet or weMail can track this directly in your WordPress dashboard.
Step 6: Speed Up Your WooCommerce Store
In e-commerce, every second counts. If your pages take too long to load, you risk losing both users and visibility in search results.
6.1 Why Site Speed and Core Web Vitals Matter for Sales
Website speed plays a key role in delivering a smooth user experience and boosting SEO performance. Even a 0.1 second improvement in page load speed can boost conversions by 8.4%.
Google’s Core Web Vitals (LCP, INP, CLS) are metrics that measure the real-world user experience of your site, and they directly impact your rankings.
6.2 Key Optimization Tactics: Hosting, Caching, CDNs, and Code Cleanup
A fast, smooth shopping experience isn’t just nice to have, it directly impacts conversions and search rankings. By focusing on key technical optimizations like hosting, caching, CDNs, and code cleanup, you can keep your WooCommerce store running at peak performance.
- High-Performance Hosting: Choose a managed WooCommerce host that offers server-level caching and HTTP support.
- Caching: Use a caching plugin like WP Rocket to create static versions of your pages, reducing server load and speeding up delivery.
- Content Delivery Network (CDN): A CDN stores copies of your assets (images, CSS, JS) on servers around the world, delivering them to users from the closest location.
- Code Minification: Remove unnecessary characters from your CSS and JavaScript files to reduce their size.
- Image Optimization: Compress images and use modern formats like WebP. Use lazy loading so images outside the initial view load only when visitors scroll down.
6.3 Mobile Optimization: Creating a Seamless Shopping Experience
With mobile commerce projected to account for 59% of all e-commerce sales in 2025, a flawless mobile experience is essential.
- Use a Responsive Theme: Ensure your theme automatically adjusts to fit any screen size.
- Simplify Navigation: Use a “hamburger” menu and ensure buttons are large enough (at least 44px) to be easily tapped.
- Avoid Intrusive Pop-ups: Pop-ups that are difficult to close on a small screen can be a major source of frustration.
6.4 Specific Strategies for Checkout Speed Optimization
The checkout page needs to be as fast and light as possible.
- Minimize Scripts: Limit the number of scripts and third-party integrations loading on the checkout page.
- Use Lightweight Payment Gateways: Some payment gateways are lighter and faster than others. Test their impact on performance.
6.5 Continuous Performance Monitoring and Maintenance
Performance optimization is an ongoing process. Regularly monitor your Core Web Vitals and run speed tests to catch issues before they impact your sales.
Bonus: Advanced Strategies to Drive Even More Growth
7.1 Setting Up Google Analytics 4 for Enhanced E-commerce Tracking
Google Analytics 4 (GA4) provides deep insights into how users interact with your store. Use a plugin like ExactMetrics to easily set up enhanced e-commerce tracking, which allows you to monitor user lifetime value, funnel performance, and more without writing any code.
7.2 Using Heatmaps to Understand User Behavior on Your Store
Heatmaps are visual representations of where users click, move their mouse, and scroll on your site.
Tools like Hotjar or Microsoft Clarity can reveal which elements are getting attention and which are being ignored, providing invaluable insights for A/B testing and design improvements.
7.3 Integrating a CRM with WooCommerce for a 360-Degree Customer View
Integrating an email and SMS marketing platform that functions as a Customer Relationship Management (CRM) solution, like weMail or Omnisend, allows you to consolidate all customer data in one place. This enables highly personalized marketing based on a complete view of every interaction a customer has had with your brand.
7.4 Building Your Essential WooCommerce Plugin Stack
Beyond a great theme and an SEO plugin, your stack should include:
- A Performance Plugin: A tool like WP Rocket for caching and file optimization.
- An Analytics Plugin: A tool like MonsterInsights or ExactMetrics for easy GA4 integration.
- A Sales Booster Plugin: A multi-functional sales booster plugin like StoreGrowth that handles CRO tactics like urgency timers, social proof notifications, and upsells.
Frequently Asked Questions (FAQ)
Q: How long does it take to see results from these WooCommerce optimization strategies?
The timeline for results varies. Technical changes like improving site speed can show an impact on user engagement and bounce rates within days.
SEO strategies typically take 3-6 months to yield significant results in organic traffic. CRO tactics like A/B testing can produce measurable lifts in conversion rates within a few weeks, depending on your traffic volume.
Q: What is the single most important metric to track for boosting WooCommerce sales?
While all metrics are important, the Conversion Rate is arguably the most critical. It directly measures how effectively your store turns visitors into paying customers.
Improving your conversion rate means you’re getting more value from the traffic you already have, making it a powerful lever for growth.
Q: Can I implement these strategies if I’m not a technical expert?
Absolutely. Many of these strategies can be implemented using user-friendly plugins. For SEO, plugins like AIOSEO or Rank Math guide you through the process.
For CRO and AOV, WooCommerce plugins like StoreGrowth are designed to add advanced features like countdown timers and upsells without any coding required. For site speed, caching plugins like WP Rocket automate much of the optimization process.
Q: Should I focus on acquiring new customers or retaining existing ones?
Both are important, but retaining existing customers is often more cost-effective. It can cost 5 to 25 times more to acquire a new customer than to keep a current one.
Strategies like email marketing, loyalty programs, and excellent customer service (covered in Step 5) are key to increasing Customer Lifetime Value (CLV) and building a sustainable business.
Conclusion: Your Roadmap to Sustainable E-commerce Growth
Boosting your WooCommerce sales is a marathon, not a sprint. It requires a strategic and continuous cycle of auditing, optimizing, testing, and refining. By building a strong technical foundation, understanding the psychology of your customers, and leveraging the right tools, you can create a powerful engine for sustainable growth.
Each step in this guide – from speeding up your site and mastering SEO to optimizing your checkout and nurturing customer loyalty – is a crucial piece of the puzzle. Implementing these strategies will not only increase your conversions but also build a resilient business that thrives in the competitive e-commerce landscape.
Ready to implement these powerful conversion tactics without touching a line of code? StoreGrowth ties it all together with urgency timers, social proof, and a frictionless checkout, so you can focus on growing your store.
Want more expert WooCommerce tips delivered straight to your inbox? Join our newsletter and get exclusive guides, strategies, and updates.


