Popups are one of the most effective ways to capture leads and grow your email or phone list. With Depicter, you can create beautiful, high-converting popups in just a few minutes — no coding needed. Whether you want to start from scratch or use a ready-made template, Depicter Free Popup Builder gives you full control to design, customize, and publish your popup exactly the way you want. Let’s walk through the process step by step.
Choose a template or start from scratch
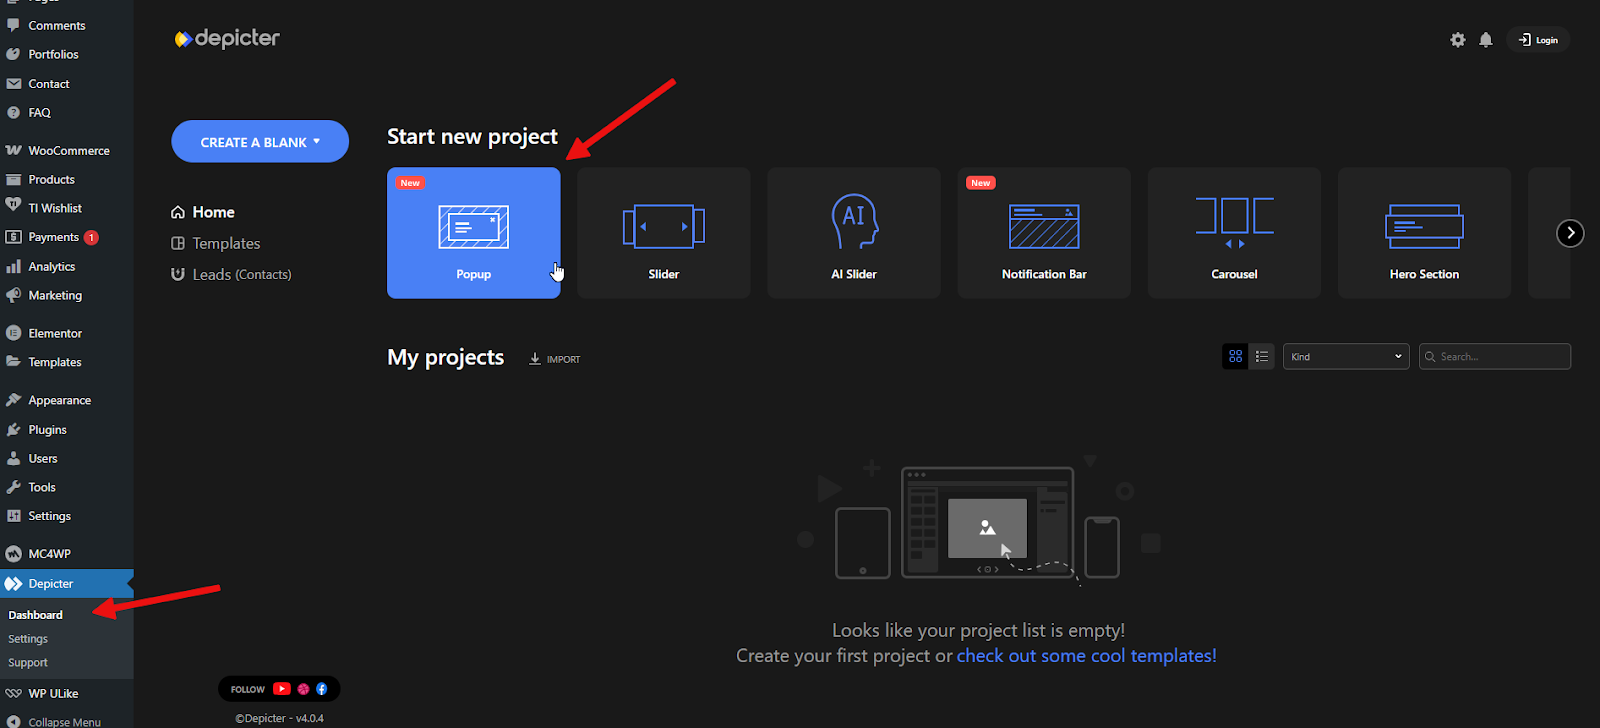
Once you’ve opened the Depicter dashboard, head over to the Popup section to begin.
Here you have two options:
You can start from scratch by selecting “Create Blank Popup.” This will open a clean editor with no pre-designed layout, allowing you to build your popup step by step — adding your own layout, images, forms, and all the design elements and settings yourself.
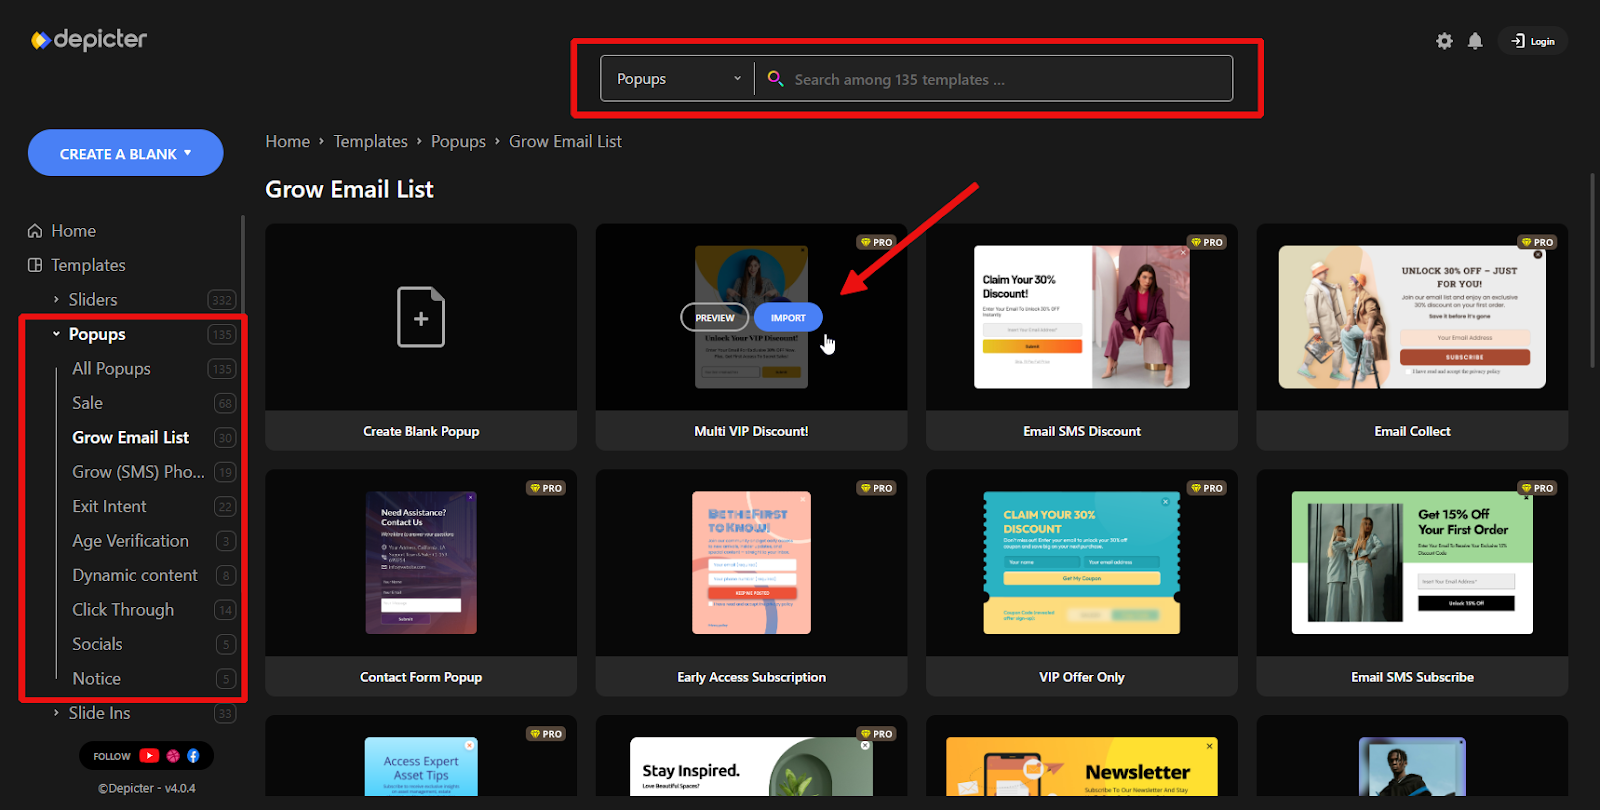
The other option is to choose from a large collection of ready-made popup templates. Simply search by keyword or browse by category to find what you need.
Then click the Import button, and in just a few seconds, the fully-designed popup will be imported and ready to use in the Depicter editor.
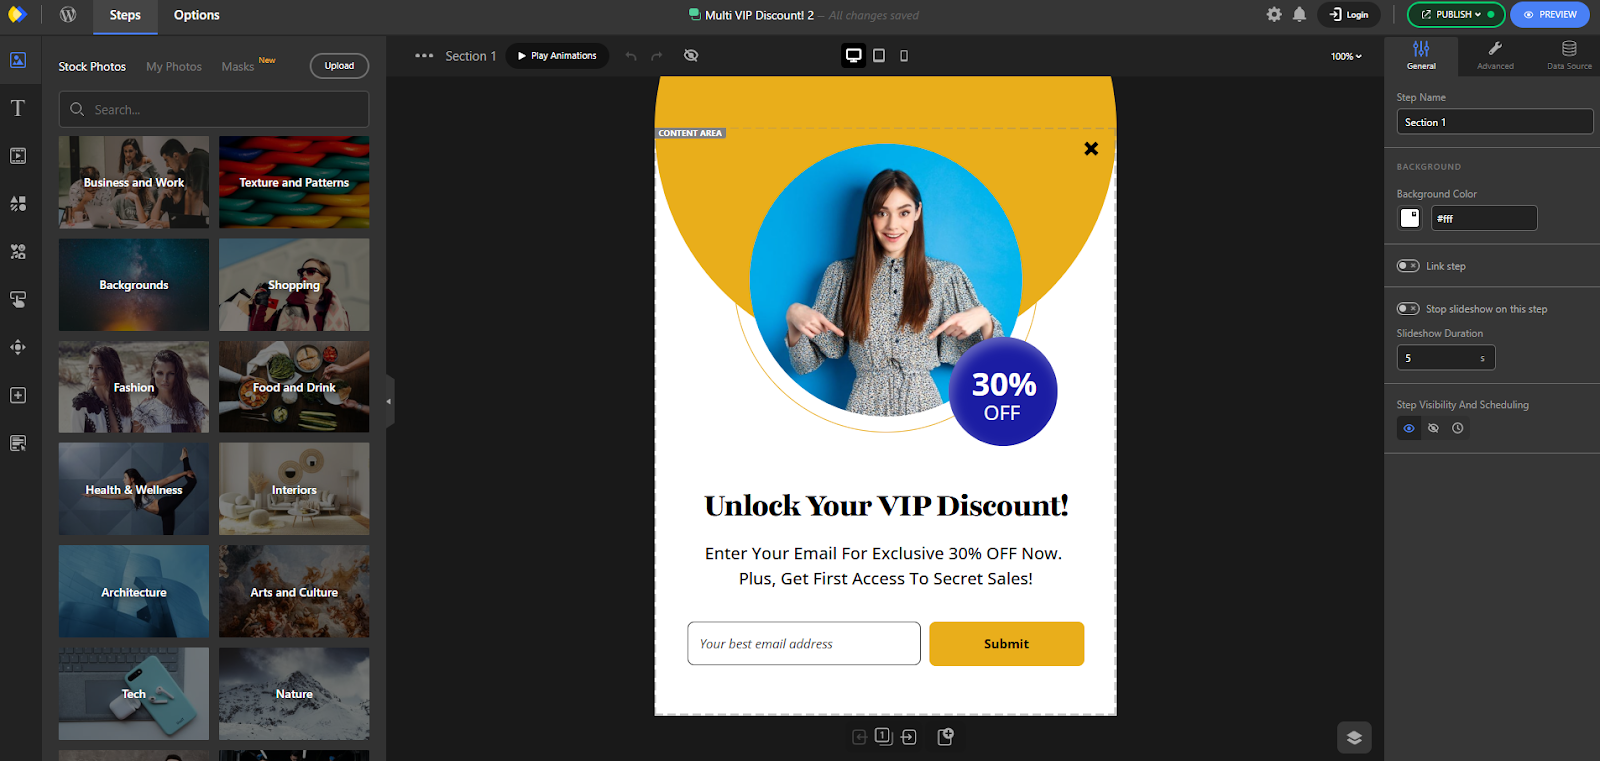
This is the Depicter editor, where your imported template is ready and fully editable — you can customize everything just the way you like and make it truly your own.
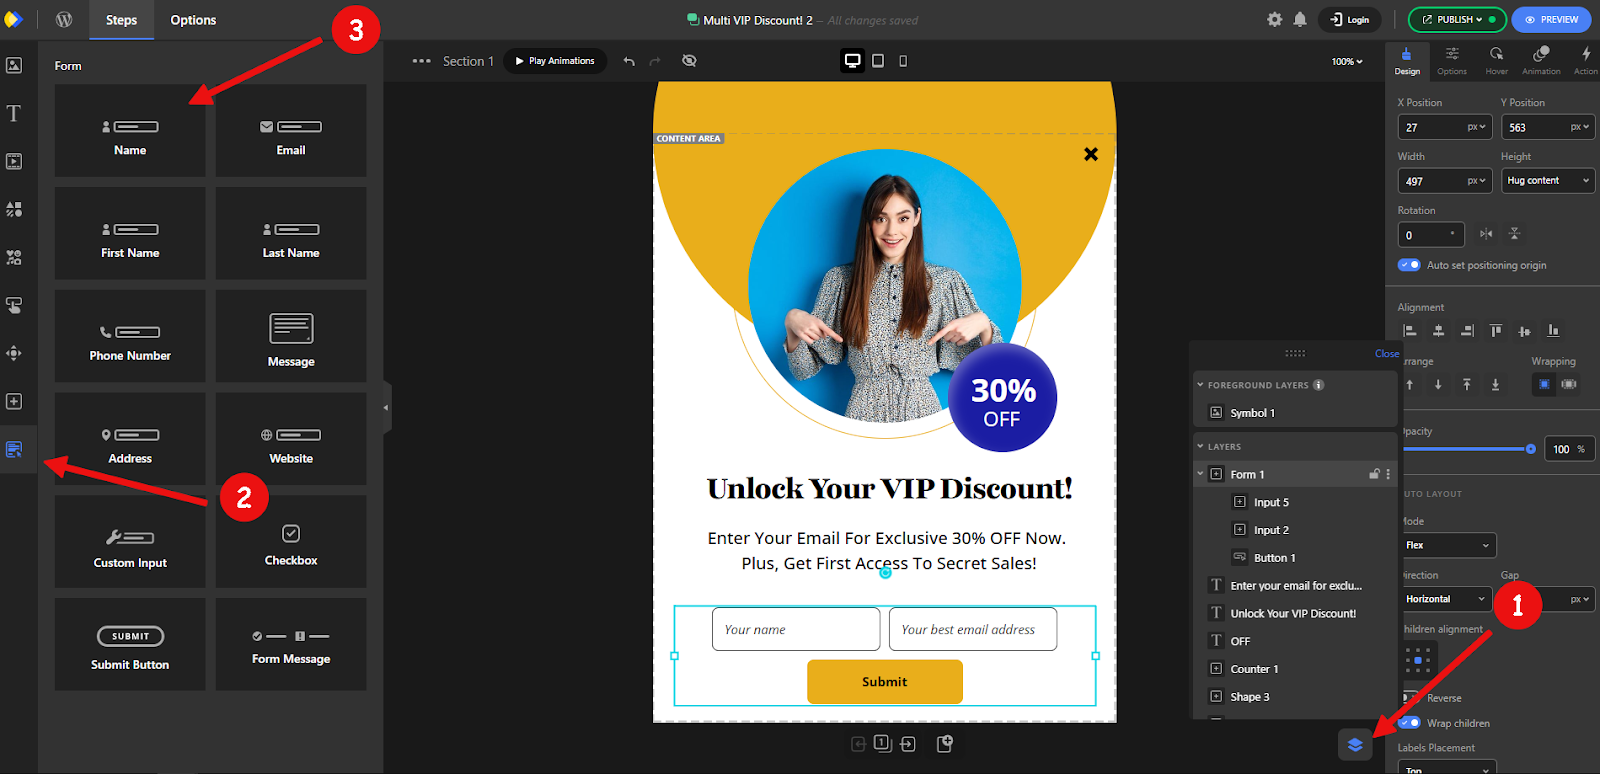
Add form fields for email, phone, name, etc.
One of the most common uses of popups is to grow your email list through signup or subscribe forms.
With the Form element in Depicter, you can easily customize the forms inside your imported templates however you like.
To make editing easier, use the Layer Panel to select elements more precisely. Once you select the form, you’ll see a variety of field options and settings appear in the left panel.
Here, for example, we’ll add a new Name field to the form and place it in the right position.
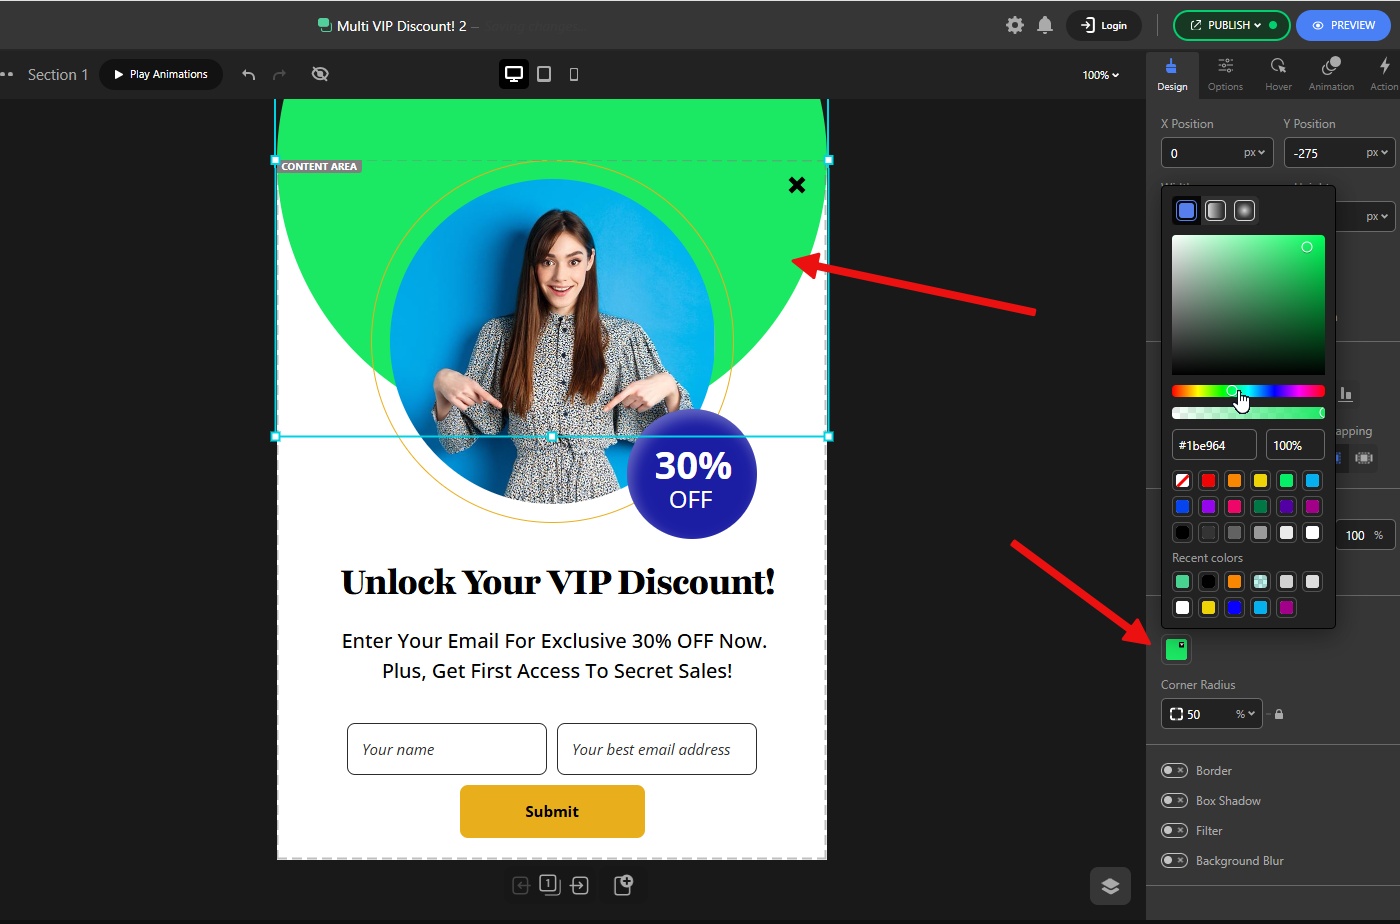
Customize visuals: background, image, layout, close button
One of Depicter’s biggest strengths — no matter what type of project you’re working on — is its powerful visual customization. You can fine-tune the look of every element to match your exact style, all without writing a single line of code.
For example, let’s make a few quick edits:
First, we’ll select the background Shape element, and from the right-hand panel, we’ll change its color to match our design.
You can also double-click on any text element to quickly edit its content and adjust it to fit your needs.
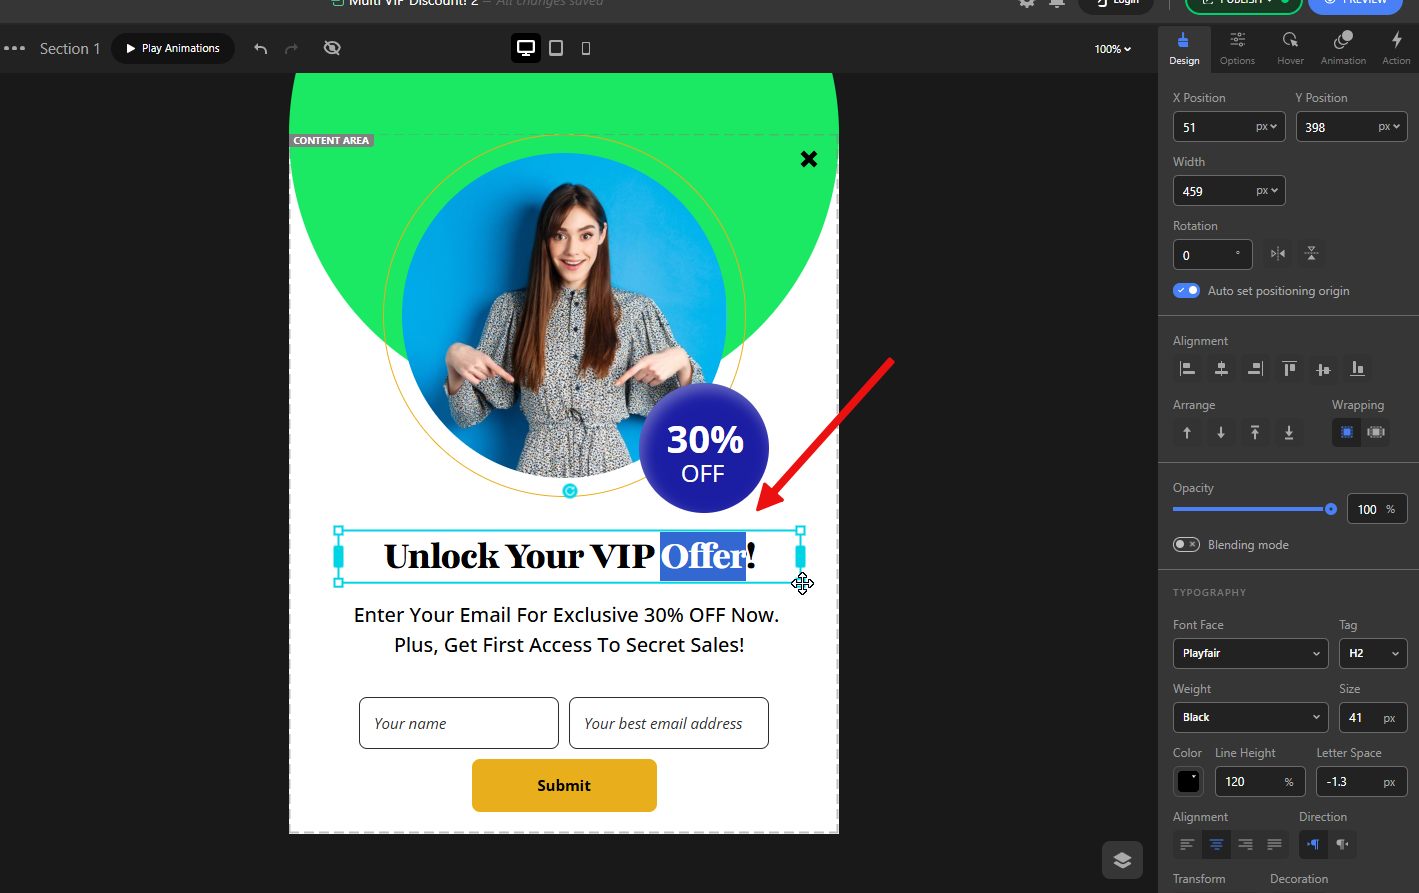
Just like this, every change you make in Depicter — whether it’s text, images, shapes, or layout — is this simple and straightforward.
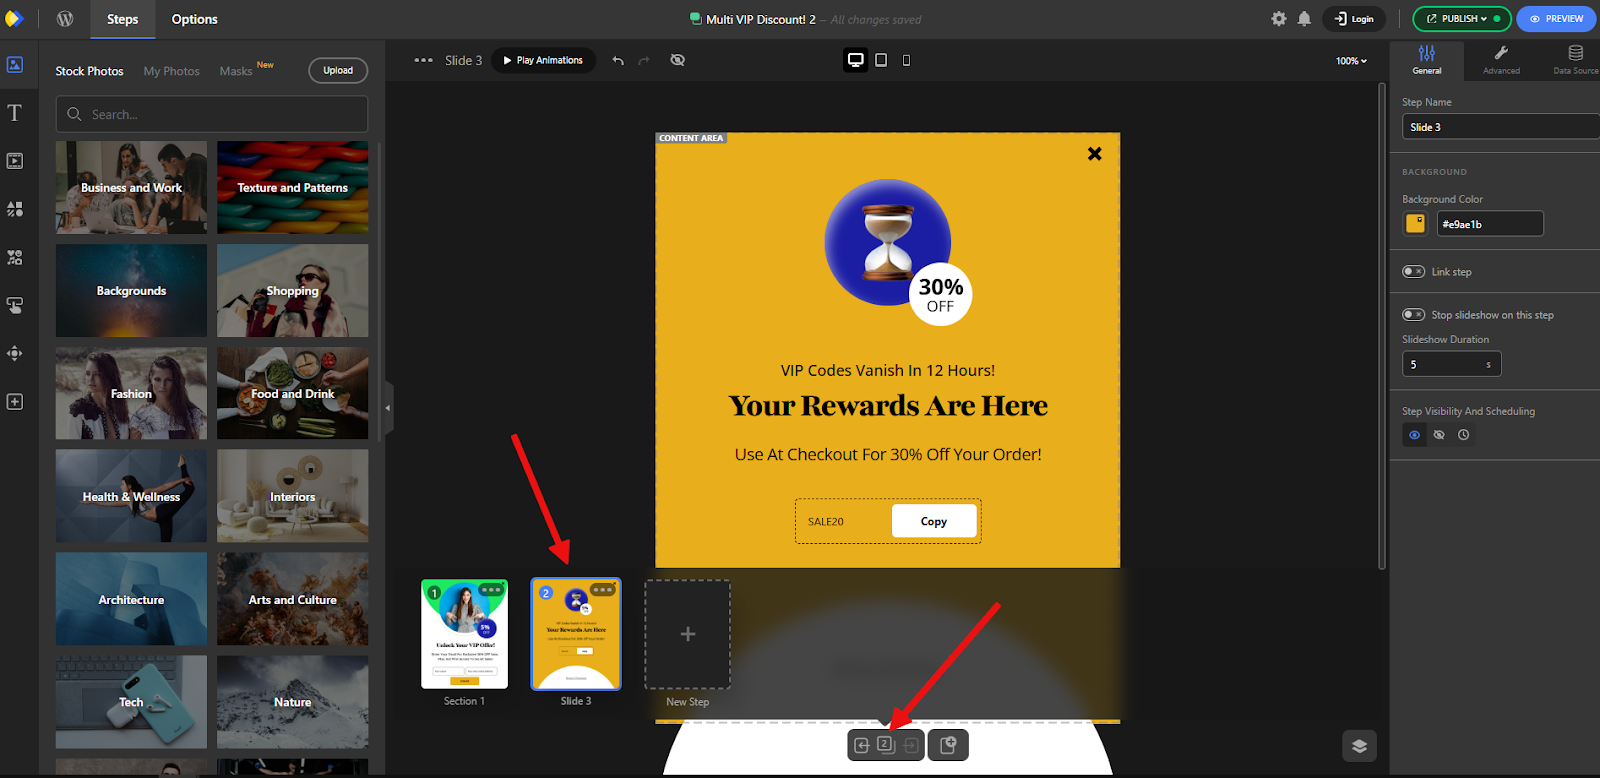
Show thank-you messages or redirect after submission
In most popups designed to collect emails or phone numbers, there’s usually a final step called the Thank You Step or Success Step. This is where, after the user submits their email, you deliver what you promised — like a discount code or other offer.
To set this up in Depicter, go to the Navigation section at the bottom and add a new step — or, if you’ve imported a template, it may already include one (which is the case here).
Select the Thank You step to load it in the editor.
Next, select the Form element, go to the Action tab, and add a new action:
- Type: Go To Step
- Trigger: Form Submit Success

Then click Edit, and from the dropdown, choose the name of the Thank You step.
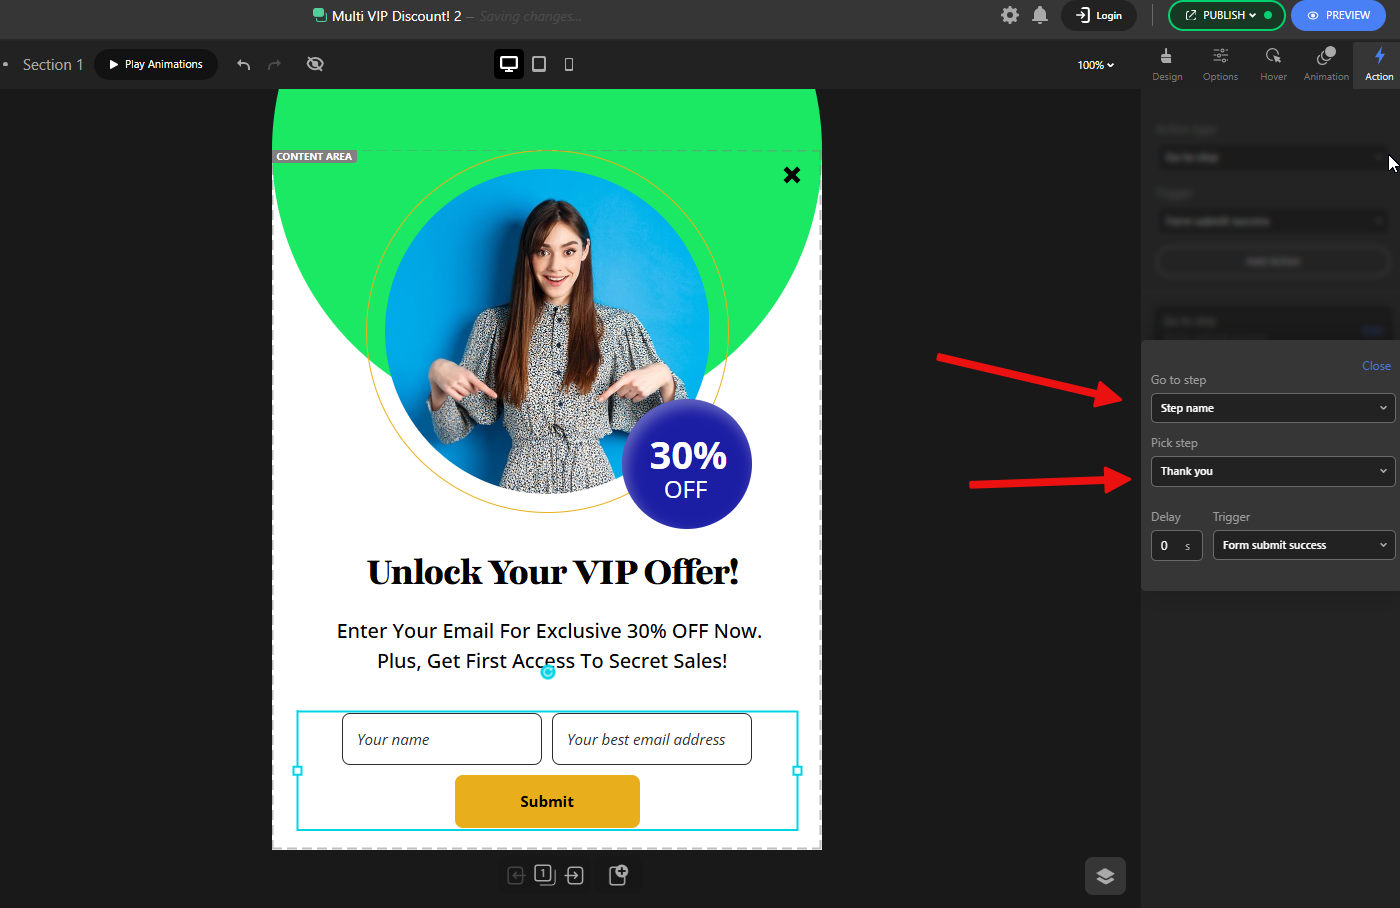
That’s it! Now, when someone fills out the form in your popup, they’ll be taken to the next step where the discount code (or any other message) is shown.
For the final result, check the Multi VIP Discount template here, which has more steps than we saw here.