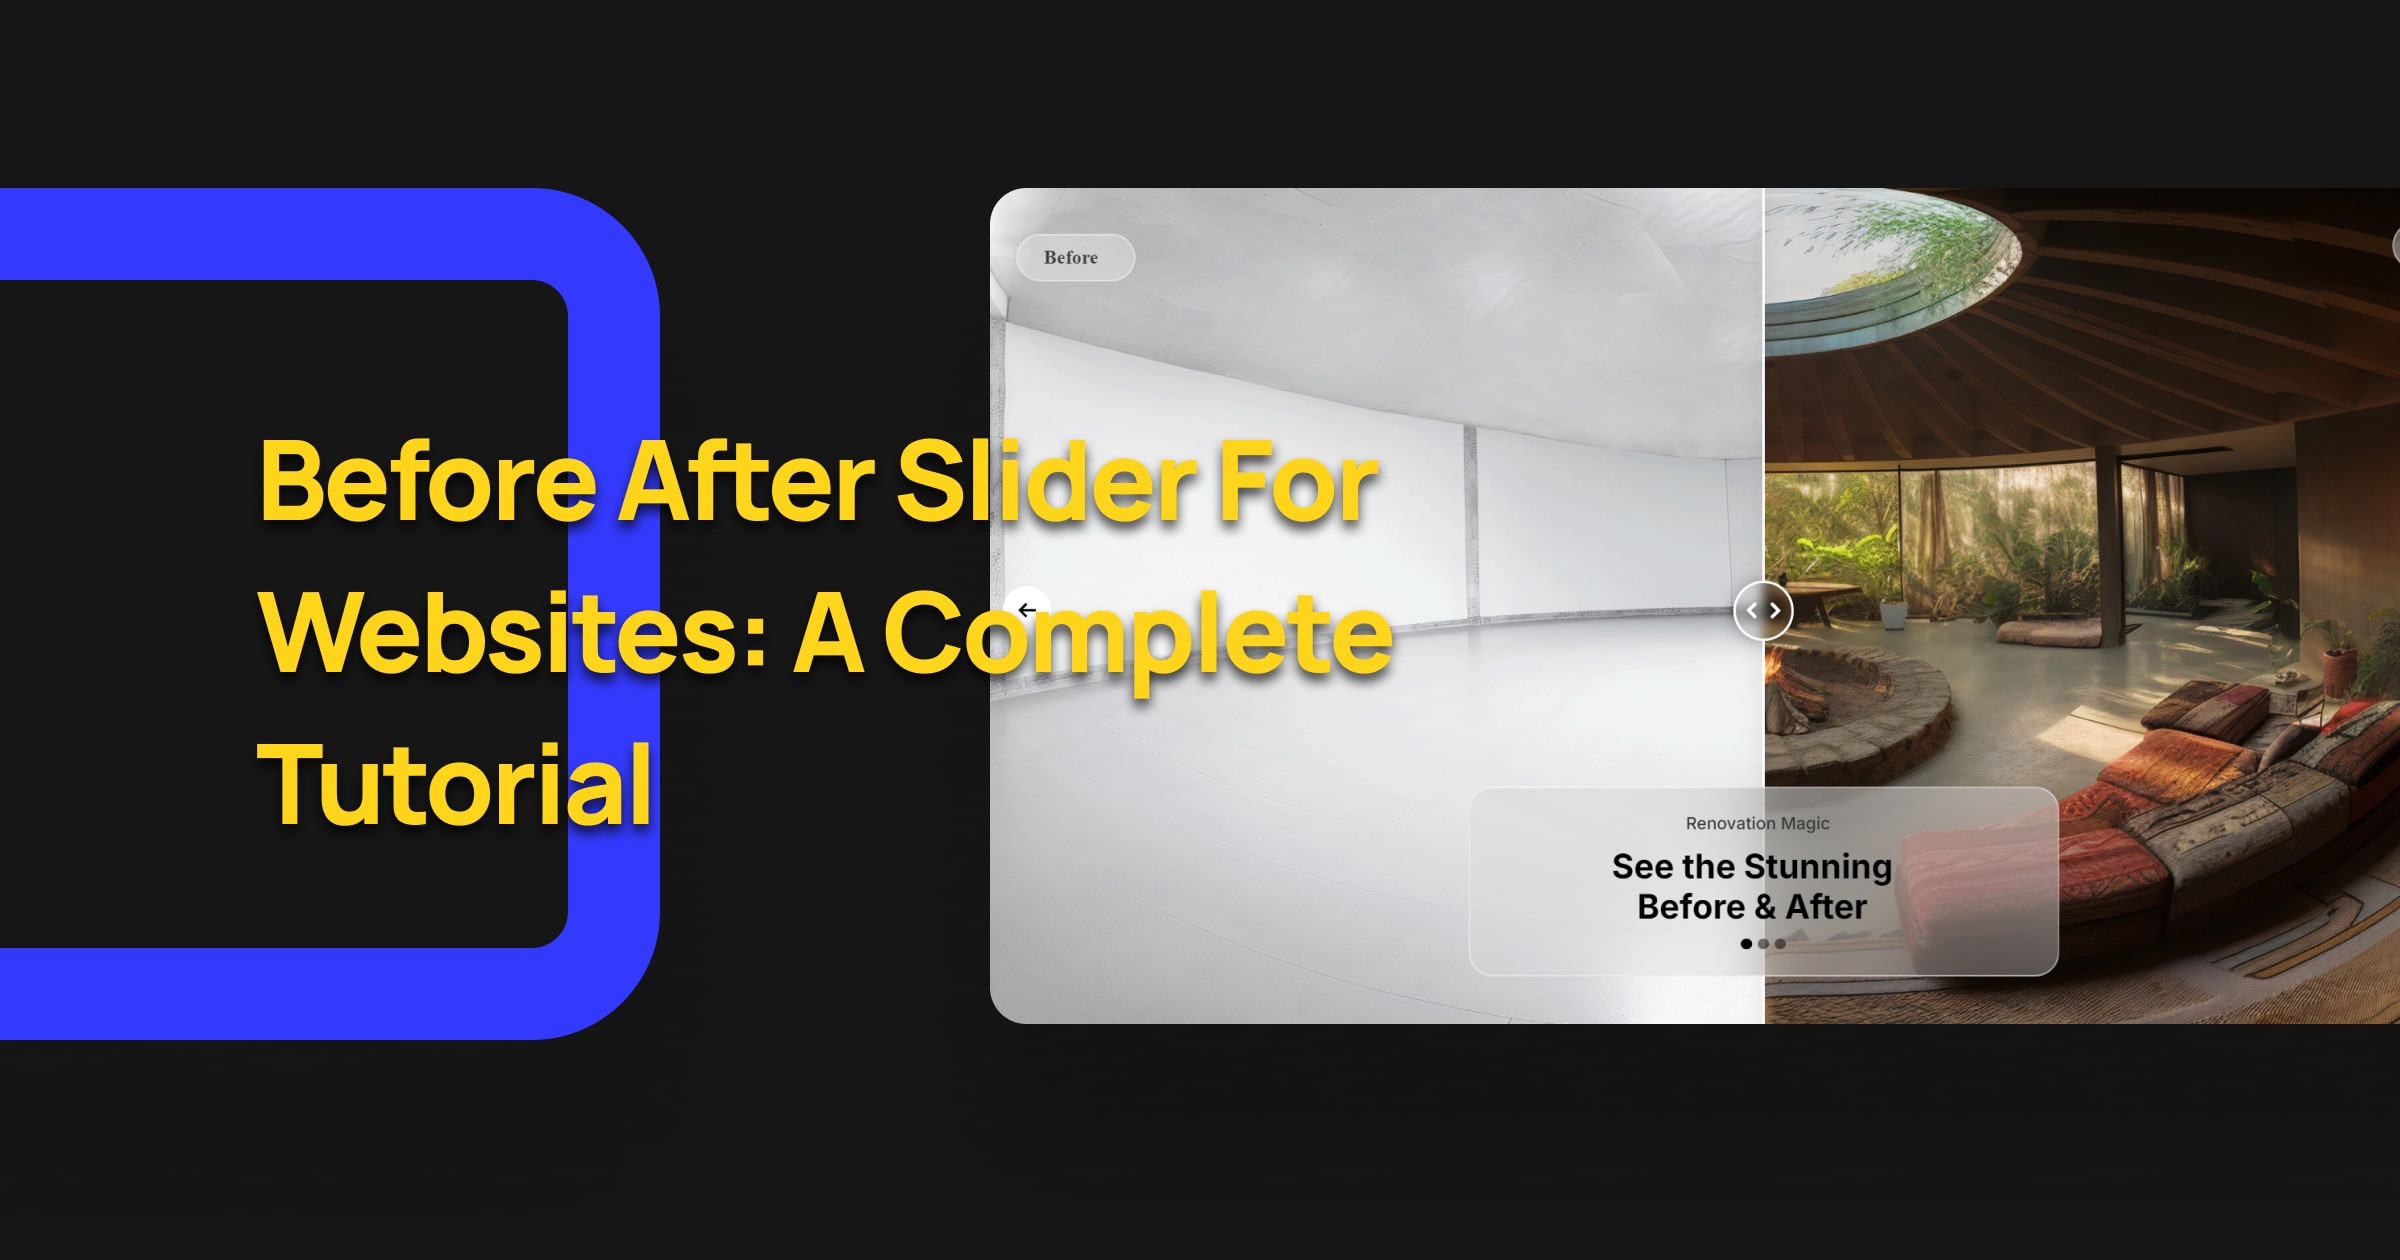
You’ve probably seen websites where you’re able to switch between two images or videos, revealing a dramatic change or a before and after comparison? Those are called a Before-After Slider!
A before-after slider can be a game-changer for your website, whether you’re showcasing product transformations, comparing design concepts, or simply adding an interactive element.
If you’re wondering how to create a before and after slider? / how to add before and after slider to website? / how to make before and after photo slider? This article is for you.
In this easy-to-follow tutorial, we’ll guide you through the process of creating your own Before After Slider.
We’ll cover everything from choosing the right tools to customizing the slider’s appearance and functionality.
By the end, you’ll have a stunning slider that will wow your visitors and make your website stand out.
An Amazing Collection of Before and After Templates
Before After Slider Elements Explained- Video Tutorial
In this video, we’ll show you how to design interactive before-after sliders with Depicter to compare images easily.
What Is a Before-After Slider?

A before after slider lets you show two images side by side so visitors can easily compare them. It’s especially popular for showing changes or improvements, like a room makeover or a product upgrade.
The cool part? Visitors can control the slider themselves, moving it to see the “before” and “after” images, which makes the experience more interactive and fun.
People love being able to see these comparisons. For viewers, it’s not just interesting, it also helps them make decisions.
For example, if you’re showing a product’s transformation or comparing two different items, the slider can help customers decide if they want to buy.
Being able to see how something looks before and after modifications is a huge factor in convincing people about the quality of your service or product.
These sliders work on various platforms, including WordPress, and they’re versatile. You can use them for different purposes, whether you’re comparing photos, showing off project results, or demonstrating a product’s features.
No matter what kind of website you have, a before after slider adds a dynamic way to engage your audience and boost customer trust.
Benefits of Using a Before and After Slider on WordPress

Using a before after slider on your WordPress site can make a big difference. It helps you show visitors the changes or improvements in your work, which can really grab their attention.
Here are a few key benefits:
- Easy to Use: Adding a before-after slider to WordPress is simple. With plugins like Depicter, you don’t need any coding knowledge. You can have a slider ready in just a few clicks.
- Better Engagement: When visitors can control the slider themselves, it makes their experience more interactive. They can see the transformation at their own pace, which keeps them more interested in what you’re showing.
- Builds Trust: Showing clear, real results—like a before-and-after shot of a completed project or a product upgrade—helps customers trust you more. They can see the actual difference your service or product makes, which can help them decide to make a purchase.
- Works on Any Website: A before-after slider can fit into any type of website. It’s a flexible tool that can showcase your work in a way that’s easy to understand.
Using a before-after slider on WordPress is an easy and effective way to show your visitors the value of your products or services.
When Do Before and After Sliders Appear? (Before After Slider Use Cases)
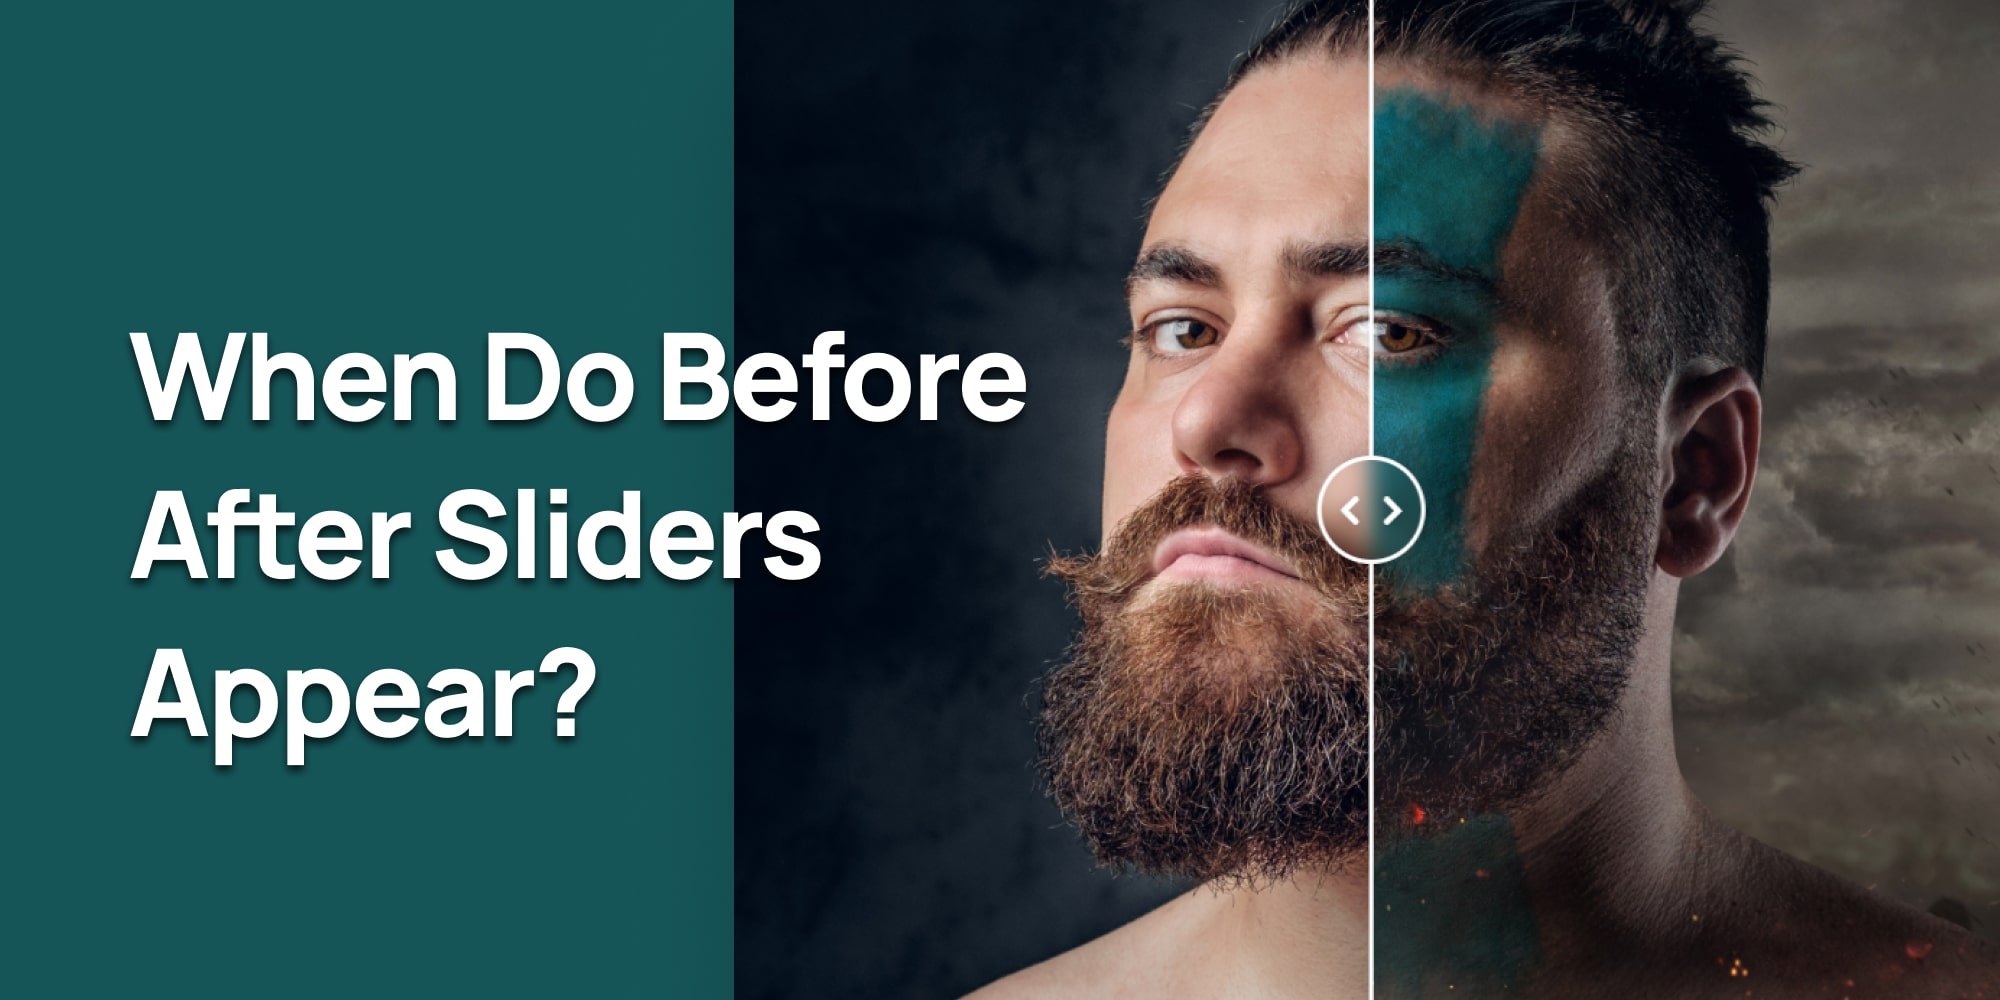
Before-after sliders are useful when you need to show a clear comparison between two images. They work great in many different fields and can be used for all kinds of projects.
Here are some common situations where you’ll see them:
- Beauty Clinics: Many beauty clinics use before-after sliders to show how treatments have improved someone’s appearance. It’s a great way for potential customers to see real results.
- Dental Clinics: Dentists often use these sliders to show the difference between a patient’s teeth before and after treatment, like braces or teeth whitening.
- Fitness Programs: Fitness trainers use before-after sliders to highlight the progress their clients make. It’s a powerful way to show the impact of workout programs.
- Home Renovations: When it comes to home improvement, showing the transformation of a space is important. Before-after sliders help customers see the dramatic changes in a room or building.
- Photography: Photographers use sliders to compare edited and unedited photos, helping people understand the value of their editing work.
- E-commerce: If you sell products that improve or transform something—like cleaning supplies, skincare products, or even software—a before-after slider can help show customers how well the product works.
In each of these cases, before-after sliders make it easy to present changes in a clear and engaging way.
By letting visitors control the slider themselves, they get a more interactive experience that helps them see the full effect of the transformation.
Before and After Slider Best Practices

Using a before-after slider can make your website more engaging, but to get the best results, there are a few things you should keep in mind.
Here are some tips to help you create an effective and easy-to-use slider:
- Use High-Quality Images: Make sure your before and after images are clear and high-quality. Blurry or low-resolution images can make it hard for visitors to see the differences, which defeats the purpose of using the slider.
- Choose Images That Show Real Change: Pick images that clearly show the transformation you want to highlight. The bigger the difference between the “before” and “after,” the more impactful the slider will be.
- Keep It Simple: Don’t overload your slider with too many extra elements like text or graphics. The main focus should be on the images. If you want to add text, keep it short and relevant to the comparison.
- Ensure Mobile Responsiveness: Make sure your before-after slider looks good and works well on mobile devices. Many visitors will be viewing your site on their phones, so your slider needs to be easy to use on smaller screens.
- Place It in the Right Spot: Put your before-after slider where it makes the most sense, like on a product page or a portfolio. It should be in a place where visitors are already looking for proof of results or examples of your work.
- Test It First: Before going live, test your slider to make sure it works smoothly. Check that the slider moves correctly, the images load quickly, and the controls are easy to use. This will give visitors the best experience possible.
By following these simple best practices, your before-after slider will not only look great but also be effective in showing the value of your work or product.
How to Create a Before After Slider in WordPress (Easy Steps)
Creating a before-after slider on WordPress is easier than you might think. Although I have to say the cool thing about Depicter is that you have two options:
- A. Create a before after slider using a ready-made template.
- B. Create a before after slider from scratch.
In this tutorial we’ll explore both starting from creating before after slider using a ready-made template.
Design a Before and After Image Slider Video
A. Create a Before and After Slider Using a Template
Creating a before and after Slider using a template is easy, Just follow these simple steps:
1. Installing the Before After WordPress Plugin (Depicter)
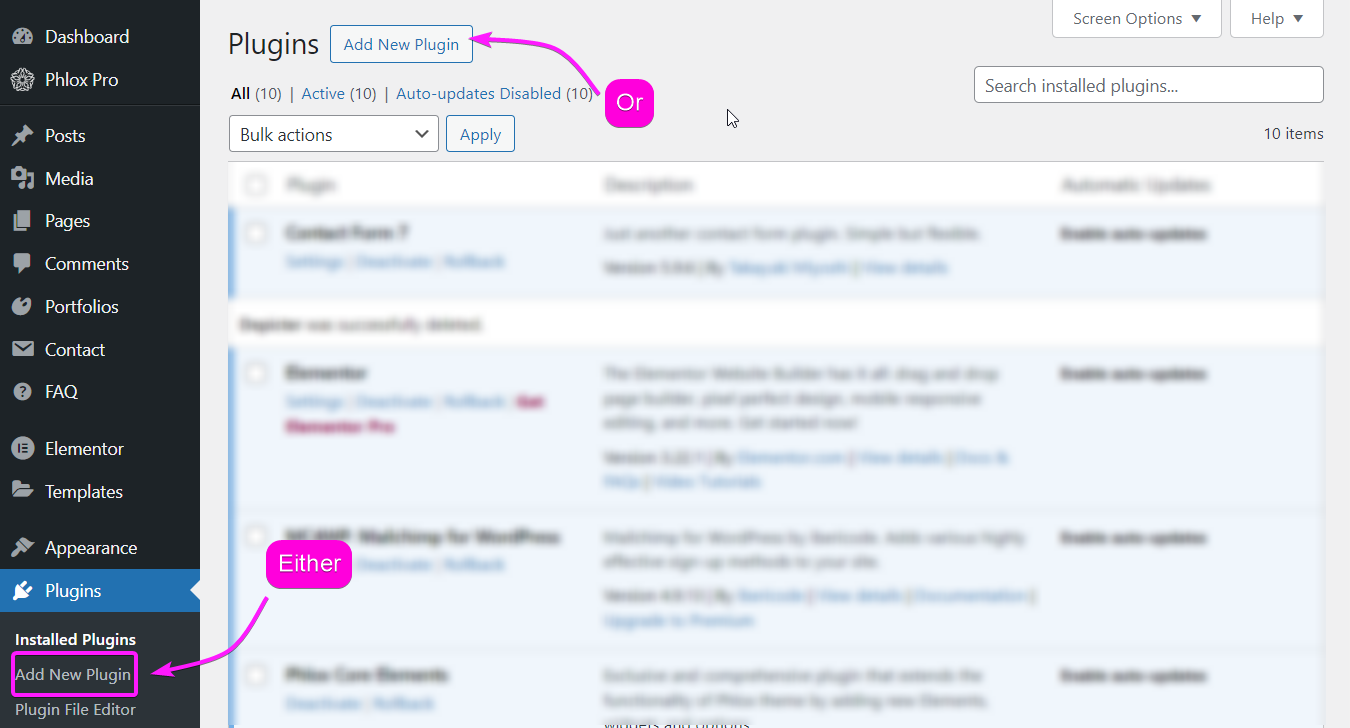
To install the Depicter plugin, go to plugins in your WordPress dashboard, click on “Add New Plugin” and Search for Depicter.
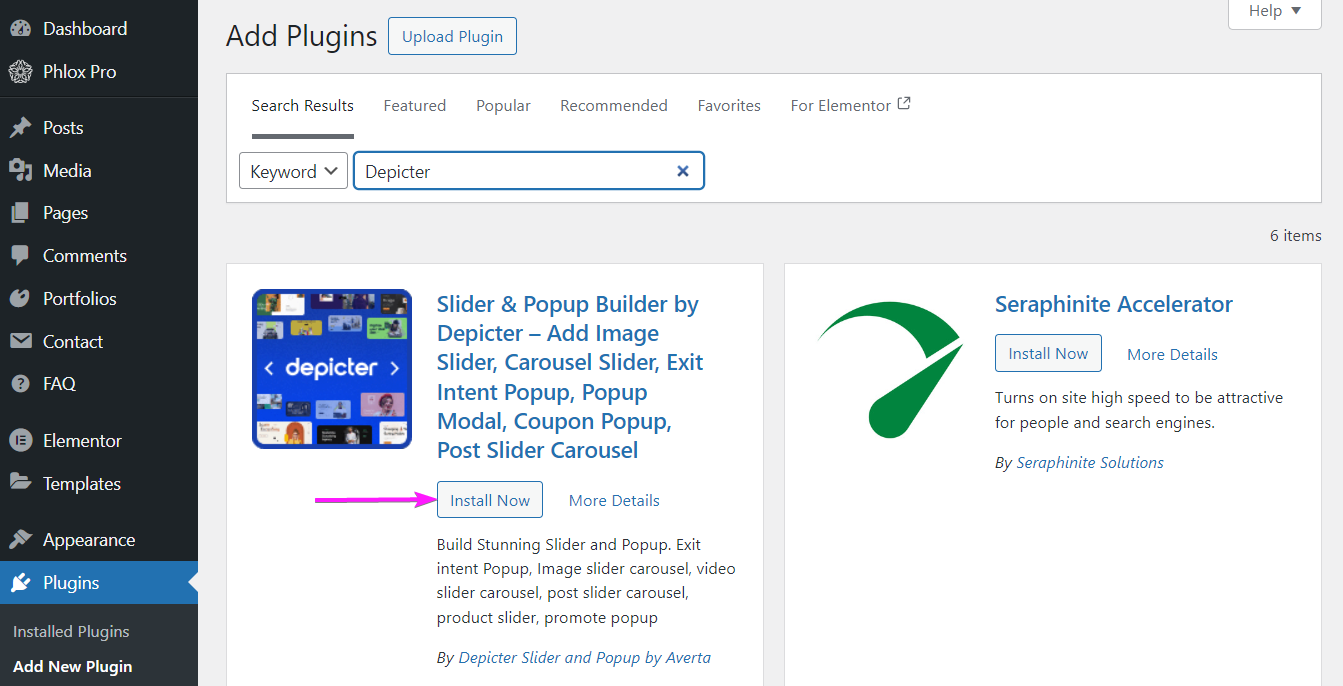
Once you find it, install and activate it and you’re good to go.
2. Find and Import a Ready-Made Template
In the Depicter dashboard, head to templates then search “before after” in the search bar; That way you can see Depicter’s numerous before after WordPress ready-made templates.
Find a template and import it.
3. Customize the Template
Once you’ve imported the template, you can customize everything to match your needs.
4. Preview and Publish Your Slider
Now that you’ve made some changes, hit Preview to see how your slider looks. Nice, right? If you’re happy with it, you’re good to go!
Hit publish!
B. Create a Before and After Slider From Scratch (No Coding Required)
With Depicter, even when you’re creating a slider from scratch, you wouldn’t bee needing any coding skills. Just follow these simple steps:
1. Create a Slider from Scratch
Want to start from scratch instead of using a template? No problem! Head back to the Depicter dashboard and click Create a Blank. Then, choose the Hero Section to get started.
- Add a background image.
- From the left sidebar, find the Before-After Element and click on it to add it to your slider.
- Drag and drop your before-and-after images onto each side of the slider.
Now, feel free to add other elements like text, icons, or anything else you want. Customize them to fit your style.
2. Add Effects and Controls
With the before-after slider selected, you can enable some cool effects in the options menu:
- Turn on Blend and choose from its different effects.
- Enable Start on Hover—this makes the slider follow your mouse when you hover over it, giving it a smooth interactive feel.
Play around with the other settings, like changing the controls color to match your design. The best part? You can see all your changes live as you make them.
3. Preview and Publish
Once you’re happy with everything, click Preview to see the final result. Once you’re happy with it, hit publish and you’re good to go.
Conclusion
To wrap things up, adding a before-after slider to your WordPress website can really make a difference by grabbing attention and showing off what you do.
Whether you’re showing changes, comparing looks, or just adding something fun, a good before after slider makes your site more interesting and helps people trust your work.
With a tool like Depicter, making these sliders is super easy, even if you don’t know how to code.
After reading this tutorial, you now know how to create amazing sliders that will impress your visitors and make your website stand out. Give it a try and see how it makes your site better!
Leave Comment